The Windows Subsystem for Linux (WSL):
The Windows Subsystem for Linux (WSL) lets developers run a GNU/Linux environment — including most command-line tools, utilities, and applications — directly on Windows, unmodified, without the overhead of a traditional virtual machine or dual-boot setup[1]. Particularly, by using the latest version of WSL2 under Windows 11 one can effortlessly install ns-3 and NetAnim under Windows 11.
Compiling the latest Linux-based simulation tool OMNet++ using (Cygwin, MinGW and MSYS2 will be a challenging task. Of course, some people successfully made it work but the rest of the people may fail to make it work because of various reasons.
But, using different virtualisation solutions such as Microsoft Virtual PC, Microsoft Hyper-V, VMWare, VirtualBox, etc., one can successfully install and use any Linux-based application under Windows. But the performance of OMNet++ simulation in terms of speed will be good under these kind of desktop virtualization solutions. But Windows Subsystem for Linux is the best and most efficient way of running a Linux-based simulation tool OMNet++ under Windows. It will give better performance in terms of speed while comparing with other virtualization technologies. Most among all, with native support for GUI-based applications, we can effortlessly run the OMNet++IDE and even 2D and 3D outputs of OMNet++ simulations under Windows 11.
Installing WSL2 and suitable Linux version Under Windows 11 for OMNET++ Installation.
The following step-by-step procedure explains the way of installing WSL2, and Ubuntu under the latest Windows 11 version.
Installing WSL2 Under Windows 11 and Running GUI Linux Apps.
The installation procedure of OMNet++ 6 that we present here is almost the same as the following one :
Installing OMNeT++ 6 on a 64-bit Debian 10 Under Chroot-Jail
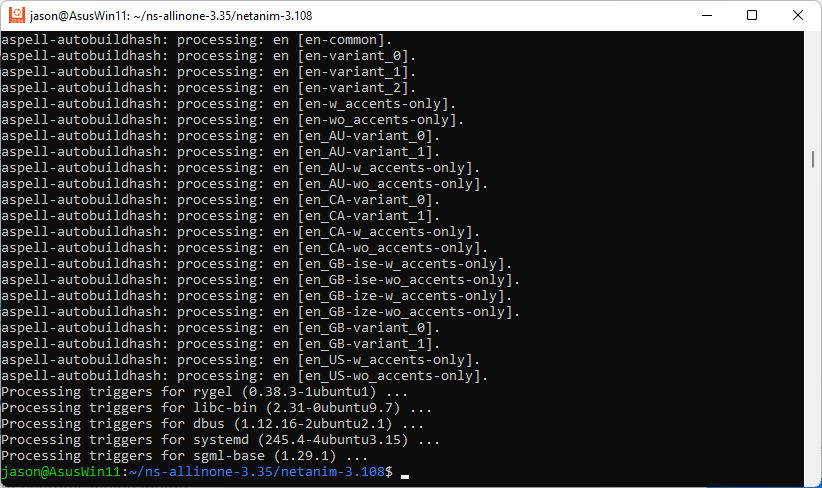
Instead of doing it under chroot, we are repeating it under Ubuntu 20.04.4 LTS which was installed on WSL2 of Windows 11.
Installation of OMNet++ under DSL of Windows 11
Step 1: Update the apt package repository
Step 2: Install the necessary dependancies
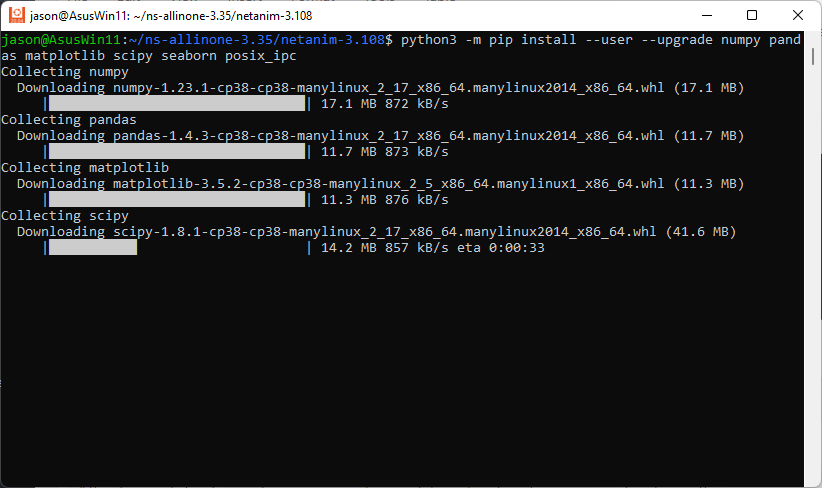
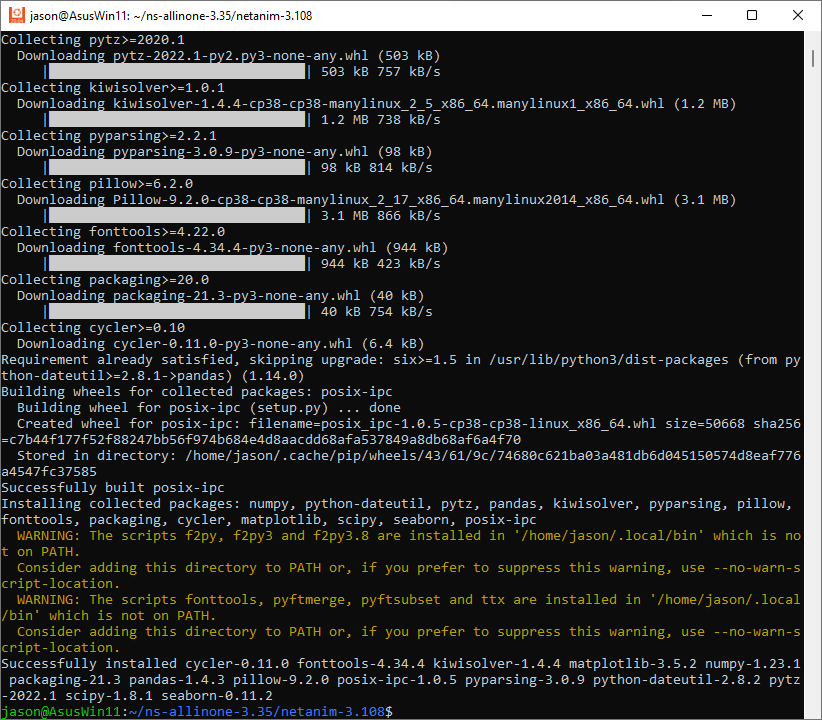
Step 3: Install some python related packages
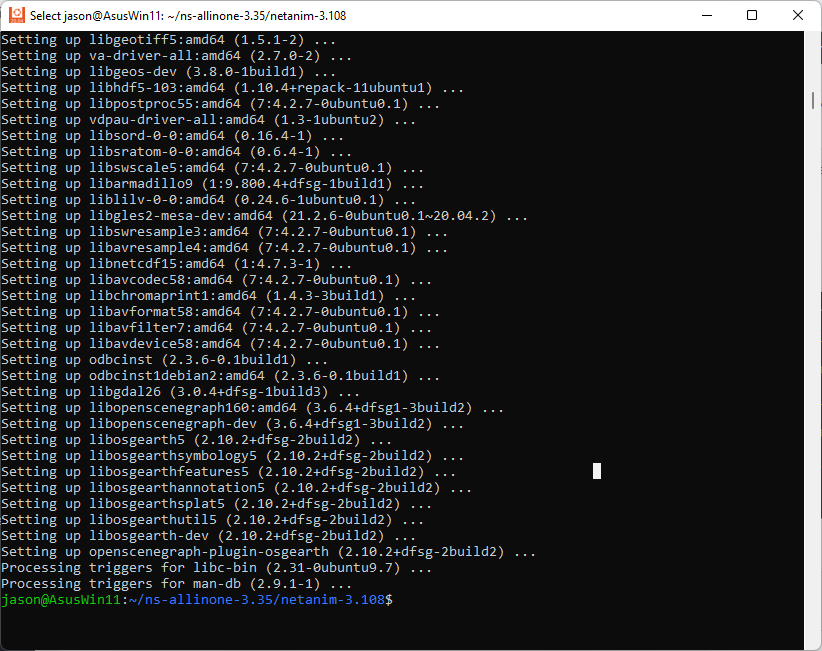
Step 4: Install OpenSceneGraph 3D support
$ sudo apt-get install -y openscenegraph-plugin-osgearth libosgearth-dev
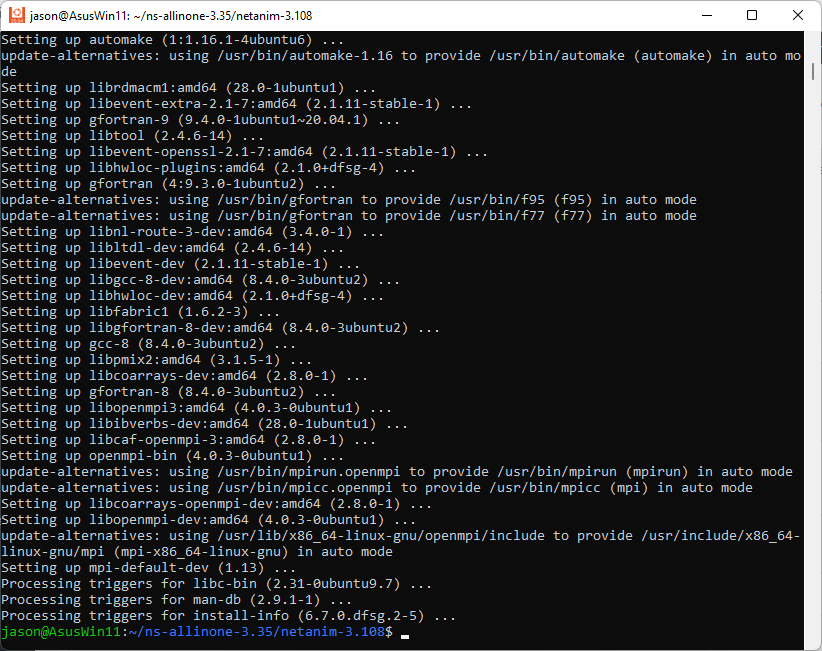
Step 5: Install MPI support
Step 6: Install nemiver support

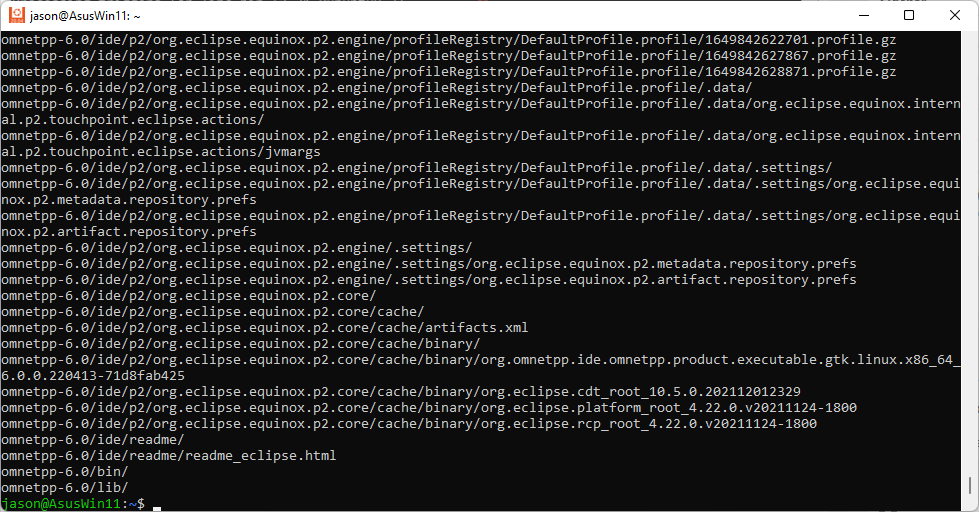
Step 7: Download and Extract OMNeT++ 6
$ gzip -d omnetpp-6.0-linux-x86_64.tgz
$ tar -xvf omnetpp-6.0-linux-x86_64.tar
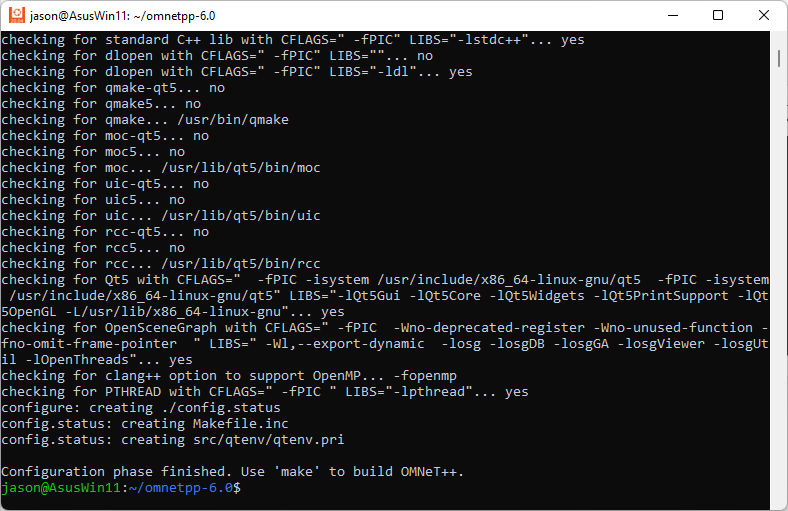
Step 8: Compiling Omnet ++
$ cd /home/omnetpp-6.0
#configure make file according to the environment
$ ./configure
# – if you do not need OSG support
$ ./configure WITH_OSG=no
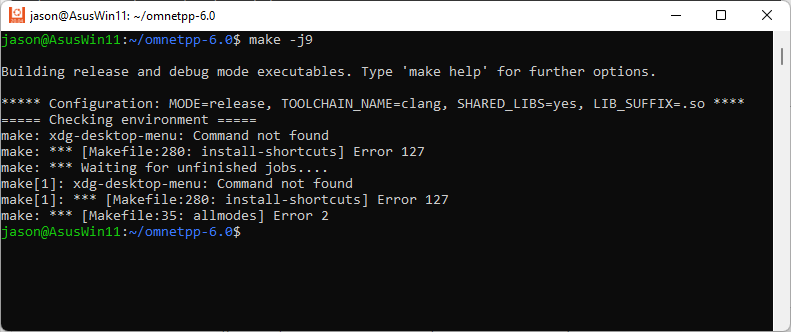
And run make again:
$ make -j9
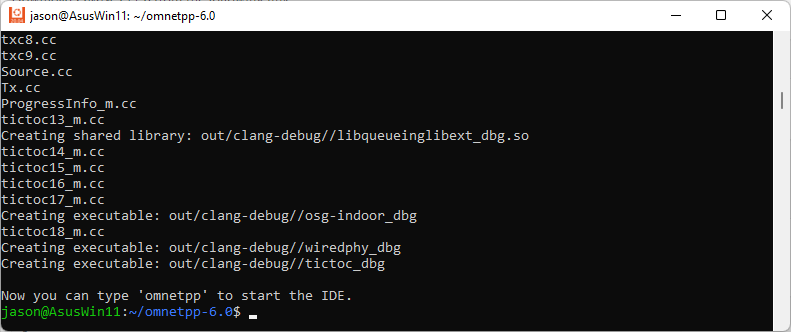
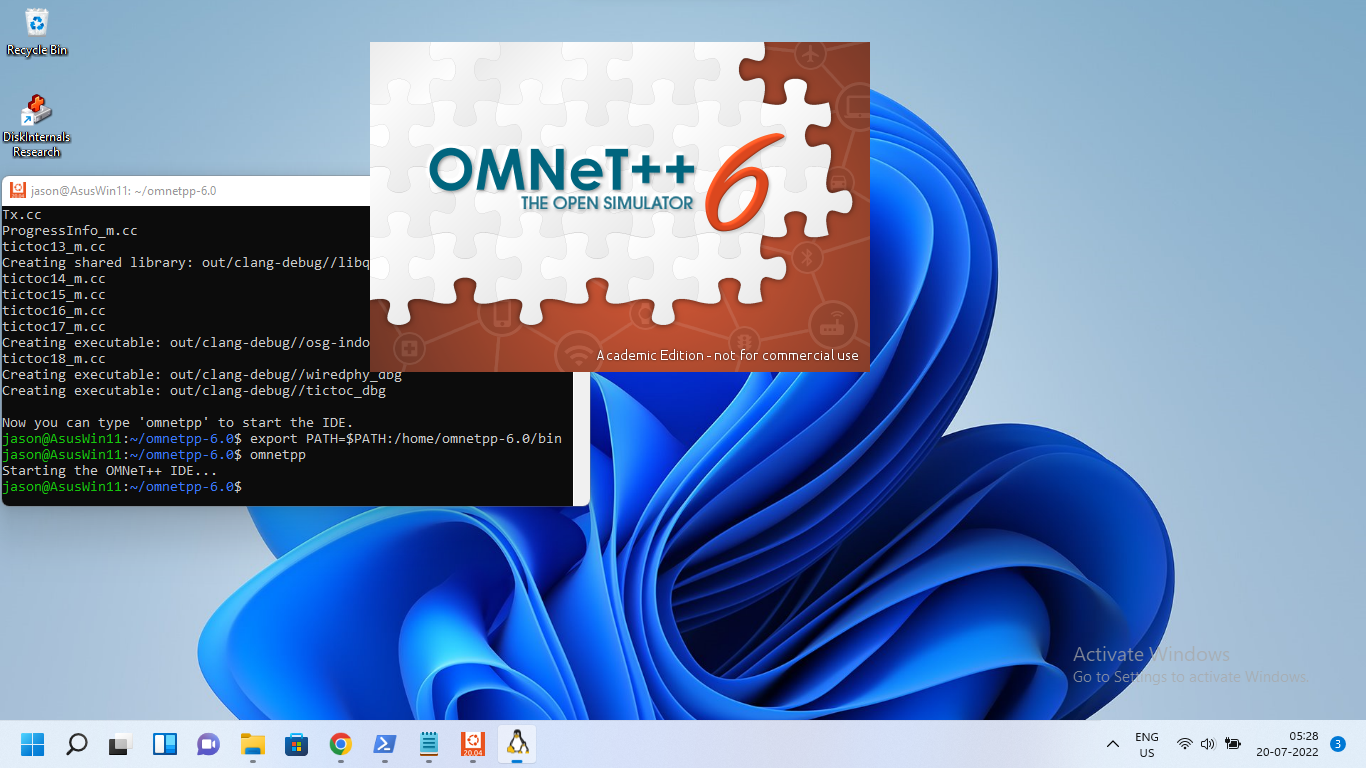
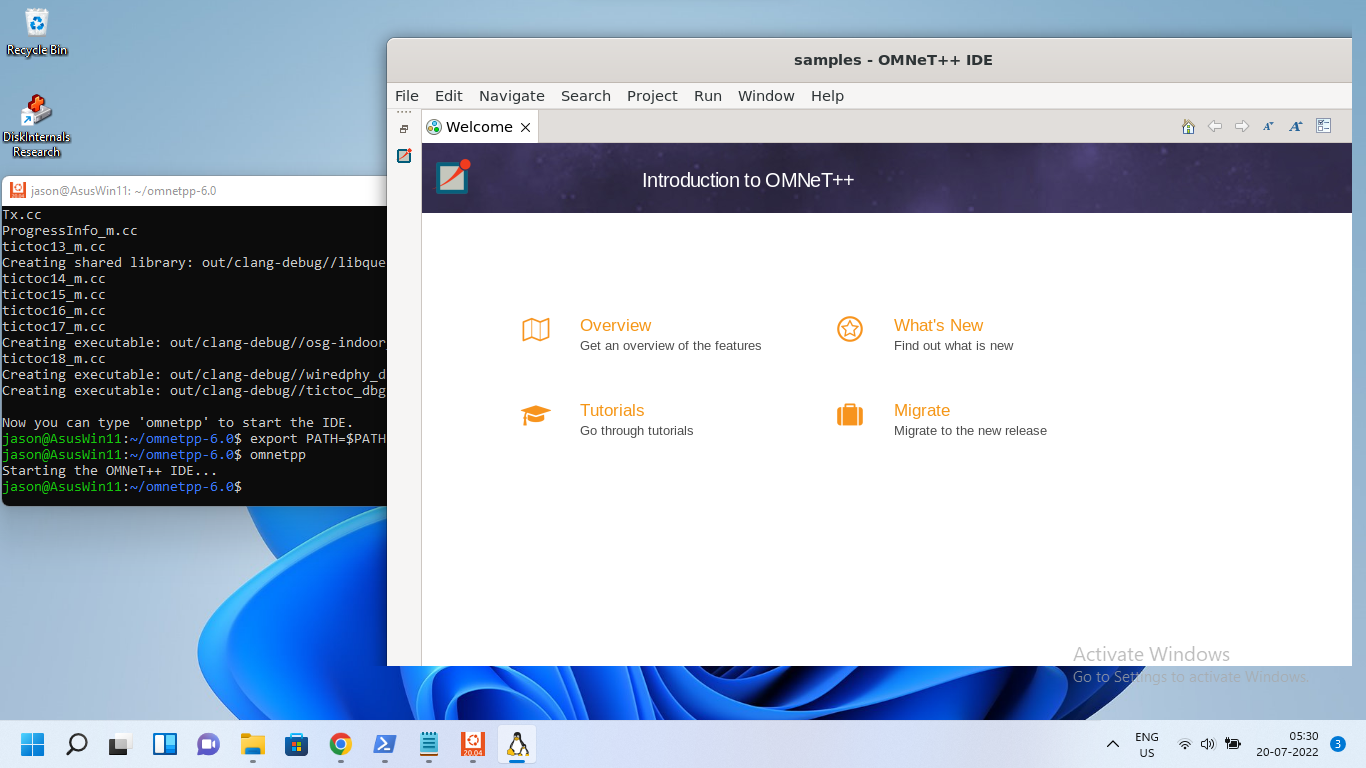
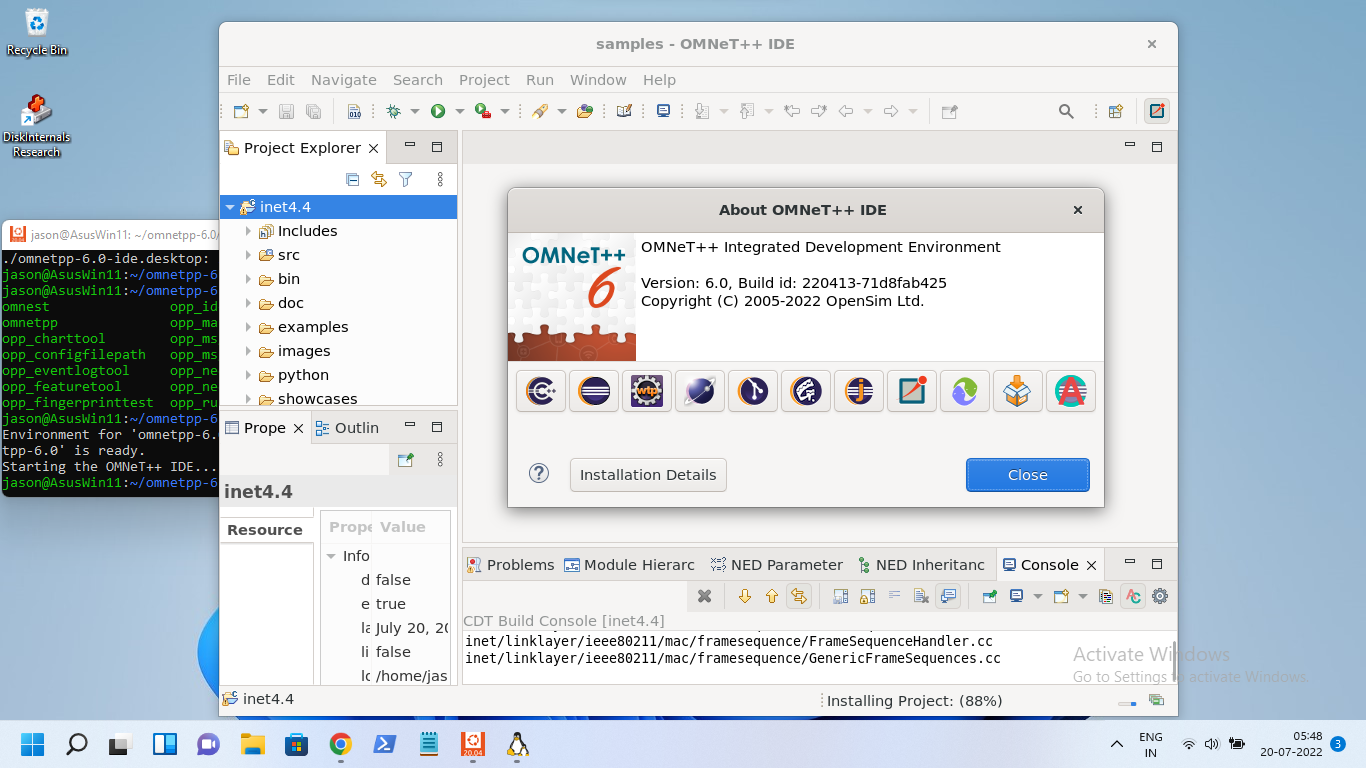
Step 8: Running OmNet++
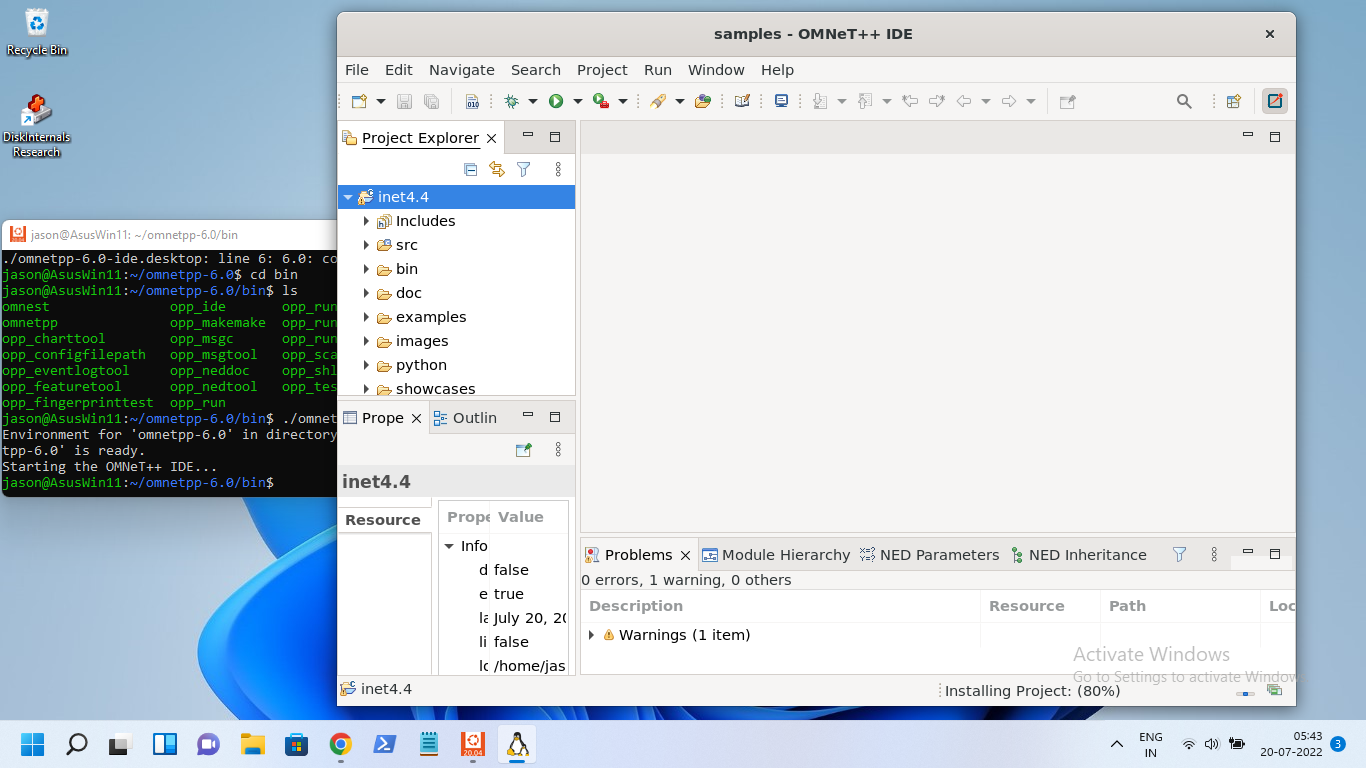
Installation of INET4.4
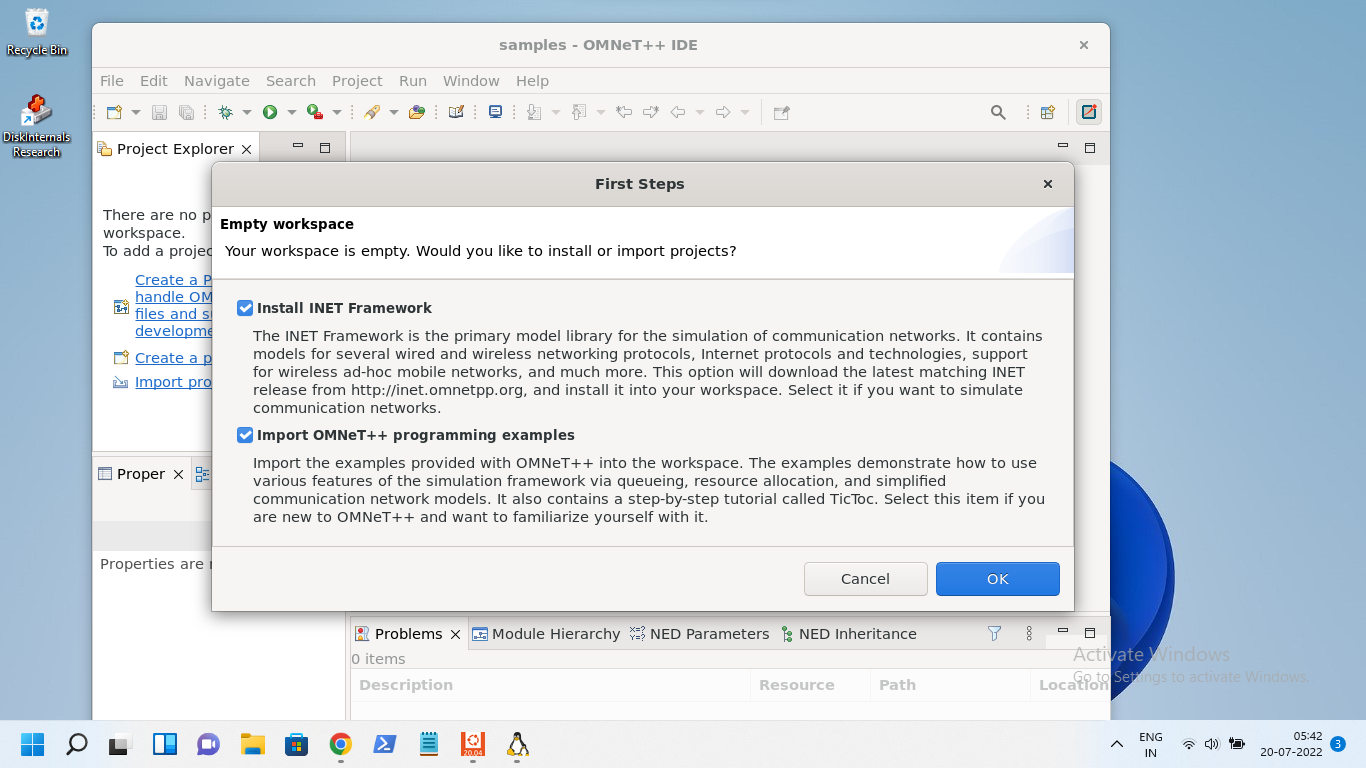
At the end of the installation, now it is ready to do projects with OMNet++ 6.0 with INET4.4
Conclusion
With the latest Windows 11 and its WSL2 support, we can run any GUI-based Linux applications under windows. The future version of WSL may even have excellent support for applications that may use 3D graphics subsystem.
Now we can install any text-based as well as GUI-based Linux application under this Ubuntu which is running under WSL2. So, now it is possible to install OMNet++ with its IDE and may run 2D and 3D simulations under Windows 11 .
We may see the installation procedure of different simulation tools under WSL2 in different articles. Meantime one may try the following installation procedures under WSL2.
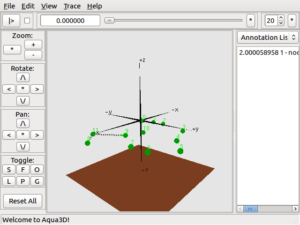
Installing NetSimulyzer 3D Visualization Tool Under Linux Virtual Guest Operating System Environment
https://www.projectguideline.com/installing-aquasim-aqua3d-on-an-old-linux-under-virtualbox/
Installing Aquasim & Aqua3D on an old Linux under VirtualBox
References
-
- https://docs.microsoft.com/en-us/windows/wsl/about
- https://ubuntu.com/tutorials/install-ubuntu-on-wsl2-on-windows-11-with-gui-support#1-overview
- https://www.nsnam.org/wiki/Installation
- https://www.projectguideline.com/installing-omnet-in-debian-9-chroot-jail-under-debian-11-host-os/
- https://doc.omnetpp.org/omnetpp/InstallGuide.pdf
 Take Me to Afarion ns-3 iPlayground