Introduction.
Always I love to build and run ns-3 simulations only on Intel-based Linux machines for ‘historical reasons’ of Intel’s multi-core performance; particularly in terms of compilation speed. So, most of my past articles related to ns-3 will only talk about Linux-based ns-3 installations.
For a long time, I have been noticing that people face some problems [5] while trying to install ns-3 on Mac; particularly on the new Apple Mac M1/M2 based ARM Machines. So, I borrowed an Apple Mac M2 laptop from my friend’s son (Thank you, Arun) and tried to install ns-3 on it and try to realize its potential.
Installing ns-3 on a new Apple Mac M1/M2 is challenging because ns-3 does not provide complete support for ARM architectures like M1/M2. People often find it difficult to install ns-3 on a Mac in general [5]. But, the latest official ns-3 documentation provides general guideline for installing ns-3 on Mac ARM architecture. However, additionally, there are some workarounds and community attempts to make it work, though they may not be straightforward or entirely stable.
General Guidelines
Here’s what generally you can try on Mac:
1. Community Projects:
-
Docker with Rosetta 2: Some users have reported success setting up ns-3 in Docker containers running x86_64 architecture with Rosetta 2 translation for ARM. This approach can be complex and resource-intensive, but it might be worth exploring if other options fail.
-
M1 ns-3 Fork: A community fork of ns-3 aiming for M1 compatibility exists, but it’s still under development and might not be feature-complete or bug-free. Consider this as a risky option only if you’re comfortable with troubleshooting and potentially contributing to the project.
2. Alternatives:
- Network simulators compatible with M1: While not directly replacing ns-3, explore alternatives like Mininet or OMNeT++ which may have official ARM support or community builds for M1. Remember, their functionalities and features might differ from ns-3.
3. Troubleshooting Tips:
-
Error messages: If you encounter errors during installation or building, share the specific messages you see. This can help identify the exact issue and potentially find specific solutions from online forums or the ns-3 community.
-
Check requirements: Ensure you have the necessary prerequisites like Xcode command-line tools, CMake, and Python 3 properly installed and configured.
-
Consult resources: Refer to the official ns-3 documentation and online forums for troubleshooting tips and advice from other users facing similar challenges.
Remember, installing ns-3 on M1 or M2 is currently not easy and might involve technical limitations and workarounds. If you’re not comfortable with troubleshooting or exploring alternatives, consider waiting for official M1/M2 support in future ns-3 releases.
Importance points to consider while installing ns-3 on macOS:
Essential Tools:
- Xcode Command Line Tools: These provide the critical foundation, including the clang/llvm compiler, required for ns-3 installation. You can install them directly without needing the full Xcode IDE.
Key Compiler:
- Clang/llvm: This specific compiler is used for compiling ns-3 on macOS, ensuring compatibility with Apple’s development environment.
Additional Considerations:
- Third-Party Packages: If you need optional ns-3 extensions, consider using a package manager like Homebrew or MacPorts to simplify their installation.
- macOS Compatibility: Always check for any specific compatibility requirements related to your particular macOS version to avoid potential issues.
Homebrew – What is it?
Think of it as an app store for your command line, but with some key differences:
- Open-source and free: Homebrew focuses on open-source software and is completely free to use.
- Command-line based: Instead of clicking through menus, you install and manage software using concise commands in your terminal.
- More powerful: Homebrew offers greater control and flexibility than the Mac App Store, letting you install specific versions of software and manage dependencies effectively.
Here’s a quick breakdown of what Homebrew can do for you:
- Install essential developer tools: Easily install programming languages, compilers, libraries, and other tools commonly used by developers.
- Simplify software management: Keep your software up-to-date with quick commands, and easily uninstall programs you no longer need.
- Access a vast array of software: Homebrew’s repository contains thousands of packages, ranging from productivity tools and utilities to scientific software and games.
- Automate your workflow: Integrate Homebrew with scripts and automation tools to manage your software installs and updates effortlessly.
Homebrew is a valuable tool for any Mac user, especially developers and power users. It saves you time and effort, gives you more control over your software, and opens up a world of possibilities for customizing your Mac experience.
Procedure for Installing ns-3.40 on Apple Mac M2
Step 1 : Installation of Homebrew
Getting started with Homebrew is easy:
-
- Open the terminal application.
- Run the following command to install Homebrew:
% /bin/bash -c "$(curl -fsSL https://raw.githubusercontent.com/Homebrew/install/HEAD/install.sh)"z
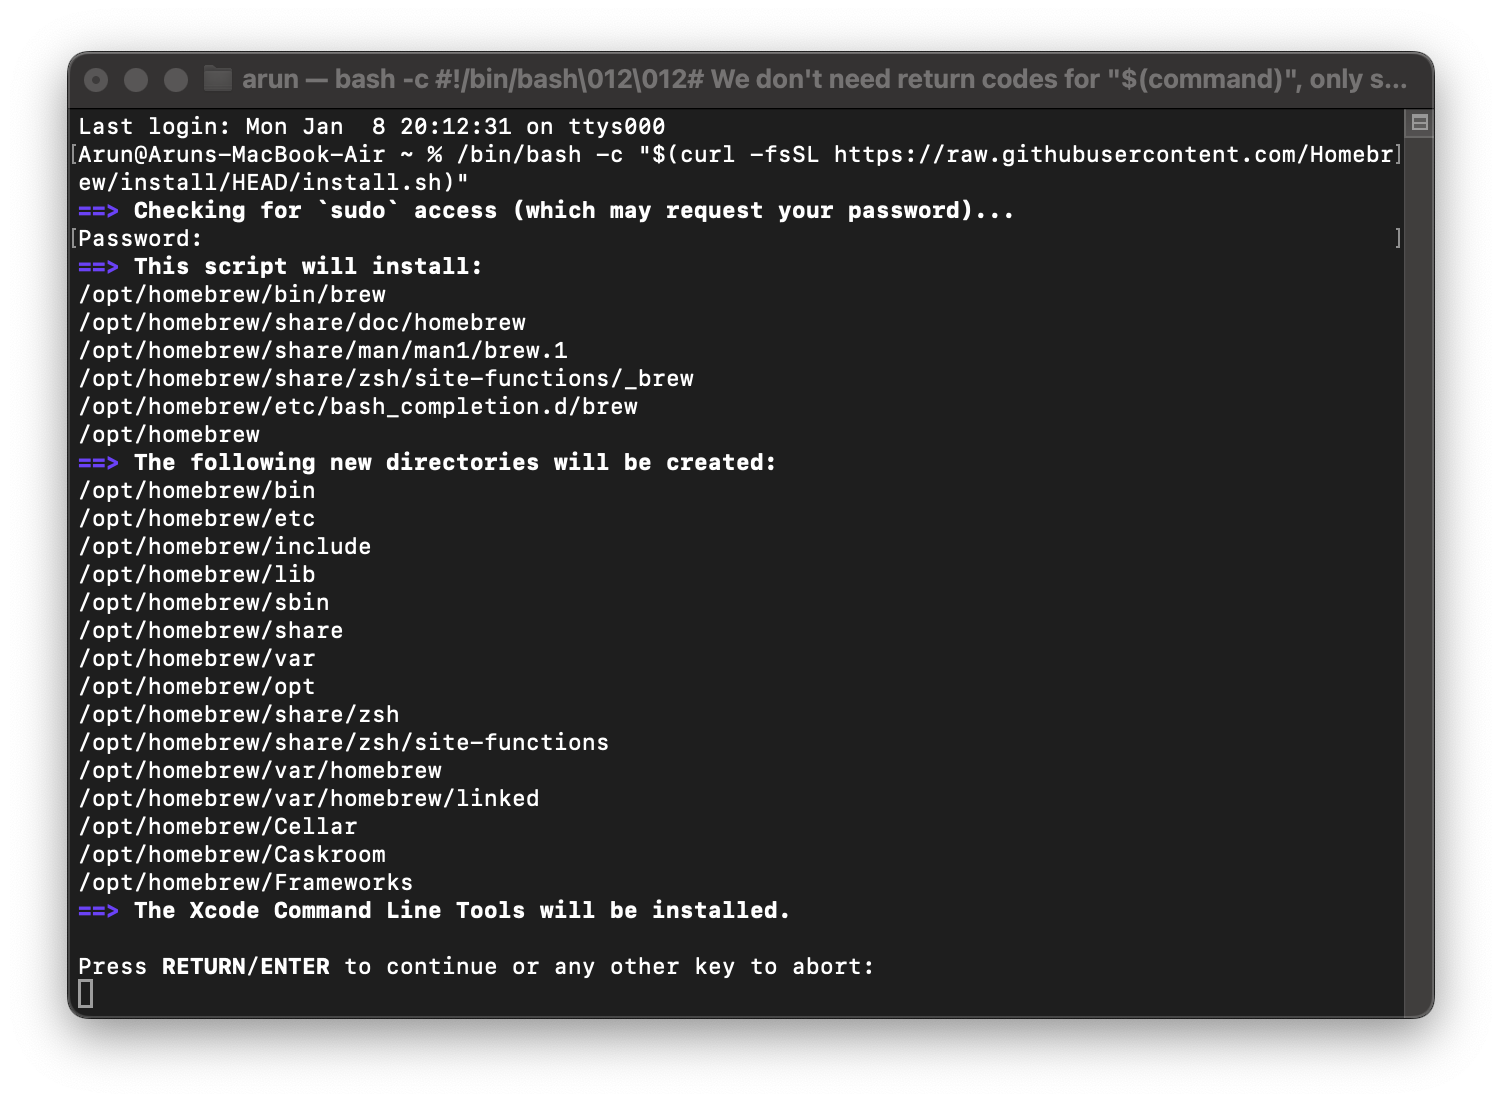
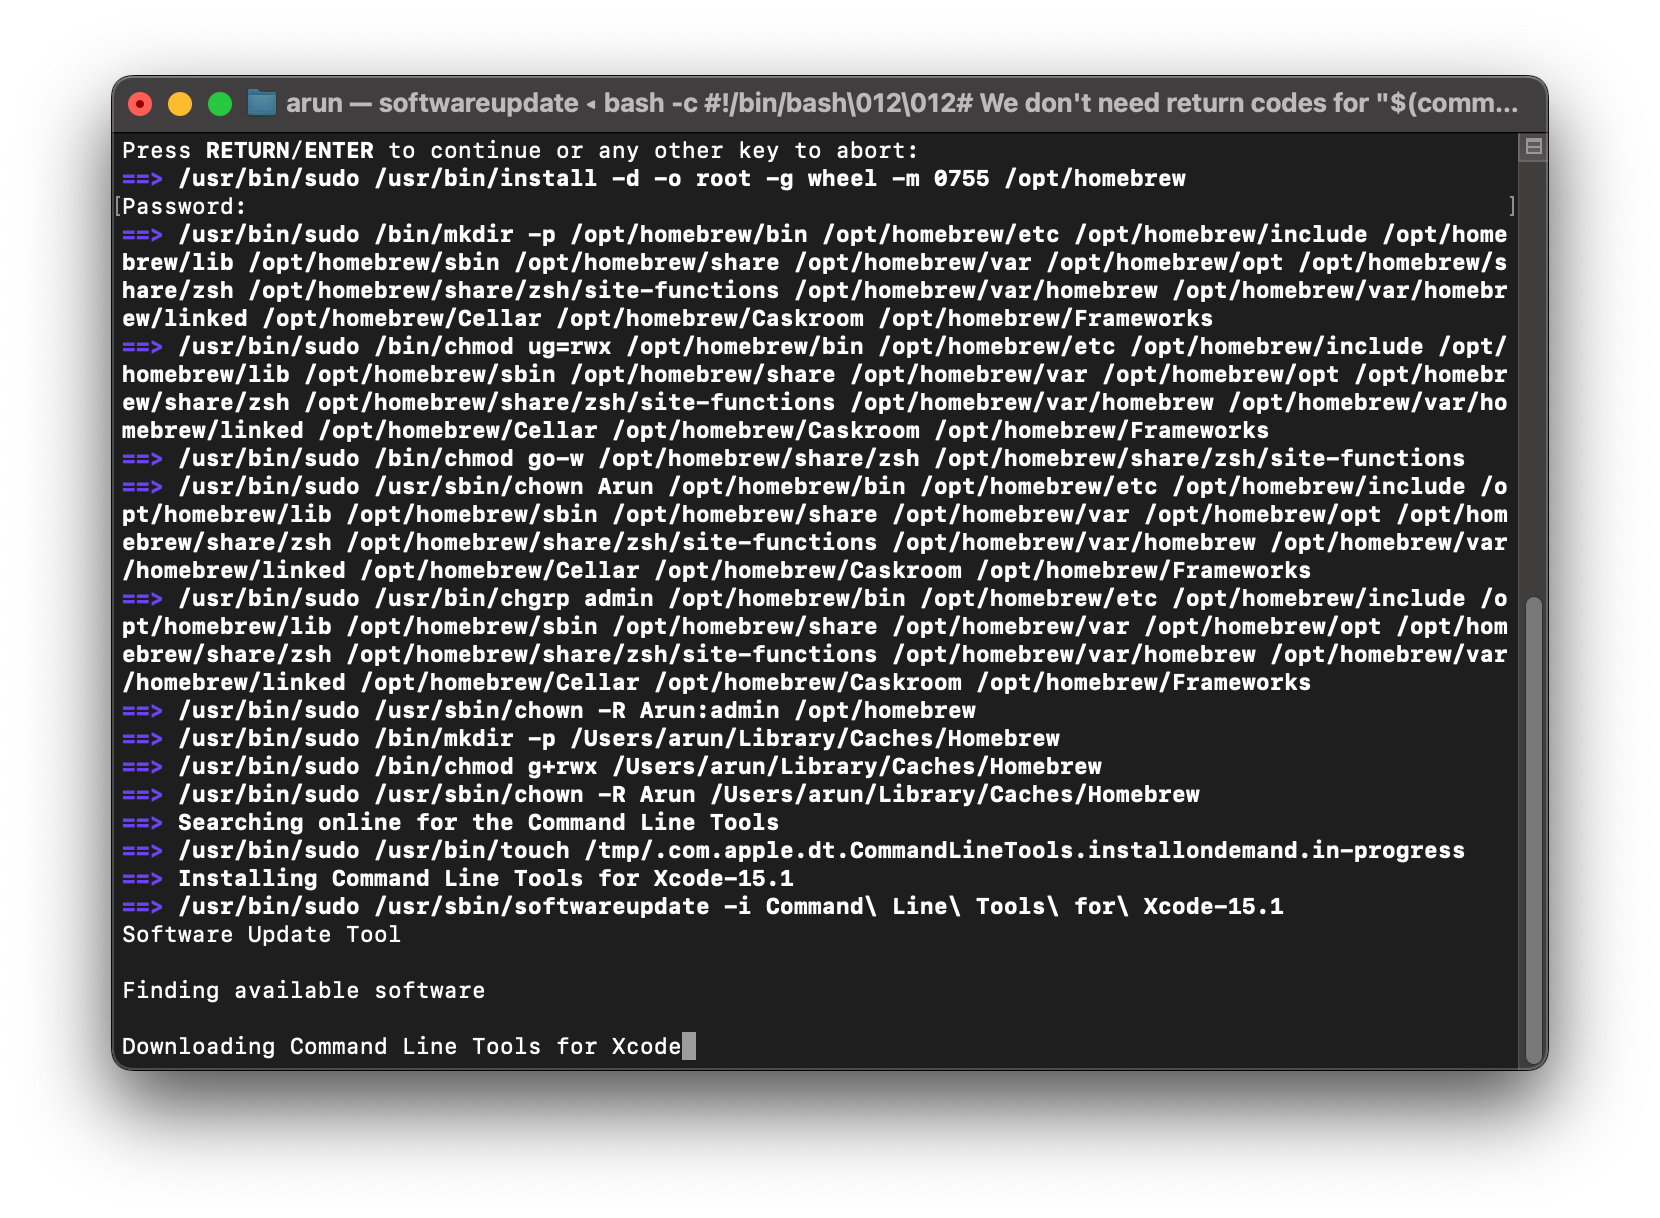
- Follow the on-screen instructions to complete the installation.On continuation, it will ask for the password.
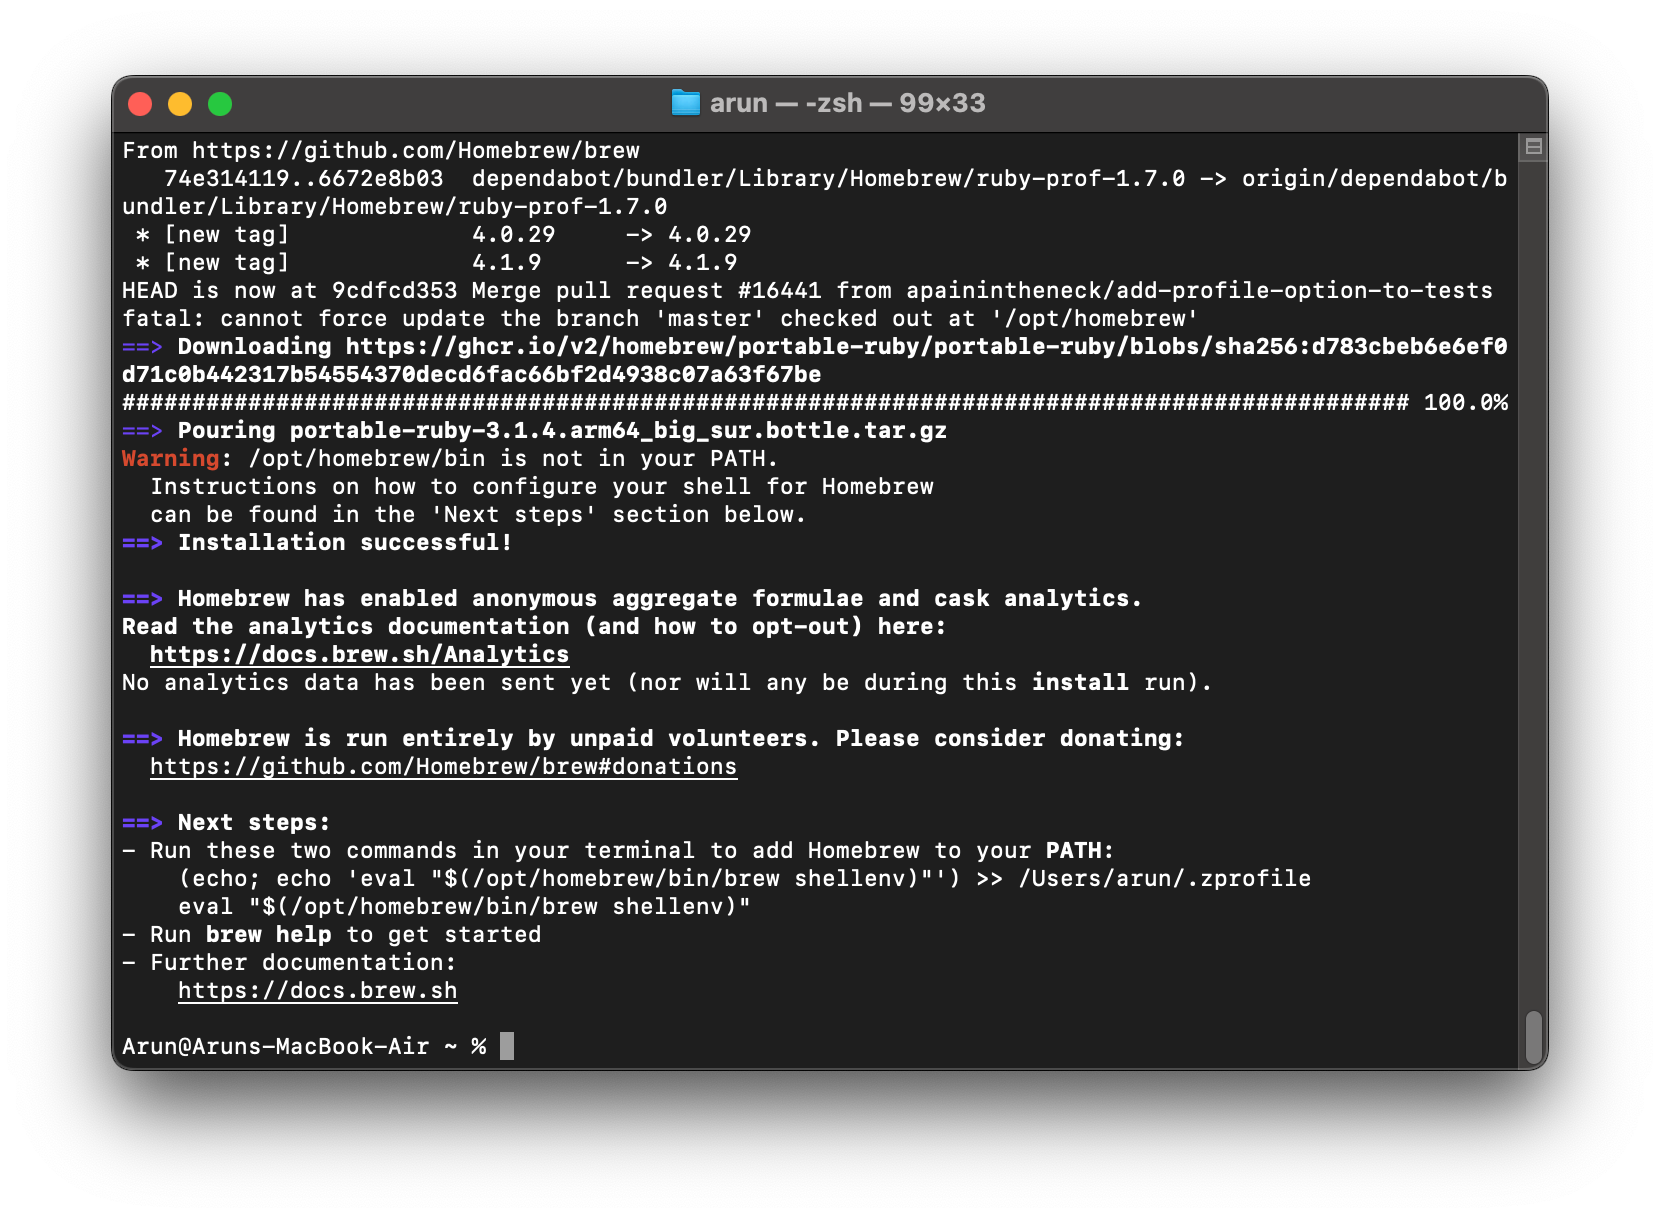
- Setup the user profile
% (echo; echo ‘eval “$(/opt/homebrew/bin/brew shellenv)”‘) >> /Users/arun/.zprofile
% eval “$(/opt/homebrew/bin/brew shellenv)”
- Know about the command line parameter of the command using help
%brew help
- Once Homebrew is installed, you can start browsing and installing packages.
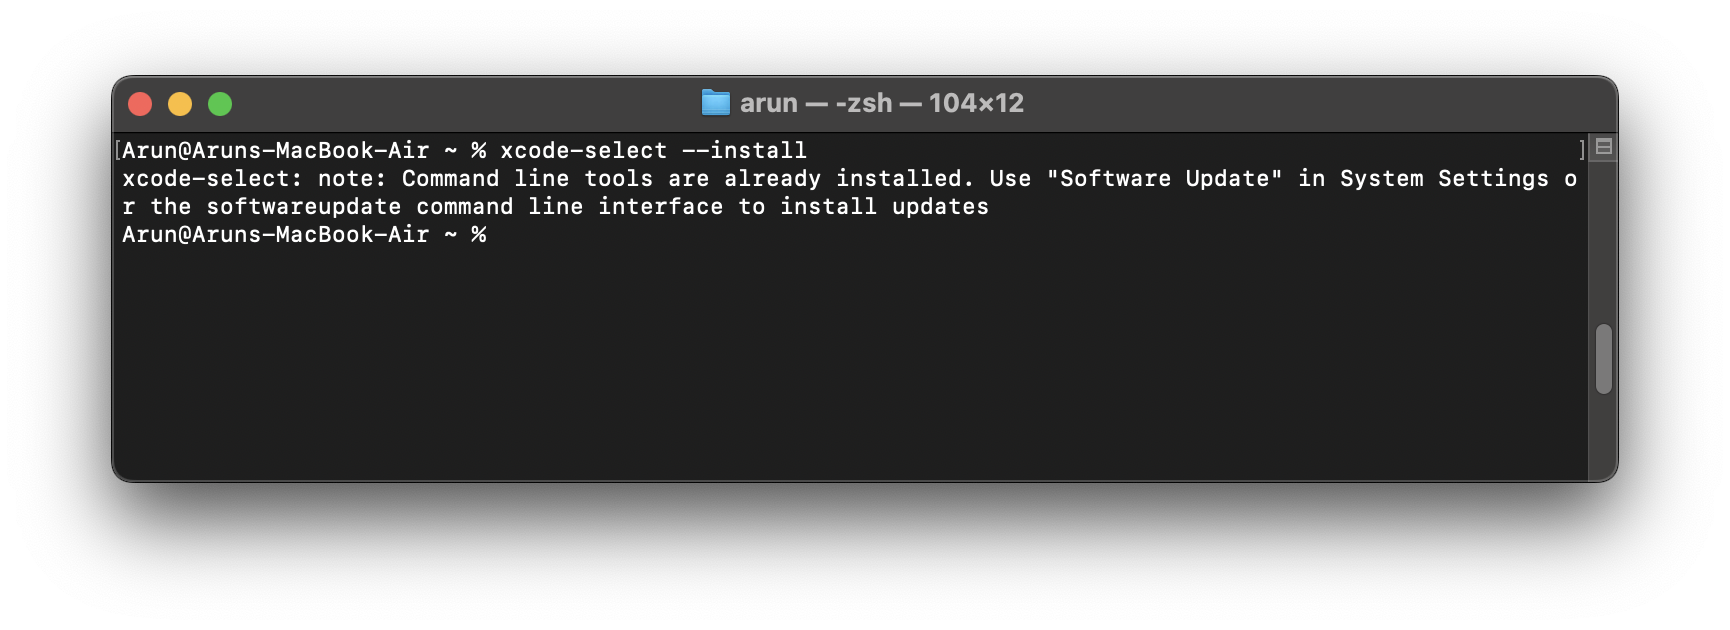
Step 2: Installing Necessary Command-line Tools and Clang
- Check the availability of Xcode Command Line Tools that are installed in the system. If it is missing, we have to install it before proceeding with the installation[3].
Check the clang version. If it is missing, we have to install it before proceeding with the installation.
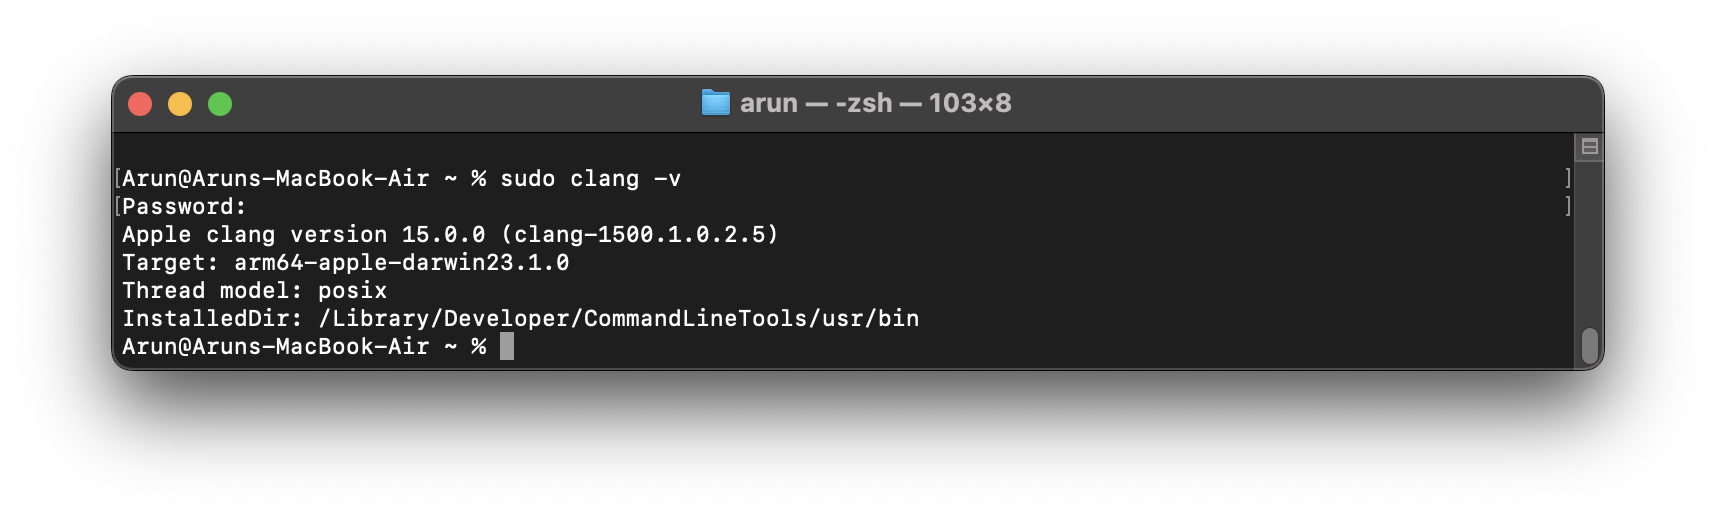 If the above two checks confirm the installation of tools and clang; then we will be able to compile the ns-3 C++ code.
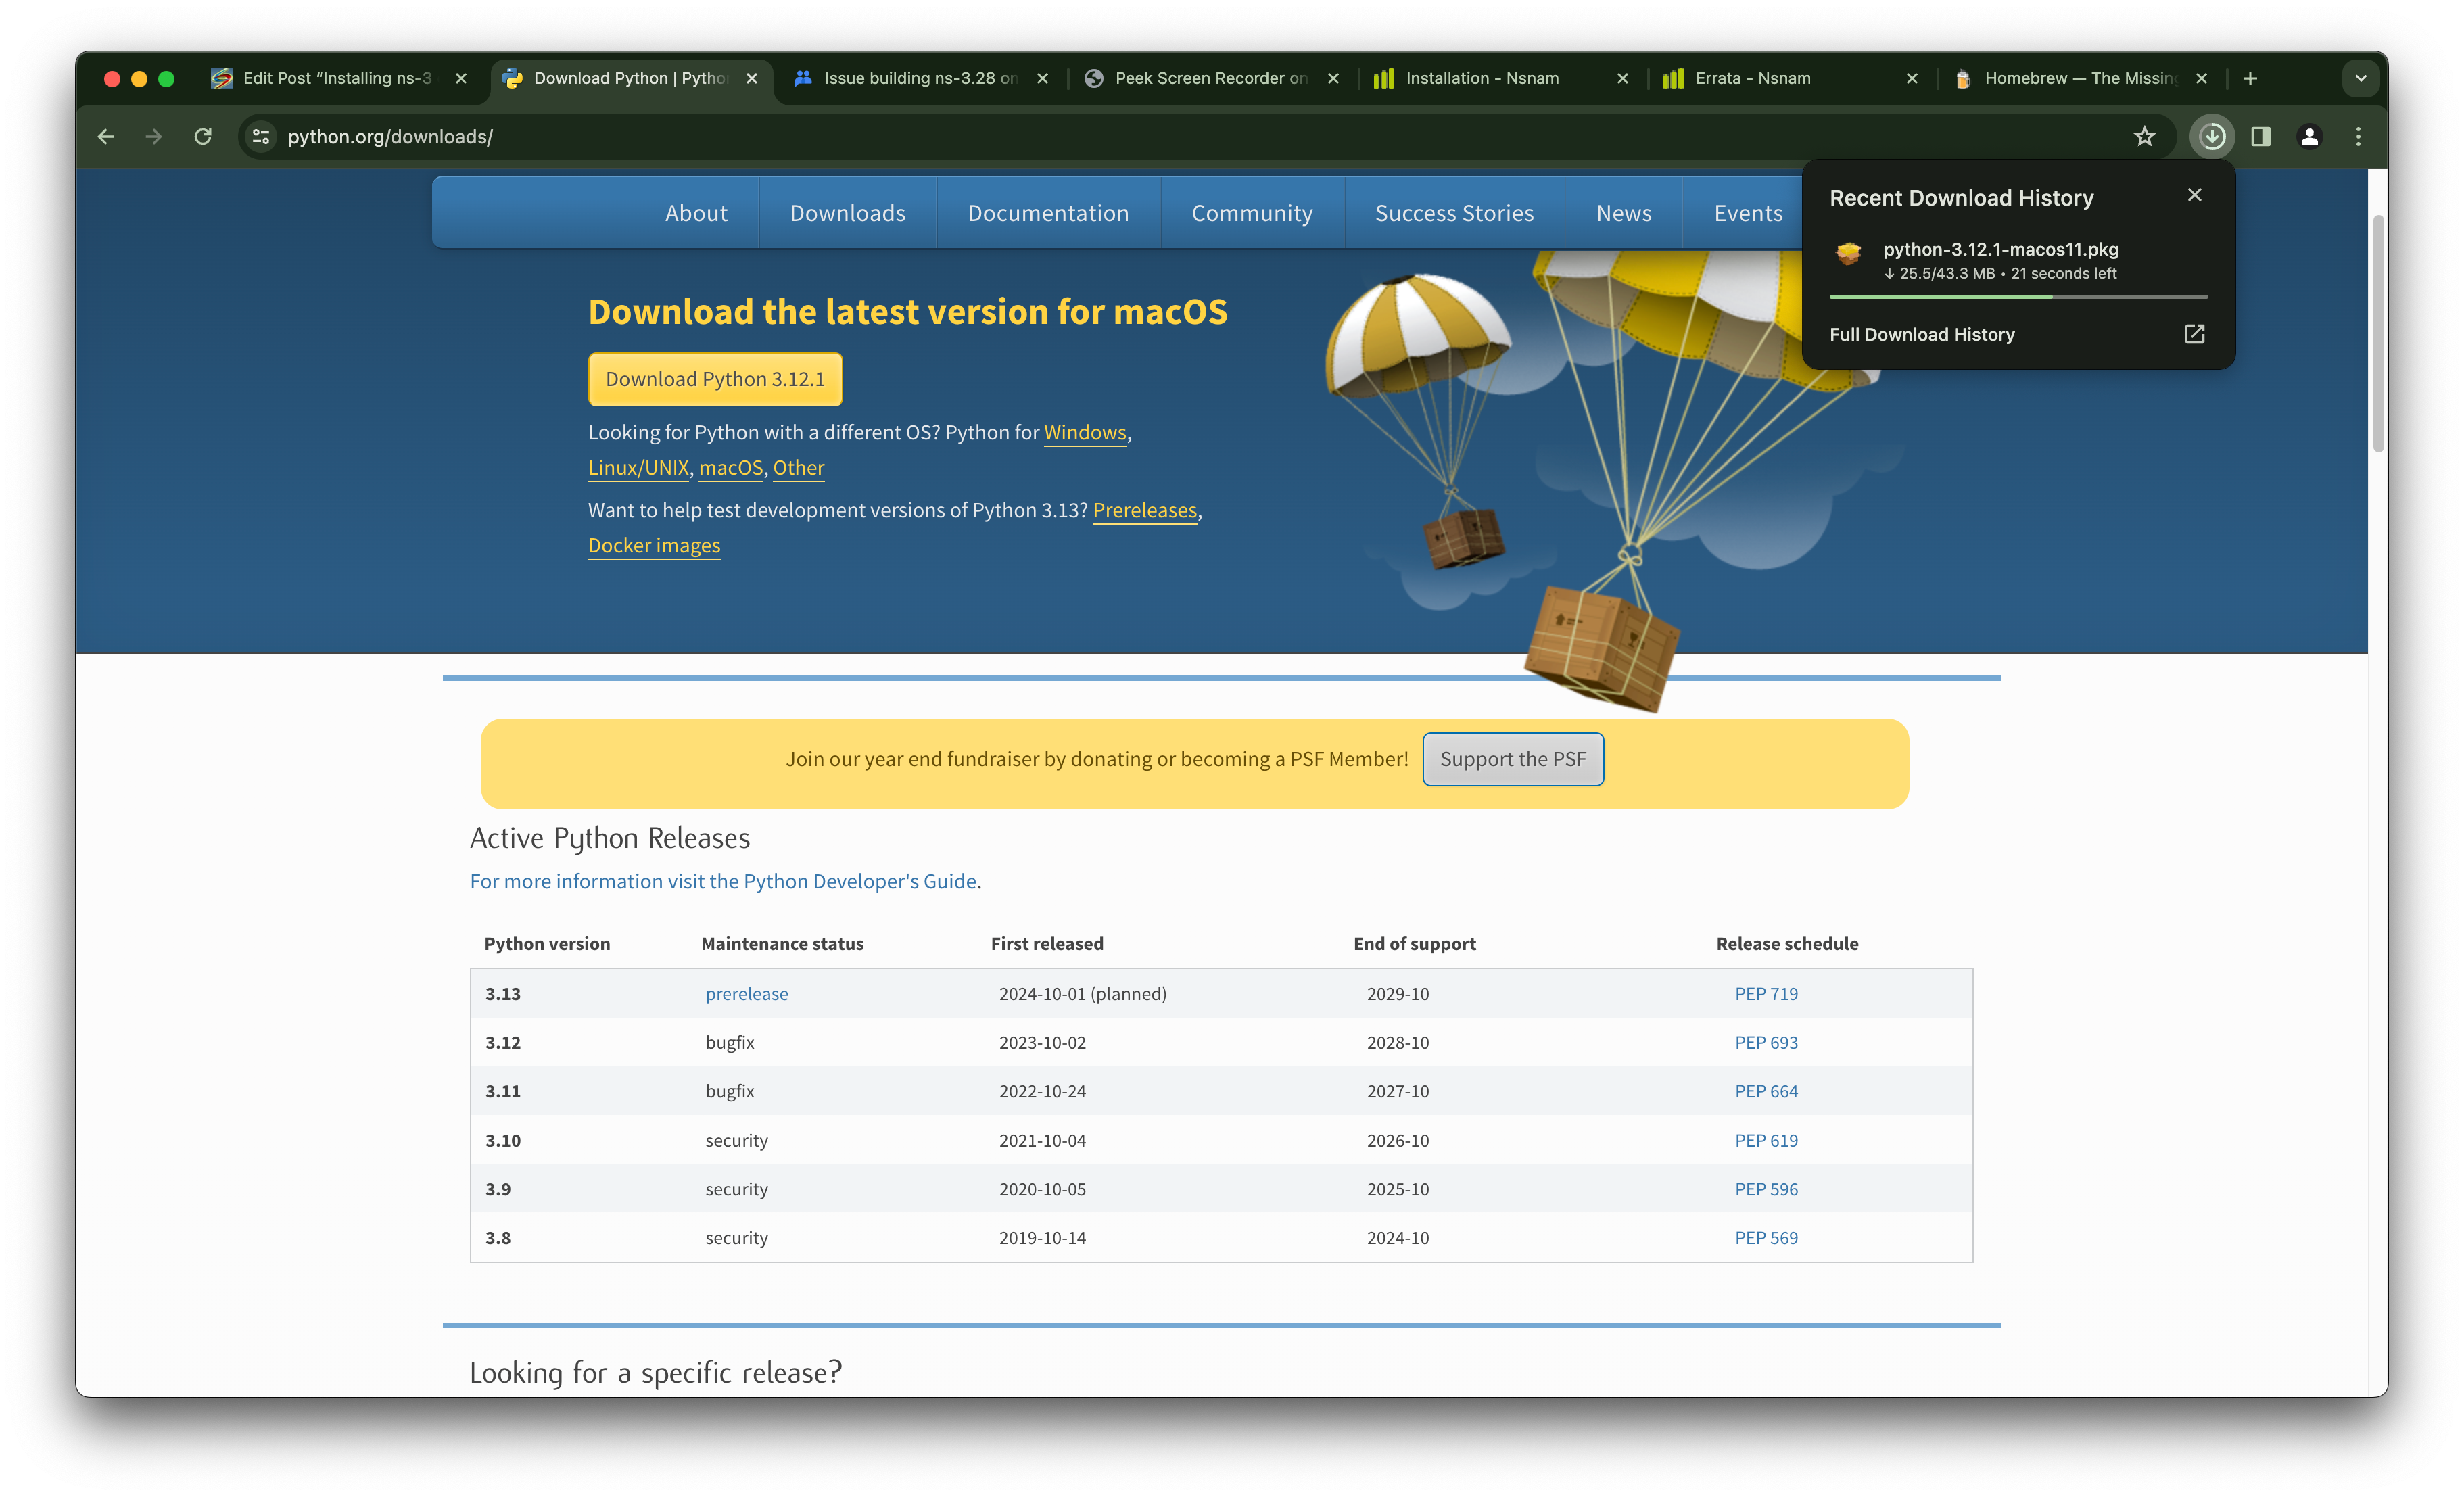
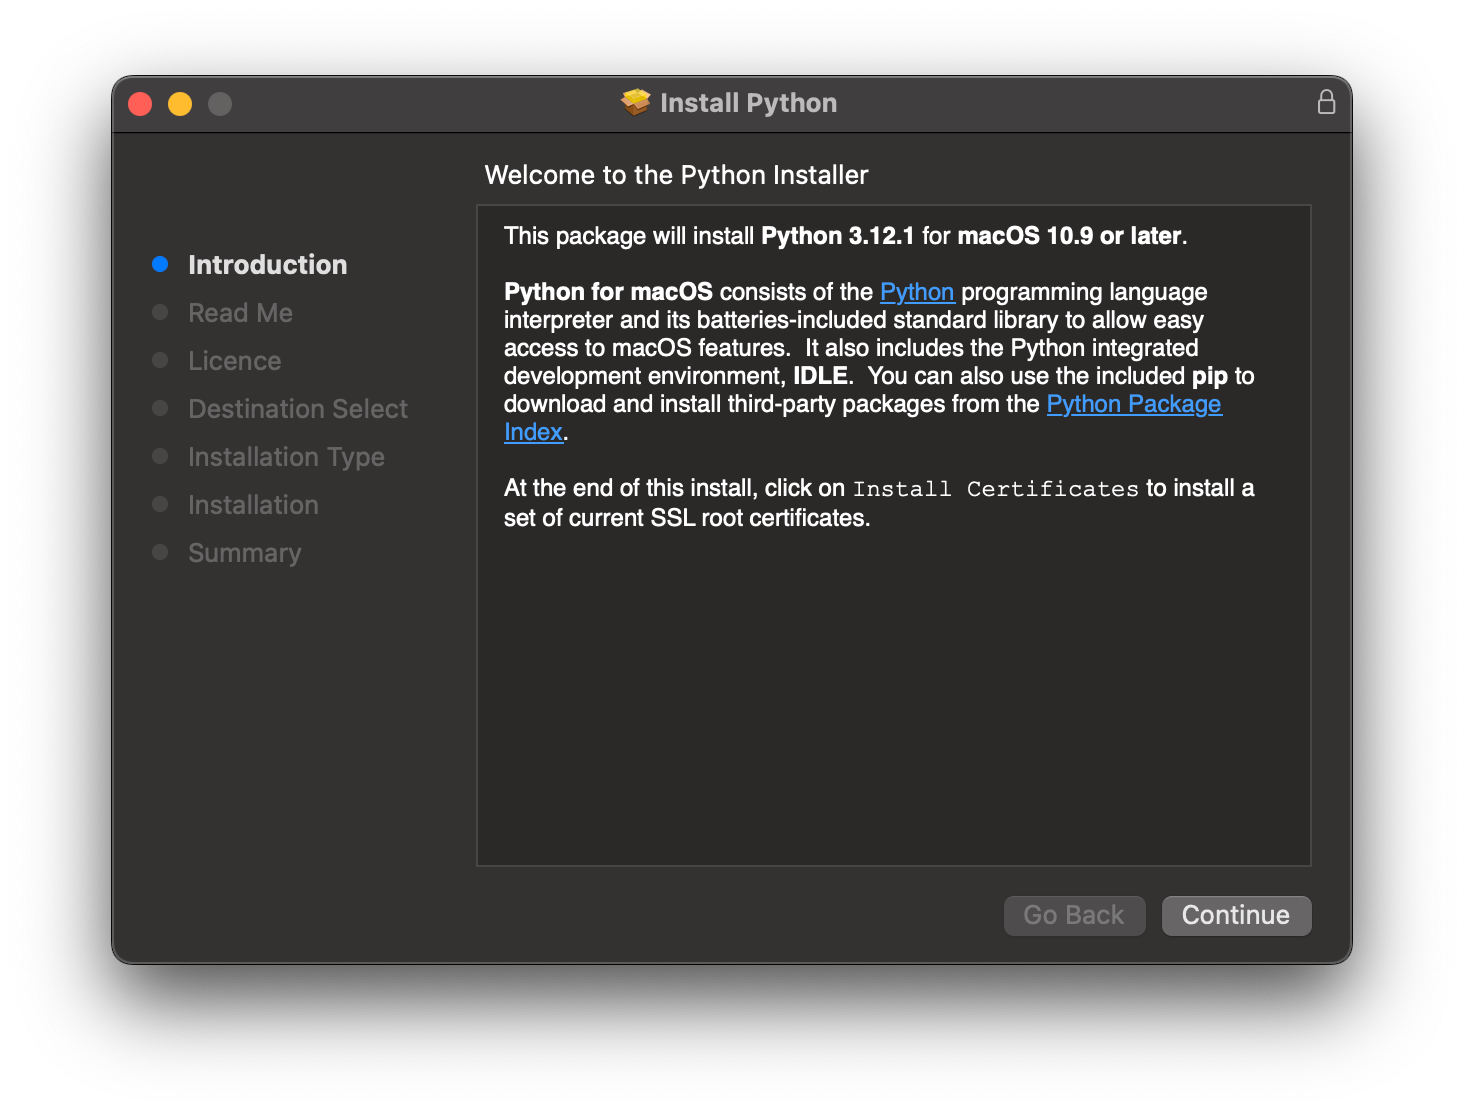
Step 3: Installation of Python 3
The current macOS Catalina release ships with a basic Python 3 interpreter (version 3.7.3) which is enough to run the Waf and cmake based build system but not much else.To use Python bindings or other Python features, a fuller install of Python is recommended. Visit https://www.python.org/downloads/mac-osx/ to download a Python 3 release (recommended), or else, if you prefer, use Homebrew or some other package manager to install a Python development environment.
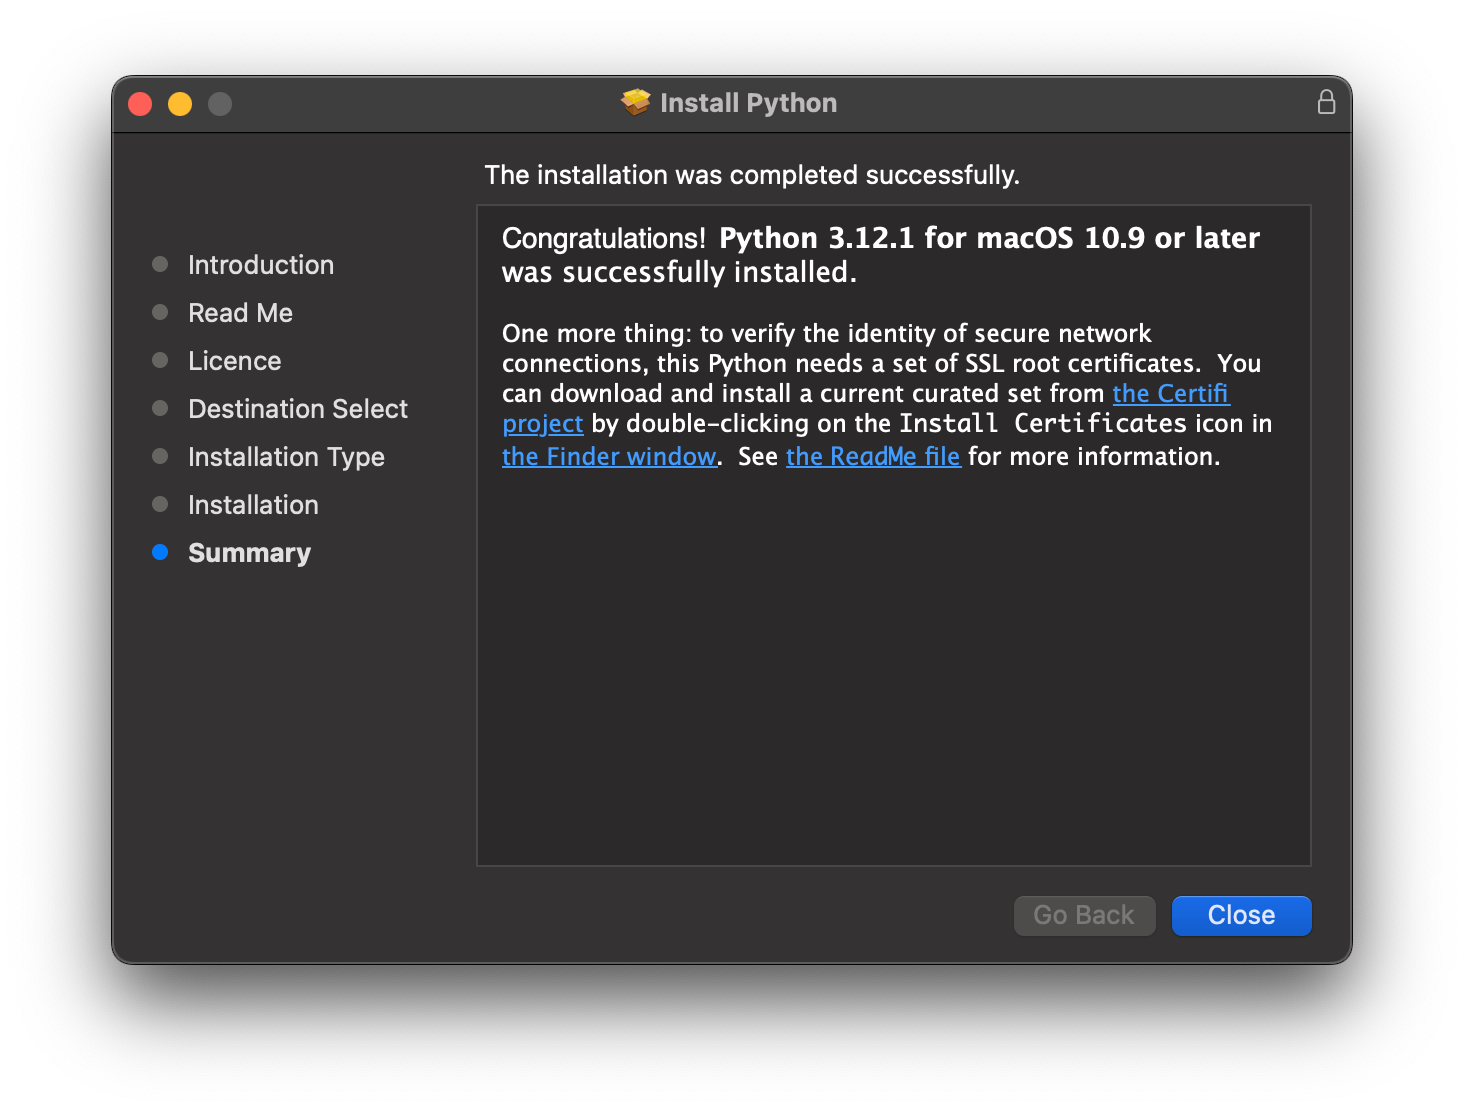
Continue Python installation…
Now the Python installation is Completed.
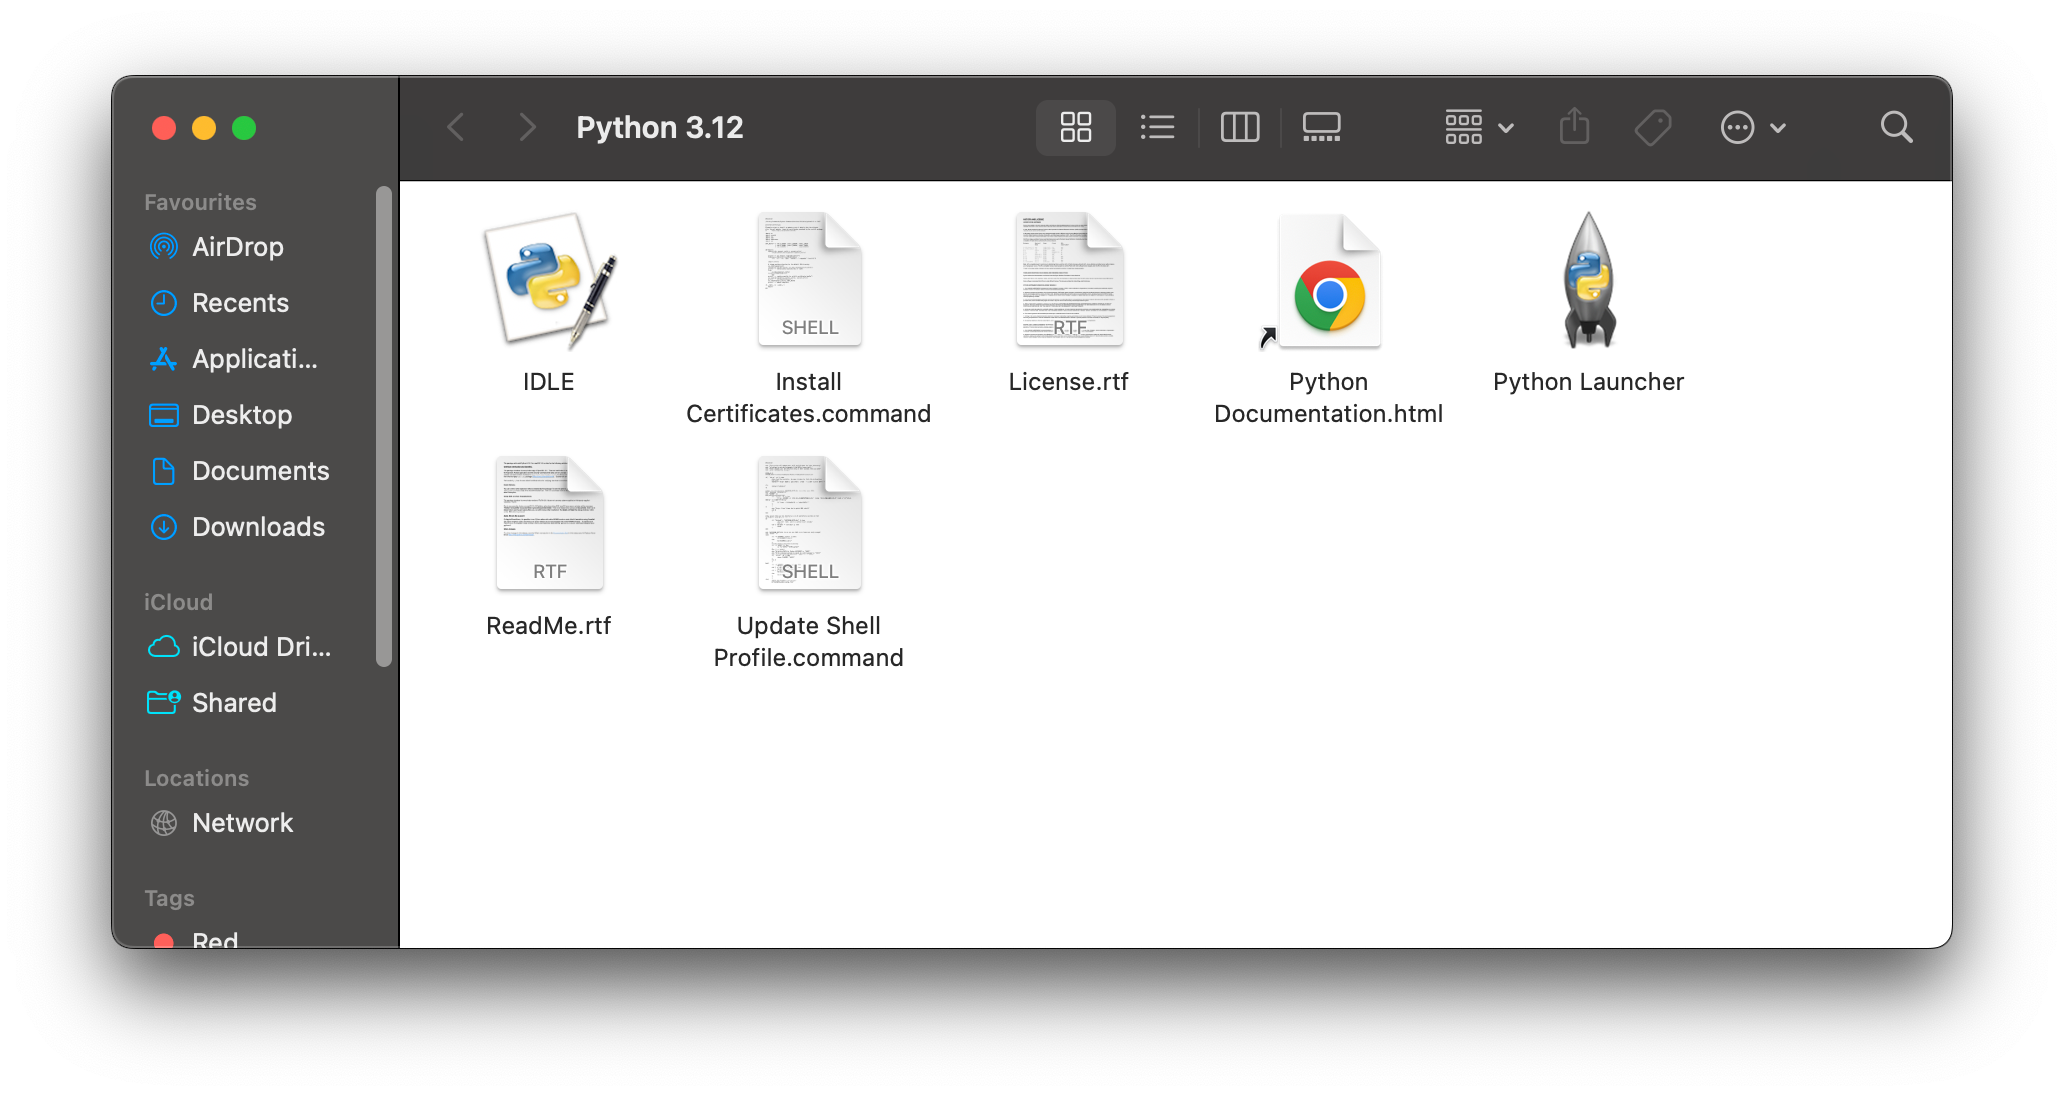
Now we may run Python3 through the launcher if needed.
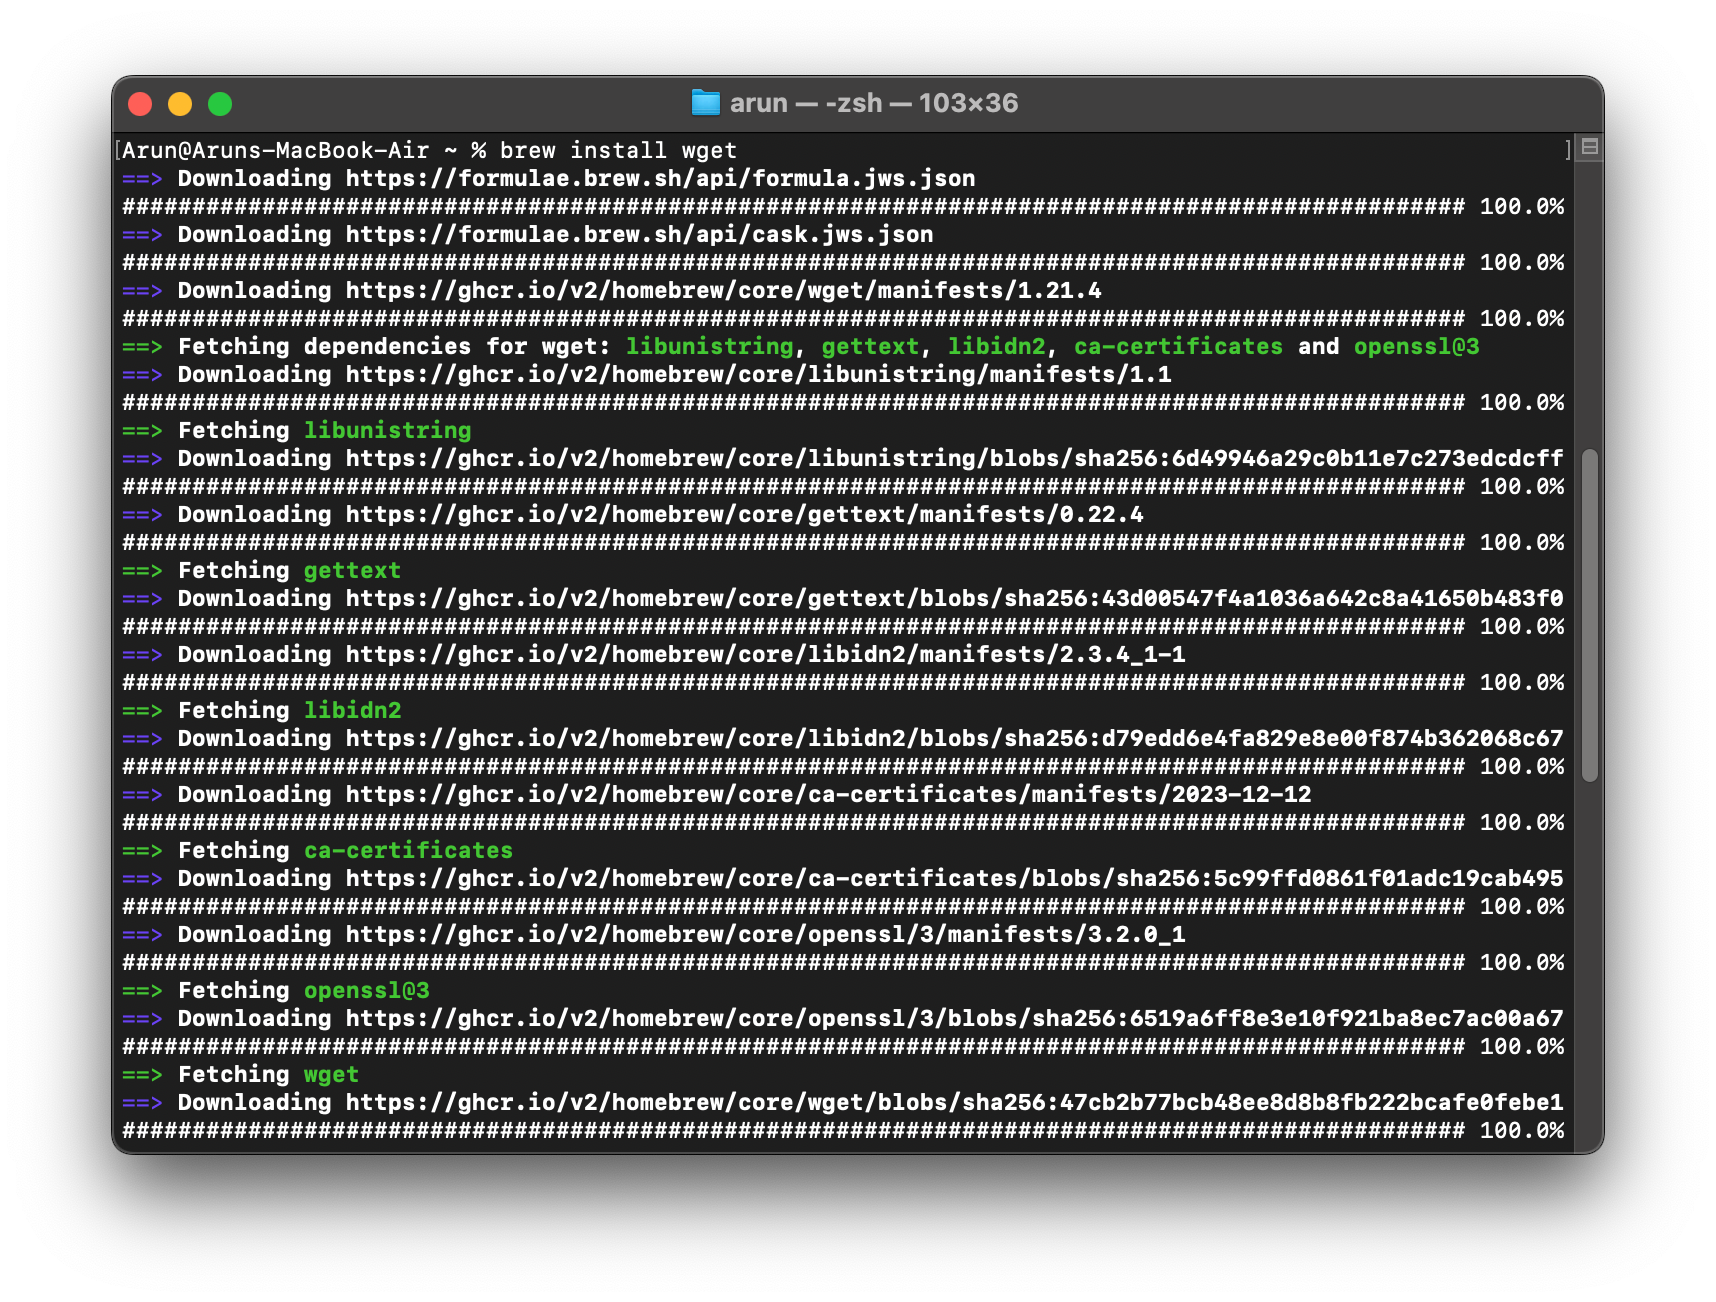
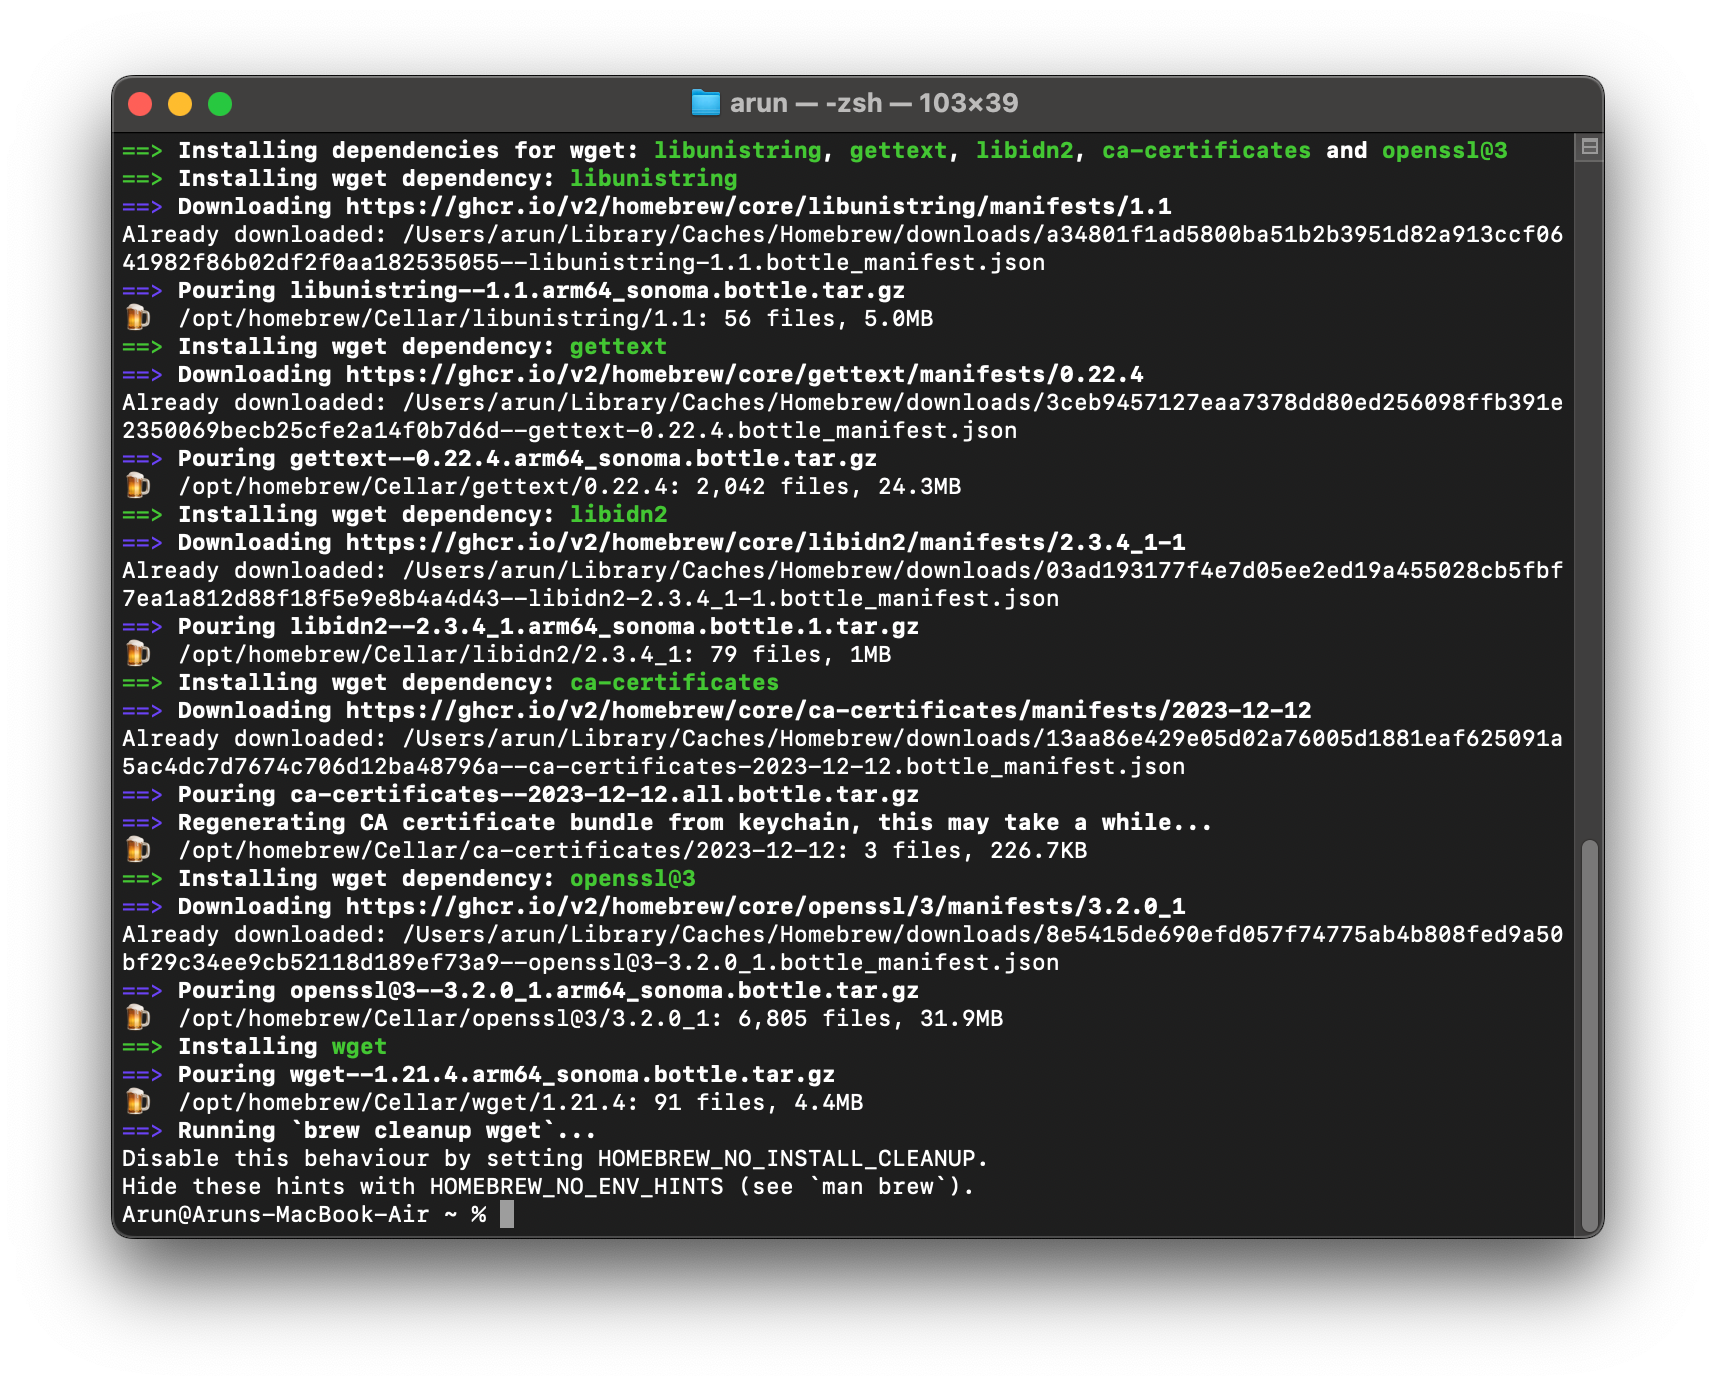
Step 4: Install wget
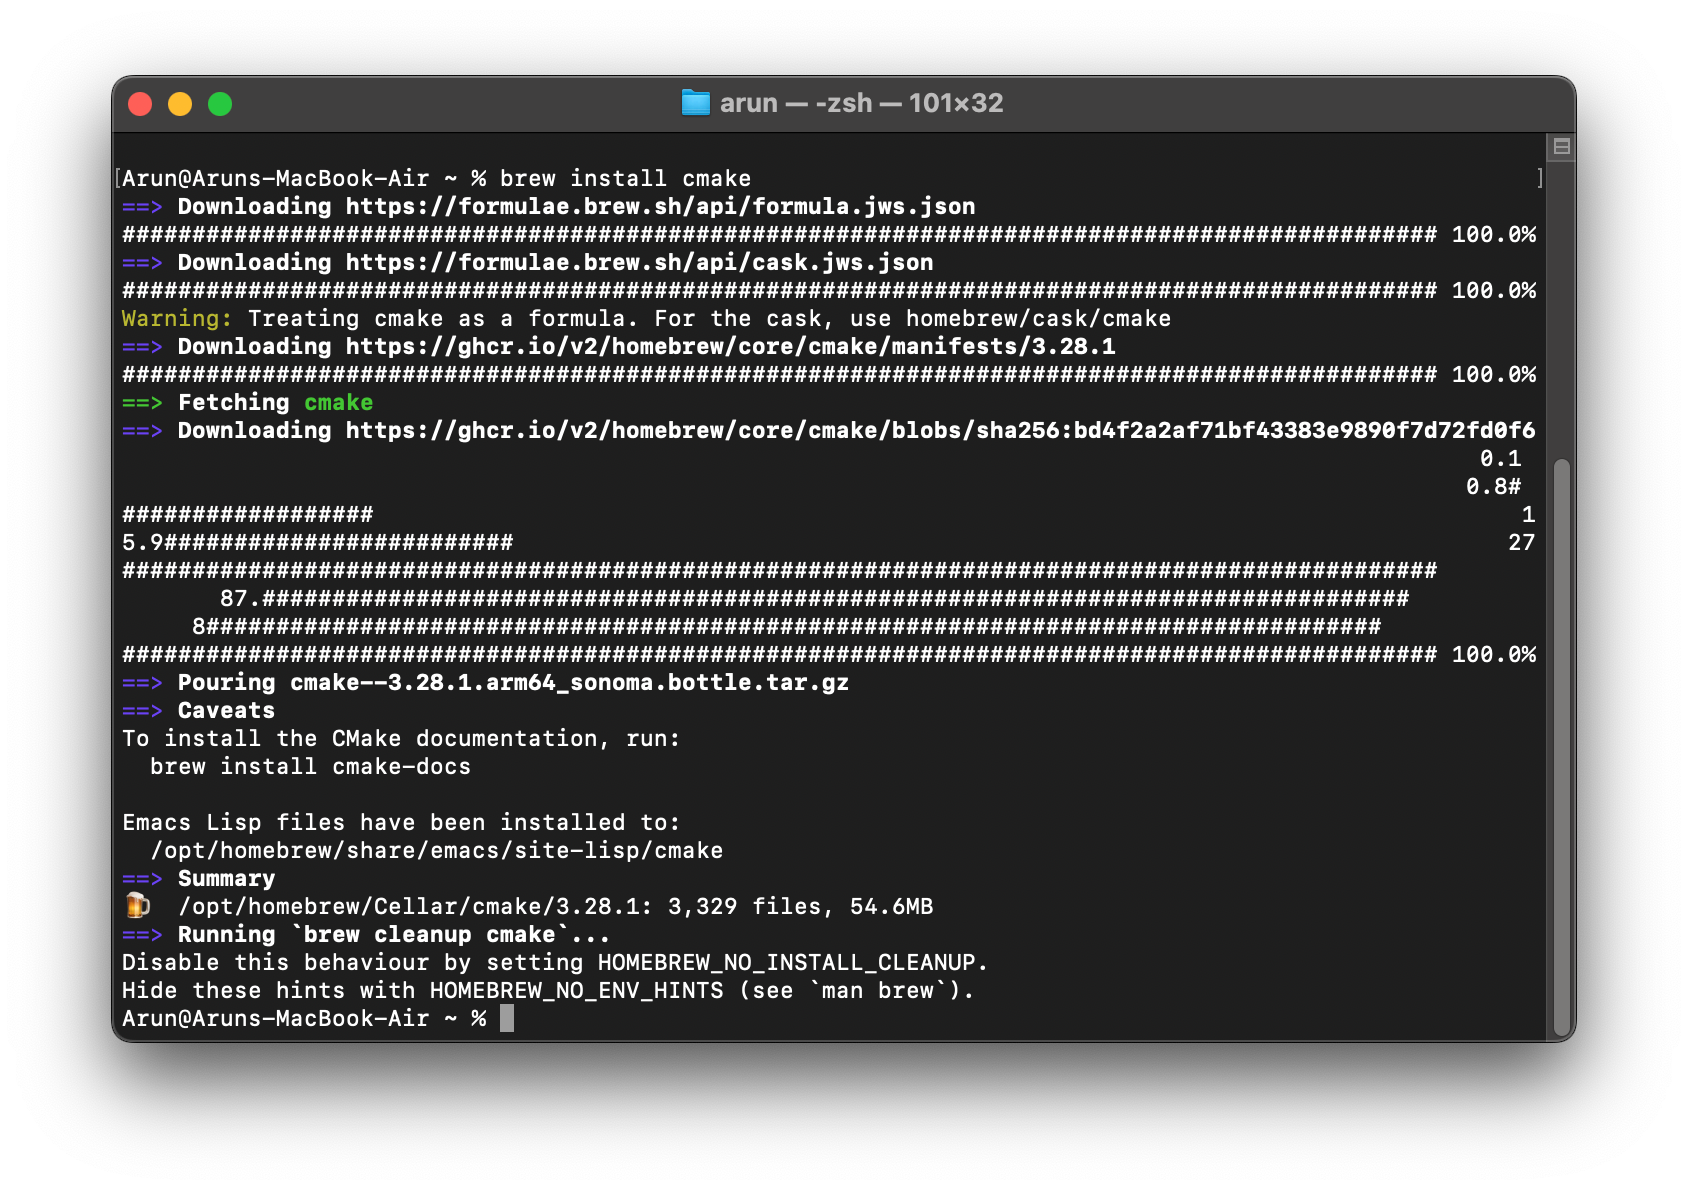
Step 5: Install Cmake
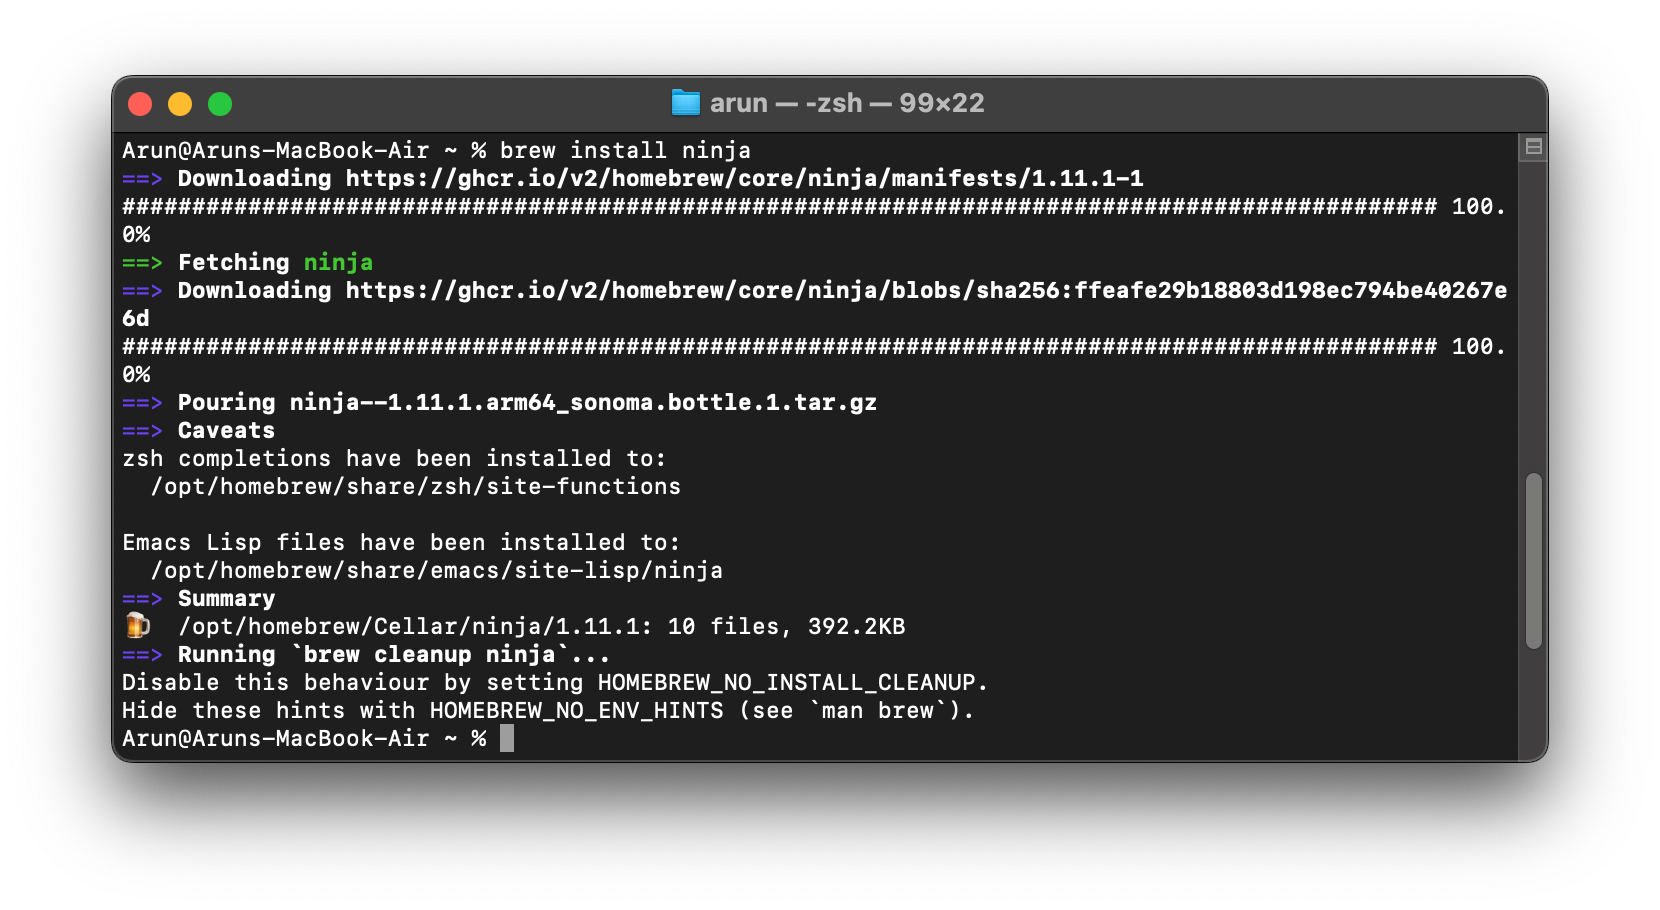
Step 6: Install Ninja
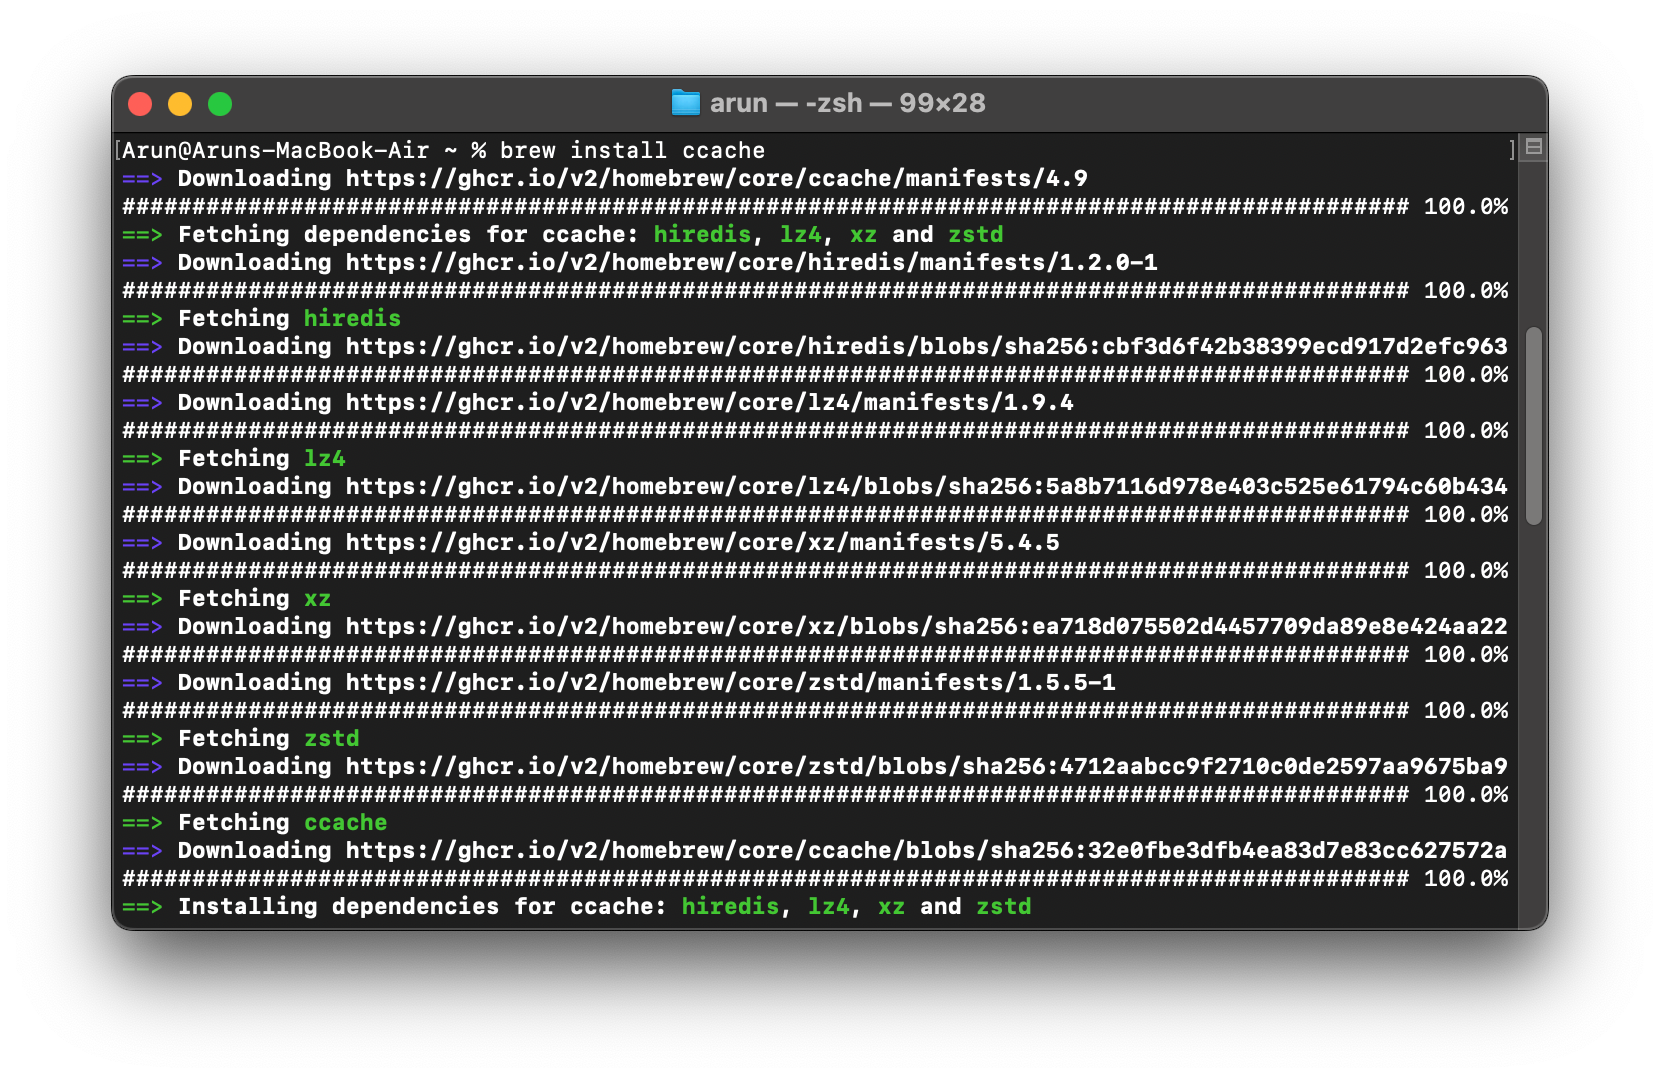
Step 7: Install ccache

Step 8: Download ns-3
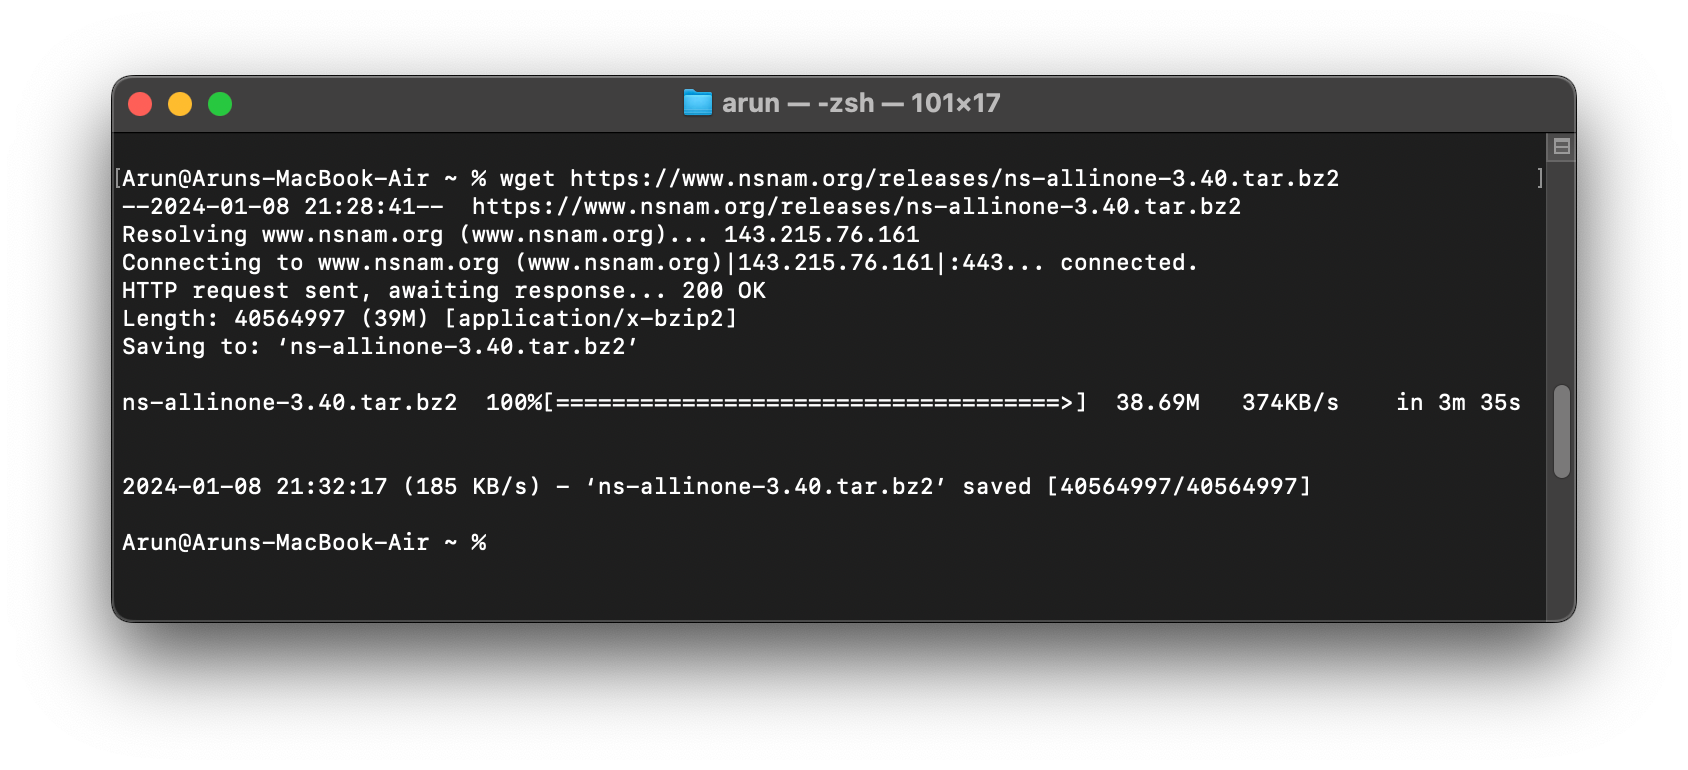 Extract it :
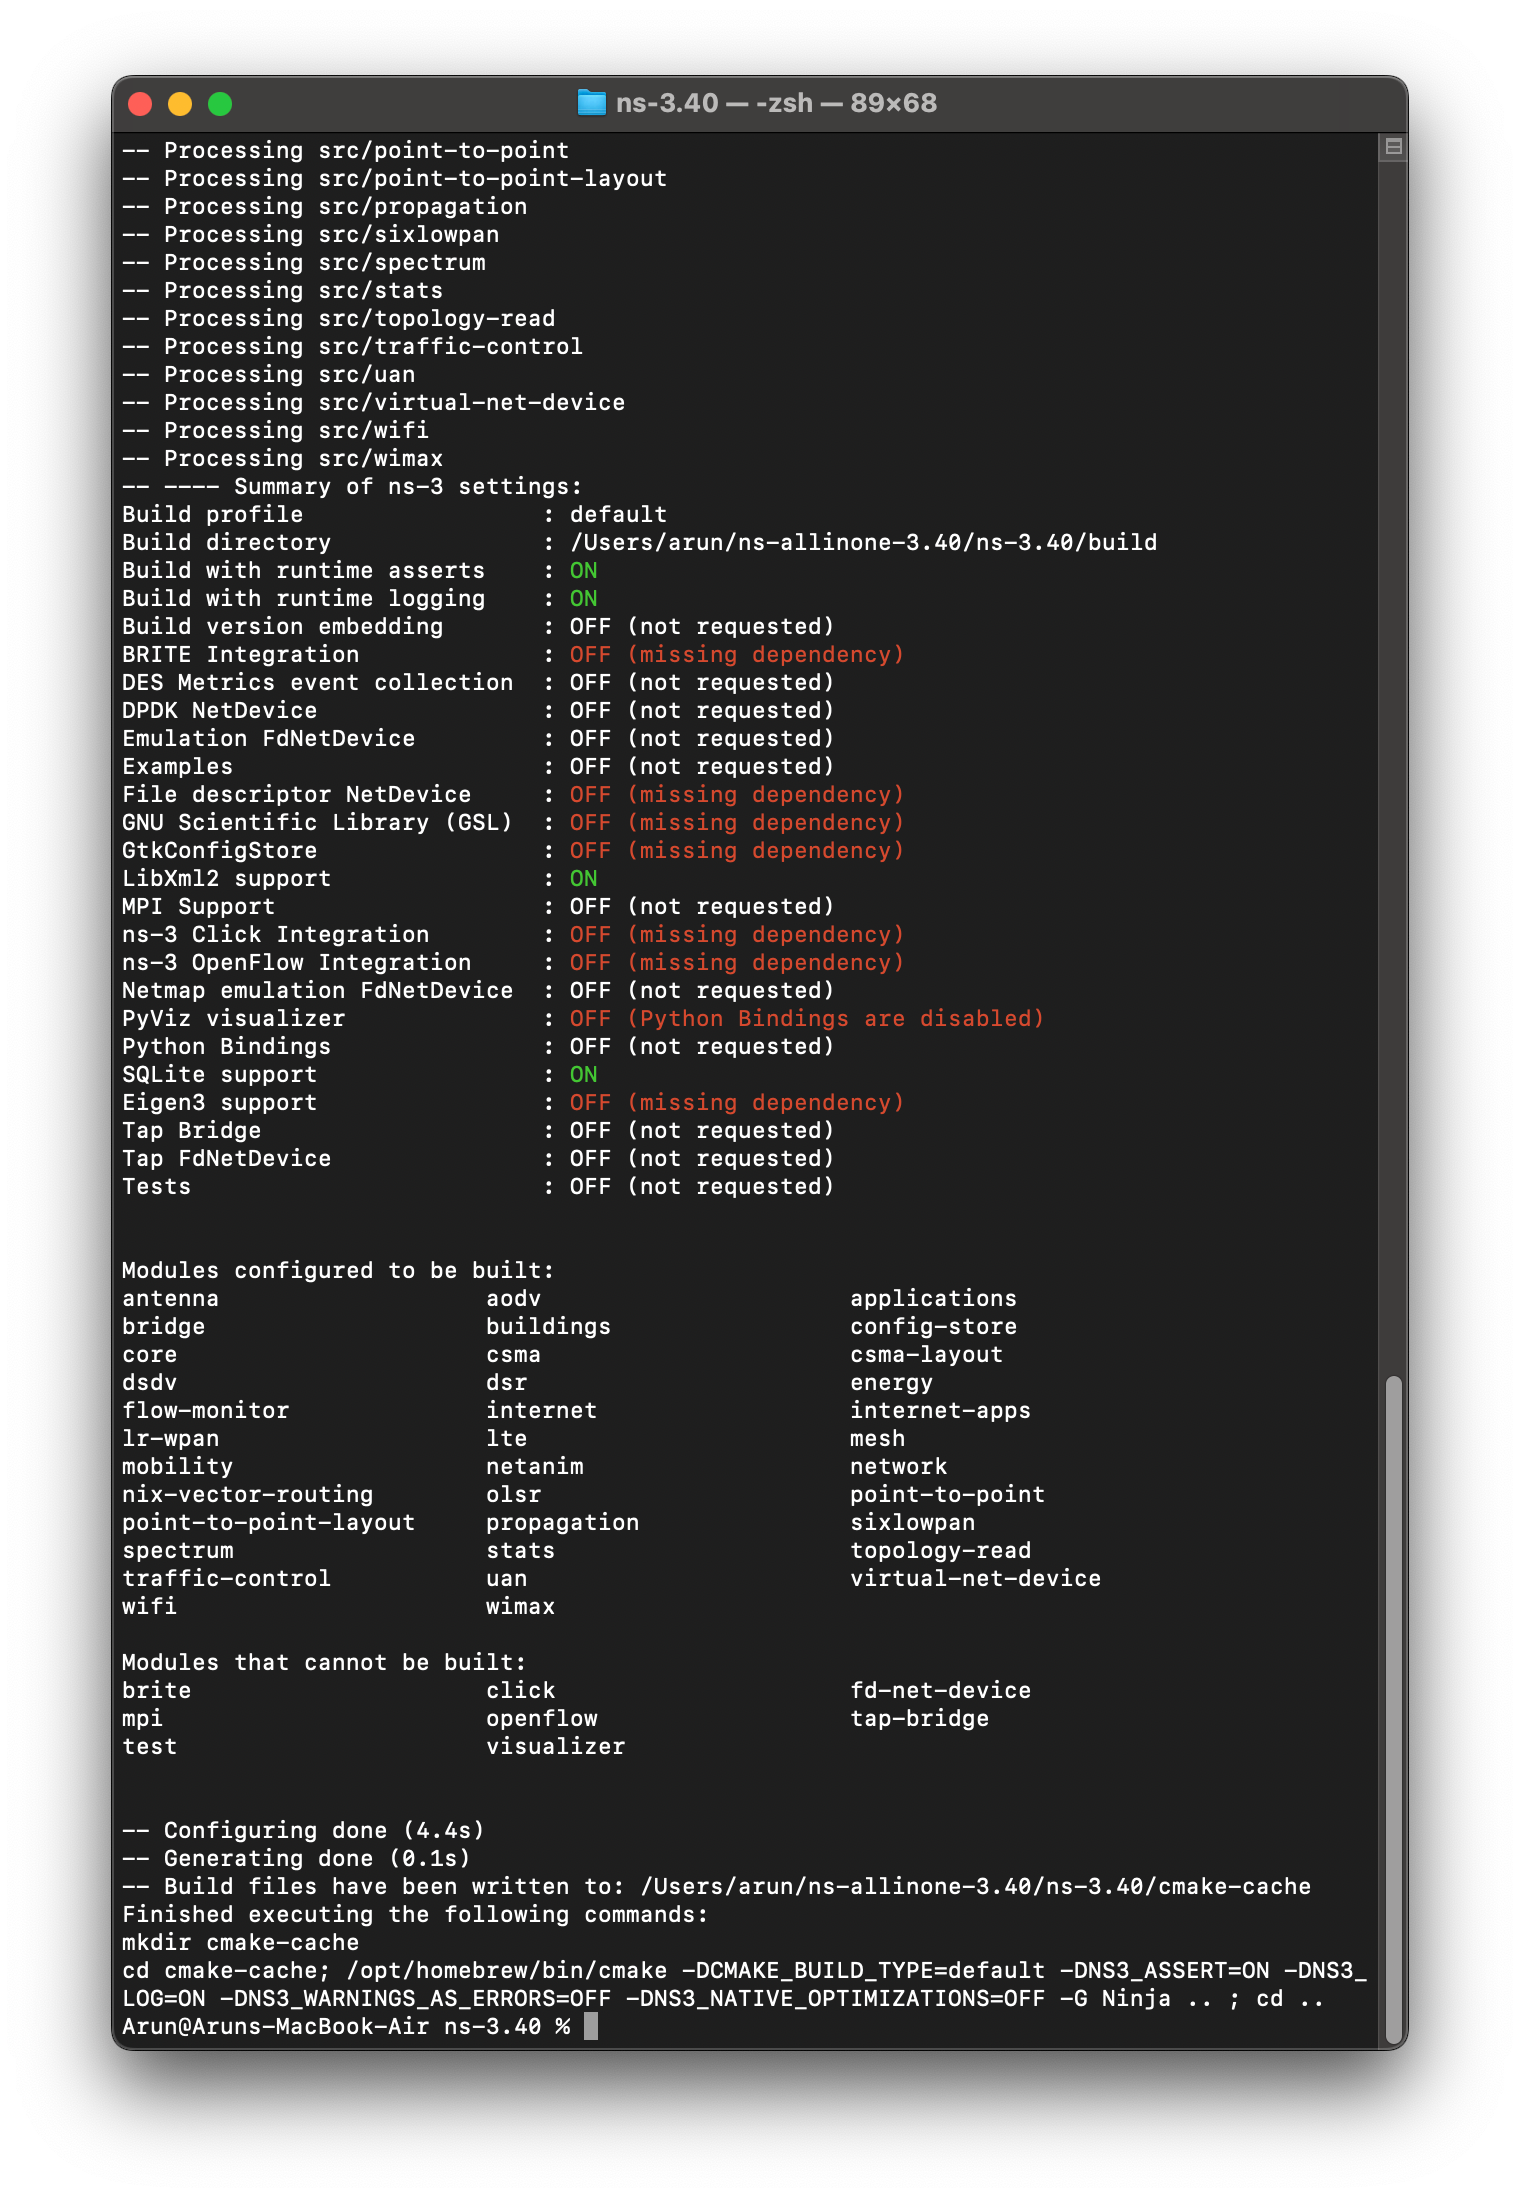
Step 8: Configure ns-3
Configure ns-3 as follows[3] :
% cd ./ns-allinone-3.40/ns-3.40
% ./ns3 configure
(if you need to compile all the examples, then enable it)
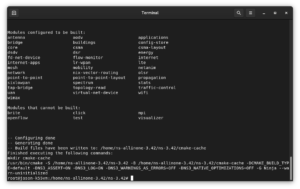
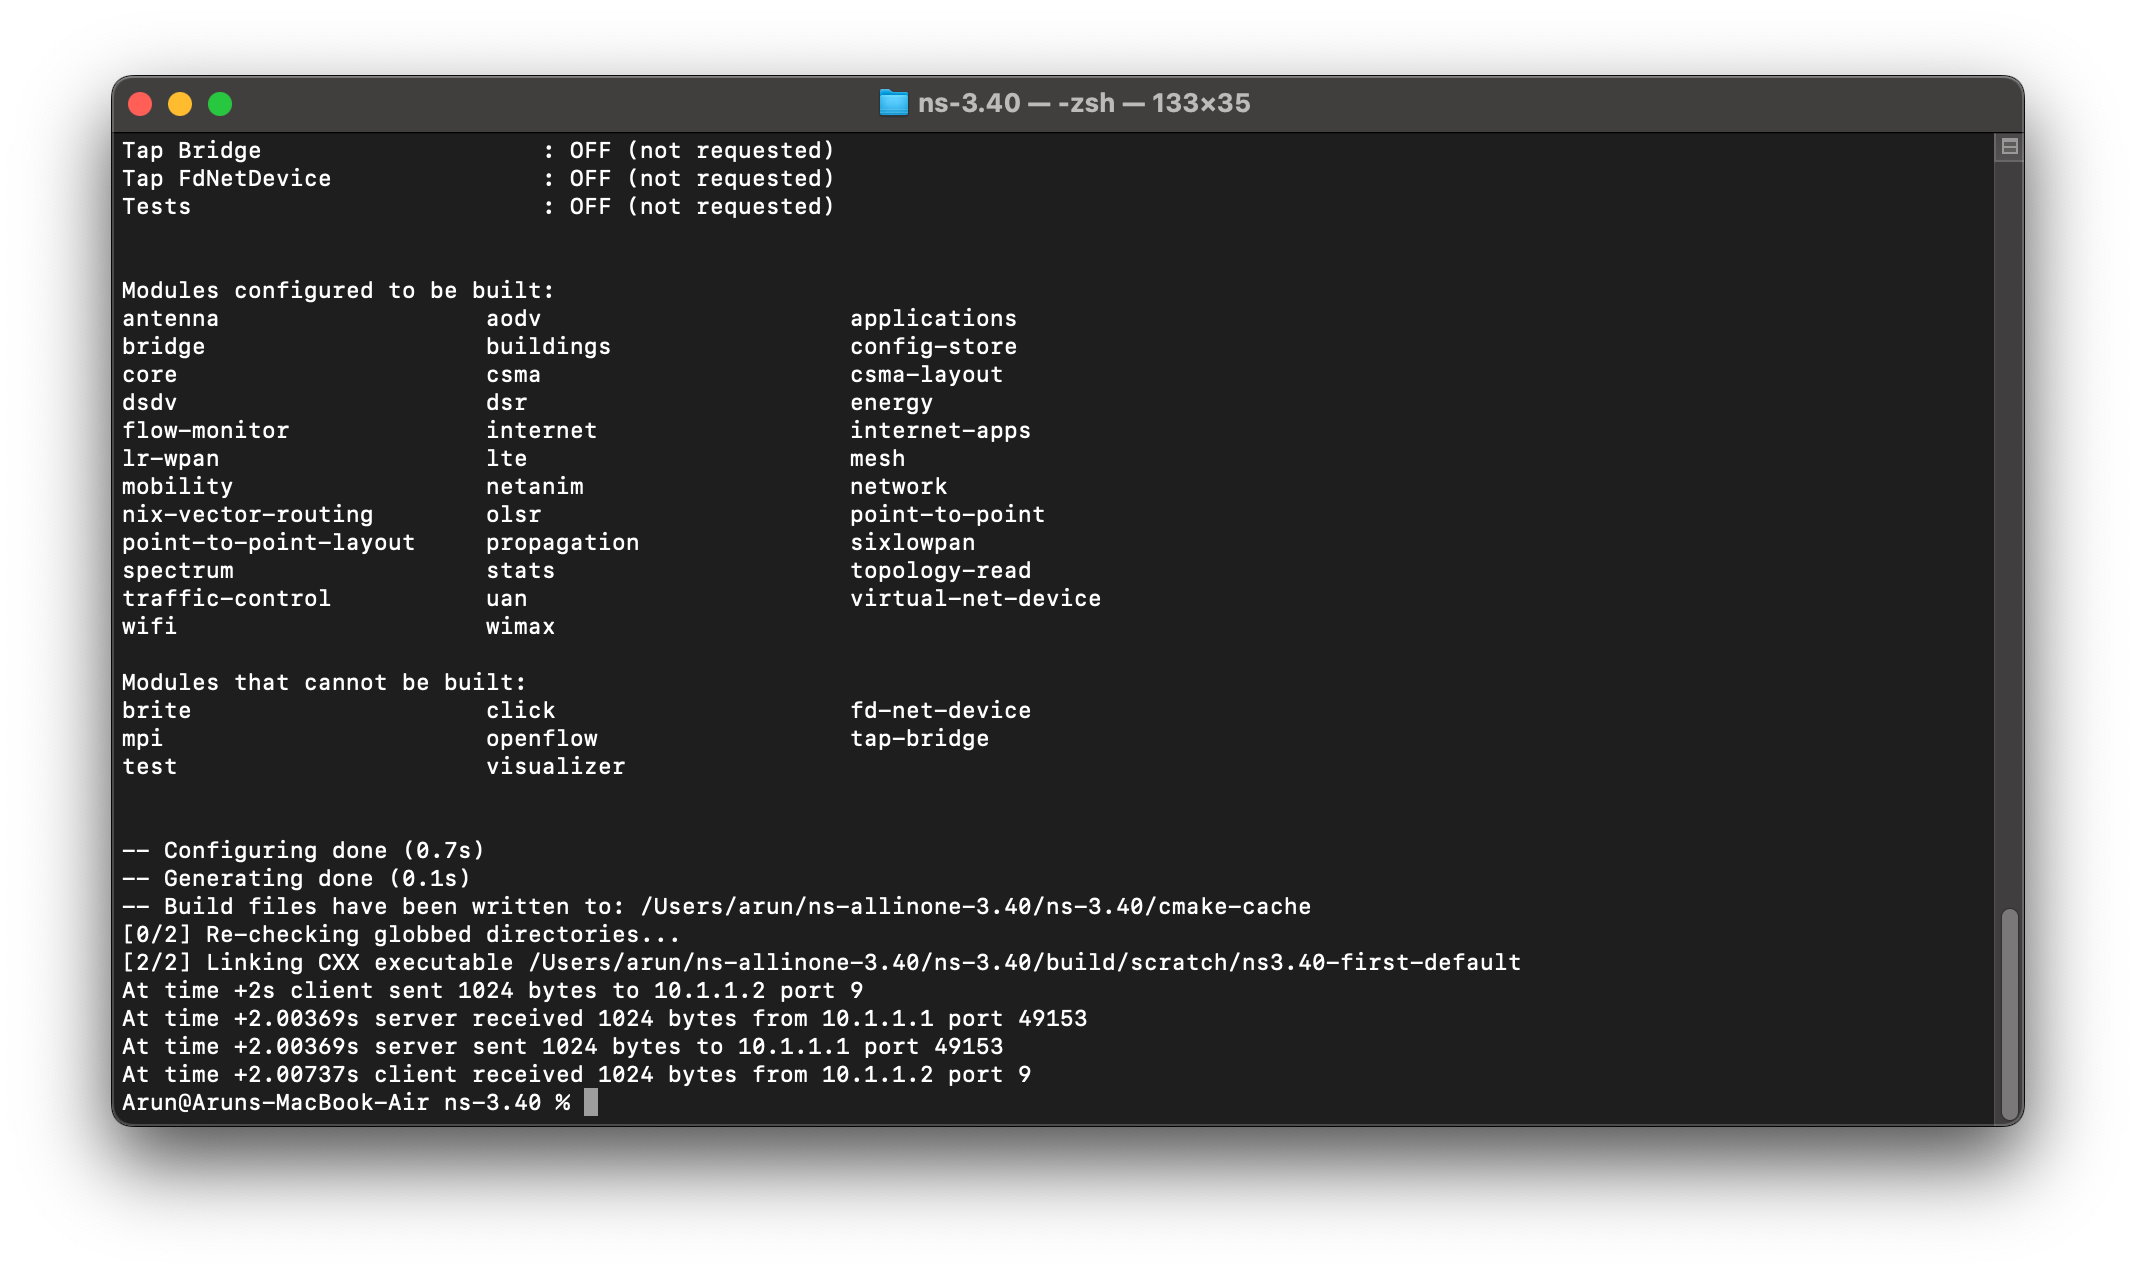
The following screenshot shows the successfully configured modules.
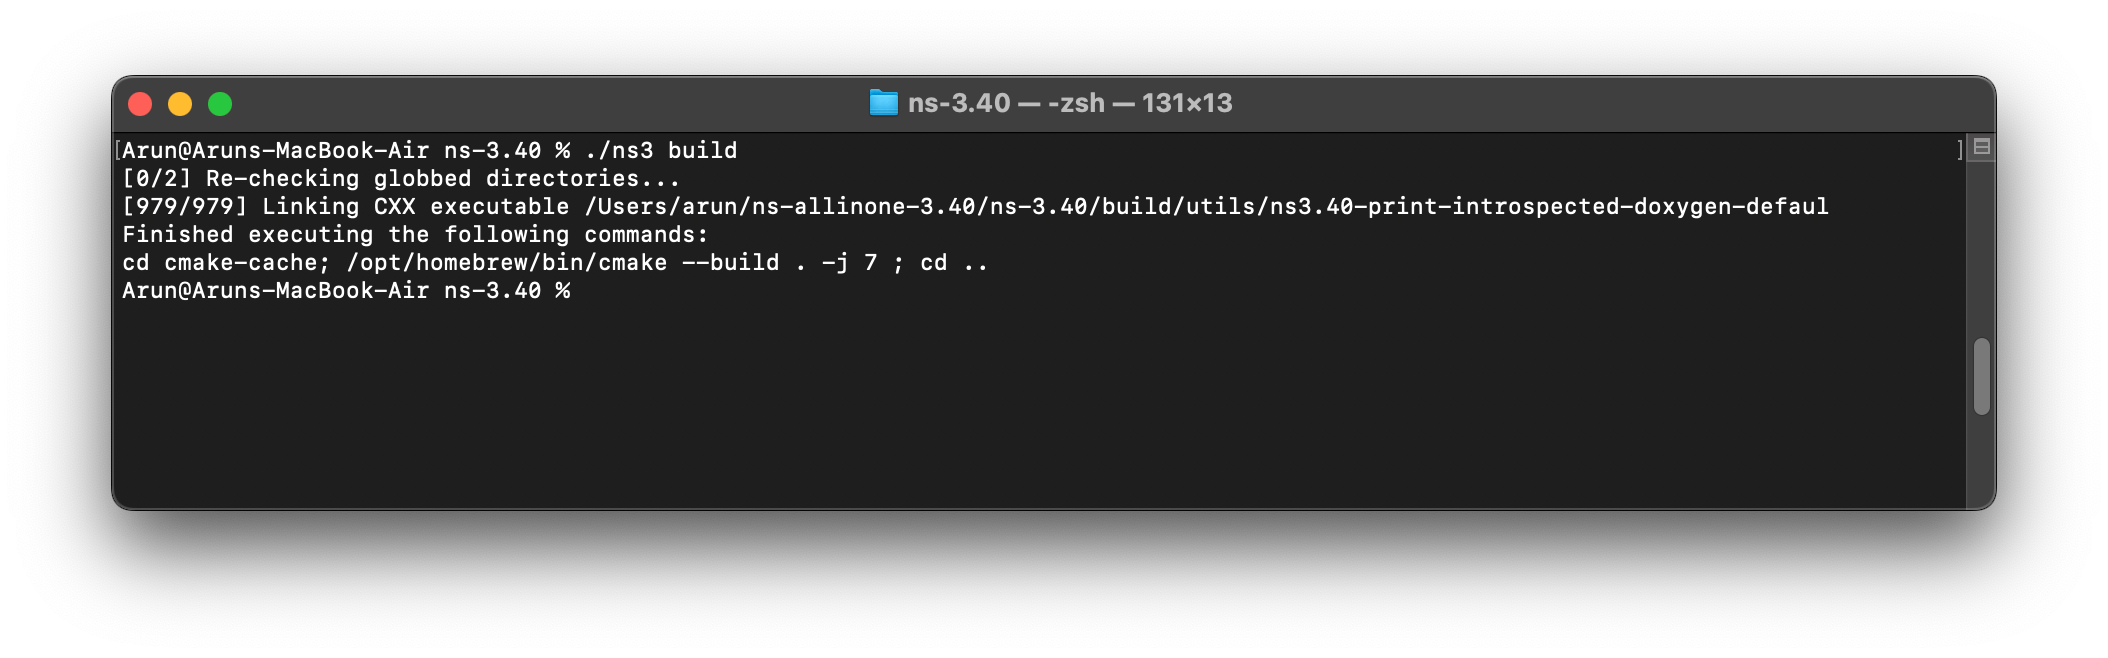
Step 9 : Compile/Build ns-3
Now we can compile ns-3 as follows :
The following screenshot shows the successful compile of ns-3.
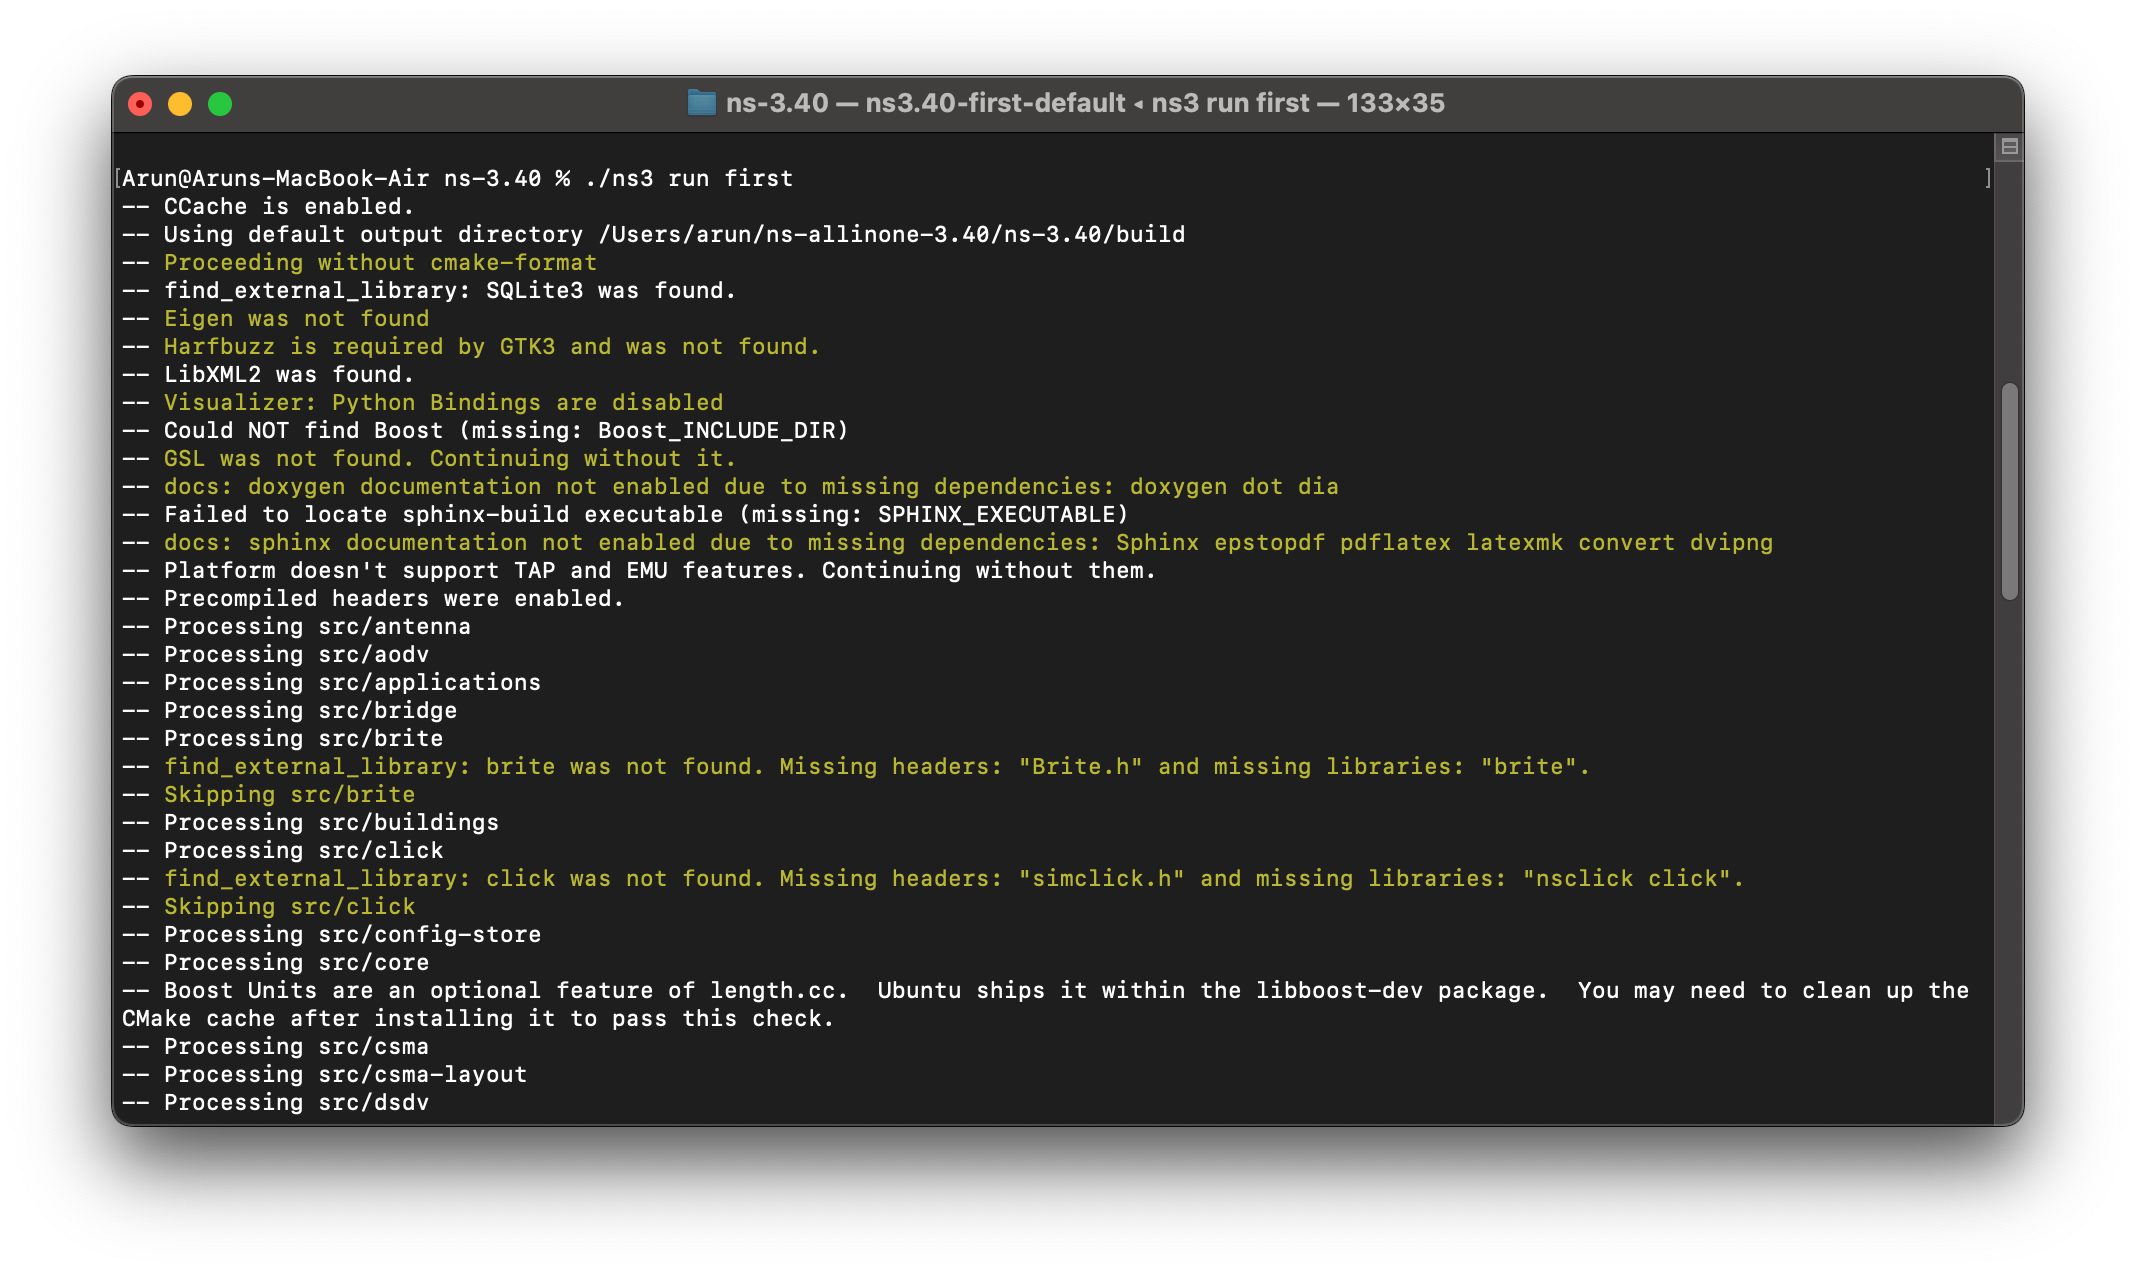
Step 10 : Compiling and Running an Example
Now we can compile and run a example simulation script as follows:
The following screenshot shows the progress of the compile/build operation.
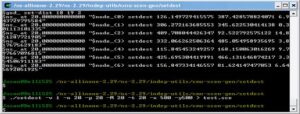
 The following screenshot shows the progress and results of the run of the simulation:
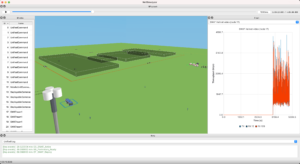
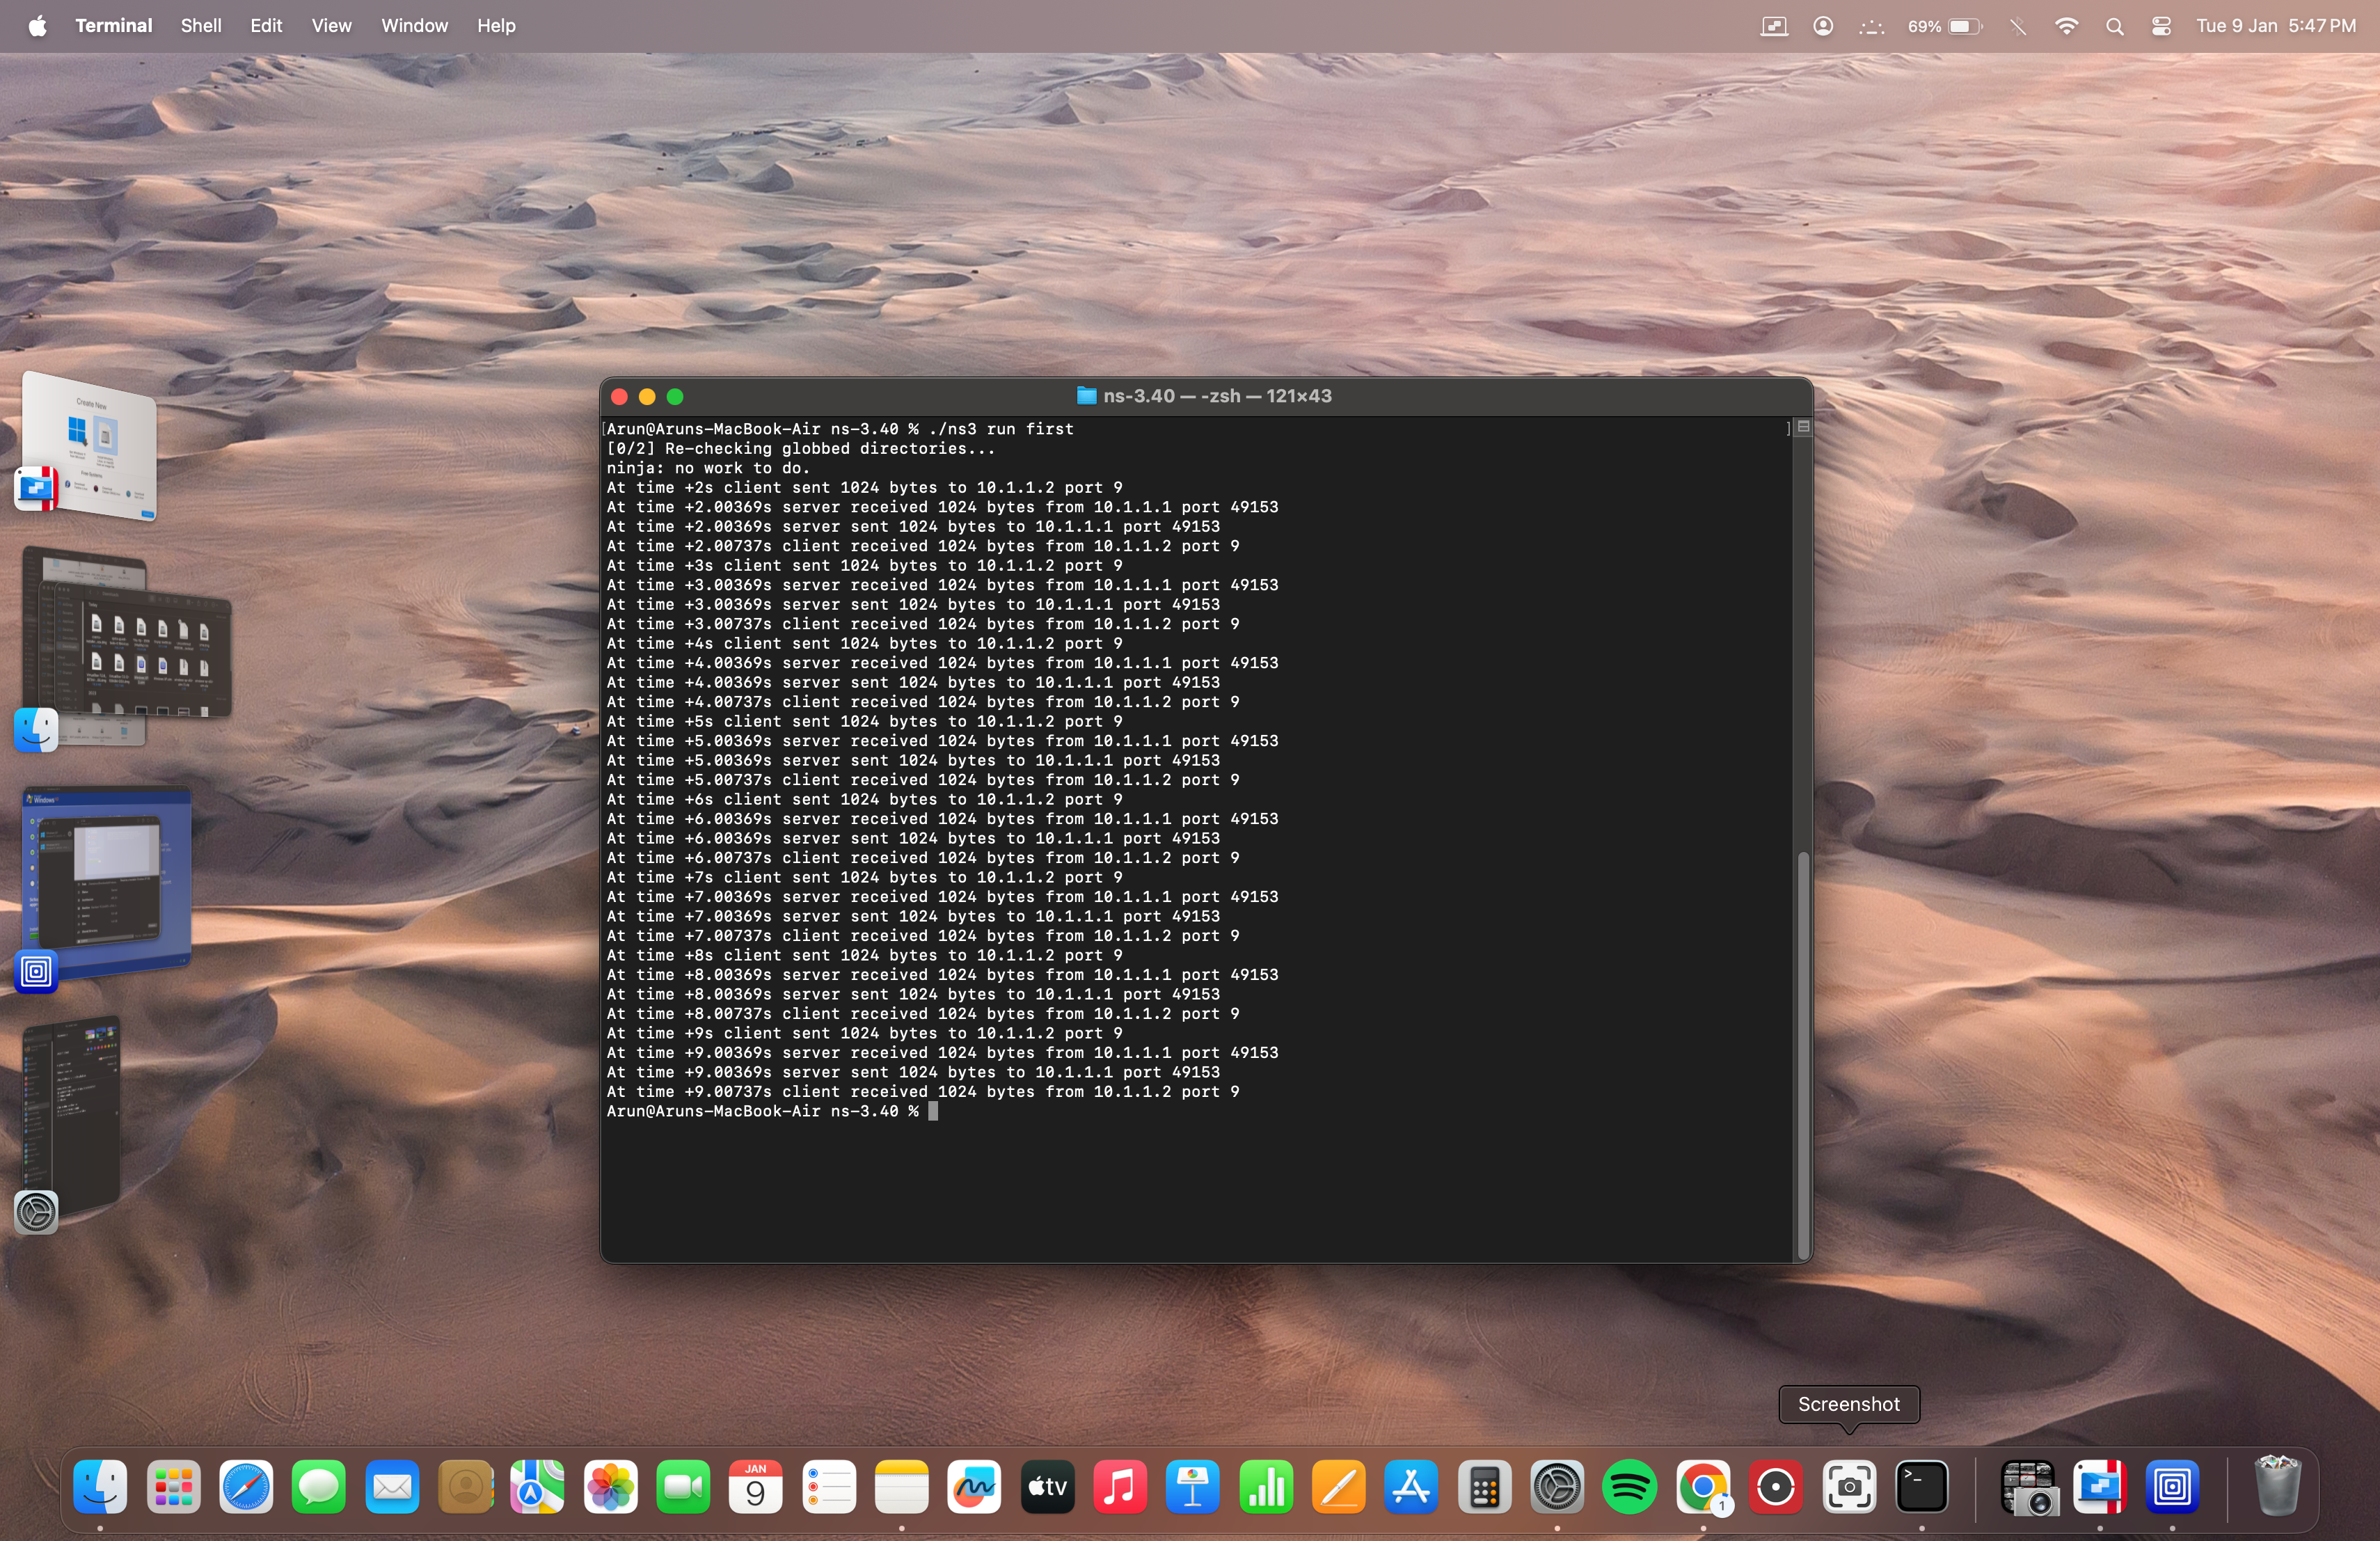
The following screenshot shows the output of a simulation running on a M2 laptop:
Conclusion
I have successfully set up ns-3 on a Mac M2, and it’s performing smoothly. Surprisingly, the installation process was swift, even while my laptop was charging, with no noticeable heat generated. I anticipated a longer compilation time due to the ARM architecture of Apple Mac M1/M2, but to my surprise, the overall build time was exceptionally low, especially on the M2.
My previous misconception held that compiling ns-3 was most efficient exclusively on Intel Core i7/i9-based Linux machines. However, the M2 has convincingly debunked this myth.
However, I encountered challenges during the NetAnim installation, mainly related to QT5 and its dependencies. I’ll explore potential solutions to enable NetAnim functionality on the M2 platform. I will present it in another article. If we could install NetAnim/NetSimulyzer on Apple Mac M1/M2, then it would fulfill all our simulation needs.
 Take Me to Afarion ns-3 iPlayground