Mobisim
Mobisim is a mobility generation (and visualization tool) that can be used to generate mobility models including the FreeWay mobility model.
You may download Mobisim from the following link:
https://sourceforge.net/projects/Mobisim/
To run the Mobisim user interface, you will need the JAVA Runtime Environment (v1.5 or later). If you do not know how to set up java in Windows or Linux, see section 9-1 of the Mobisim User Guide which will be available along with the Mobisim package.
You can use the source file version or the binary version of the Mobisim package.
Download the appropriate one as per your need.
If you are going to use the source version, then you have to build it using Ant Scripts.
After extracting it in a new folder, you can use ANT to build the sources (See section 8-2 of the User Guide to find out how to install ANT).
If you are going to use binary version, you can directly run the Mobisim as follows:
Open a terminal window, and change to the directory containing the main jar files and type (in command the prompt):
$cd ~Mobisim3-bin/Mobisim
$java -Xms128M -Xmx512M -jar Core.jar
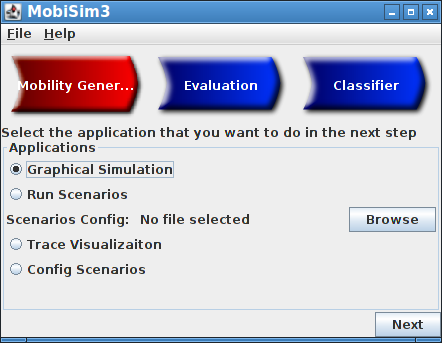
It will open the main user interface of Mobisim
VANET Mobility Trace file Generation using Mobisim
If you are pressing the Red Button “Mobility Gener..”, then it will bring the following interface.
First, select the simulation time and the number of nodes as shown below:
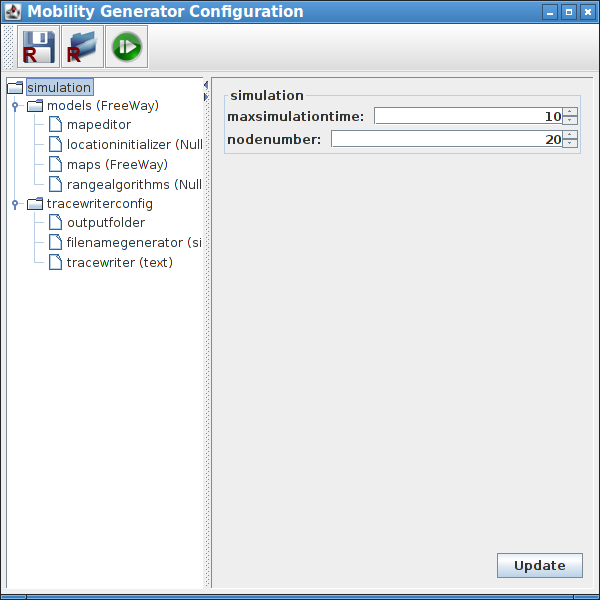
Select the FreeWay model from the options and set the parameters as per your requirements.
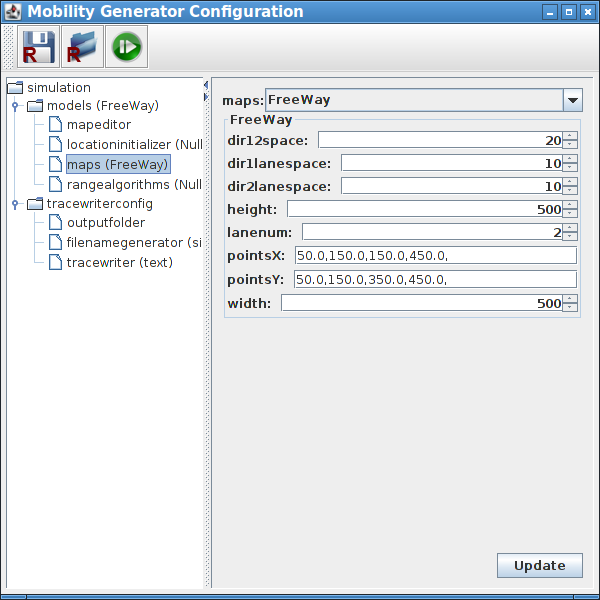
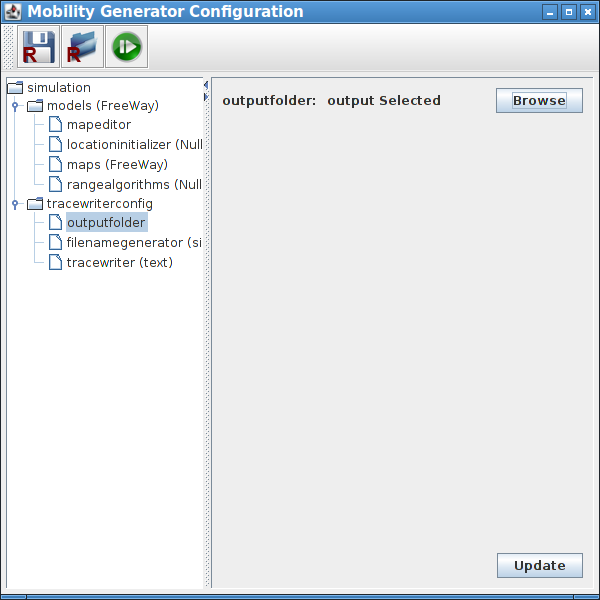
Specify the output folder in which you want to store the mobility trace files (text format)
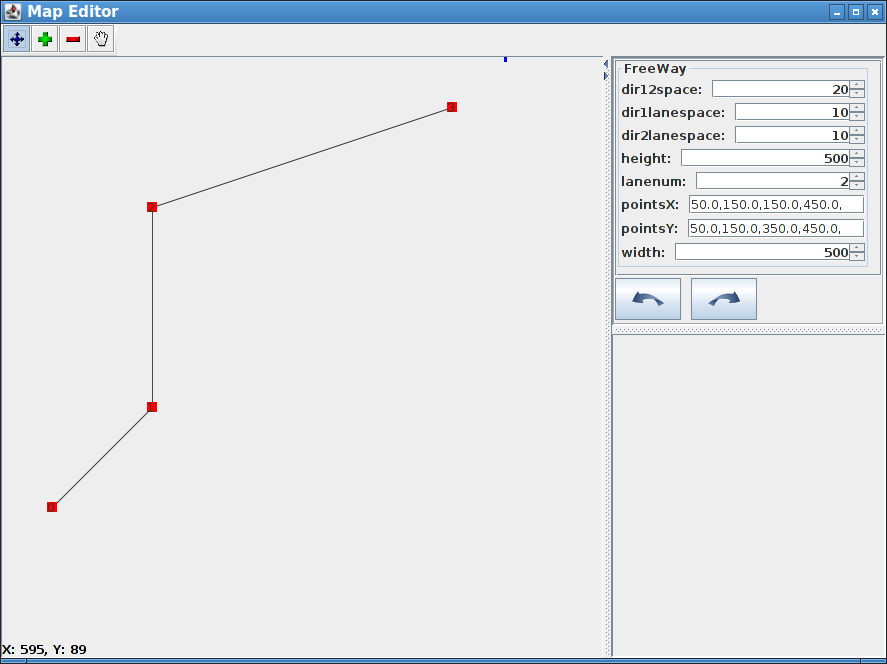
Use Map Editor if you want to orient the lines that will align the roads (these lines are not the roads – they will just orient the roads in this approximate shape)
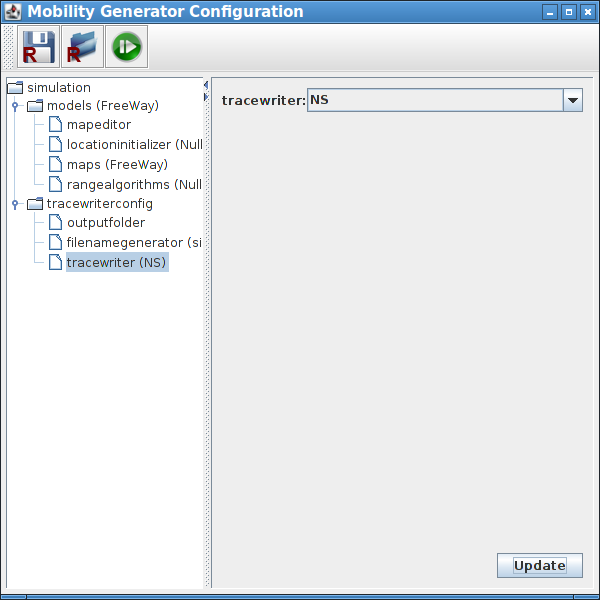
Select the trace file format (here I am selecting ns2 trace file format – the same can be used for ns-3 simulations also – you may refer to a suitable ns-3 example simulation for understanding it)
Now, if you press the Green “Run” button at the top of the window, it will open the animation screen.
In the animation screen, you will see the selected parameters at the left pan and you will see the simulated roads and vehicles at the right side window.
If you press the blue run button at the left top, then it will start the animation and show you the moving vehicles.
In the following, the four blue lines are representing 4 roads and the coloured circles are representing moving vehicles on the road.

Important Notes:
You have to wait for the end of the animation. After that, you may find the corresponding ns-2 format trace file in the folder which you already specified in a previous step. That ns-2 format Tcl file will be nothing but a Tcl script that can be used as a mobility model in an ns-2 simulation.
Mobisim will create vehicle movements in a loop. So, at the end of the road, the same vehicles will start to move from the other side of the lane in the opposite direction. So Simulation should be done within those limitations.
Using a mobisim scenario in an ns-3 Simulation
The following article shows a way of simulating and visualizing a mobisim scenario in with ns-3.
Simulating Freeway Mobility Model under ns-3 Using Trace Files Generated by Mobisim
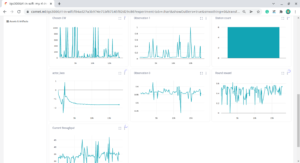
Visualizing a mobisim scenario in 3D in ns-3 Using NetSimulyzer
The following article shows a way of simulating and visualizing a mobisim scenario in 3D.
ns-3 VANET Simulation – 3D Visualization of 2D Gridway Mobility using NetSimulyzer
 Take Me to Afarion ns-3 iPlayground