Problem with Qt 5 on Apple Silicon M1/M2.
The reason why Qt 5 may not work out of the box on Apple Silicon M1, M2, and M3 is primarily due to the architecture differences and the level of compatibility provided by Qt versions.
Apple Silicon M1, M2, and M3 use ARM-based architectures, whereas Intel-based systems use x86_64 architecture. Qt 6 and later versions have likely been optimized and updated to provide native support for ARM architectures, including those used in Apple Silicon chips. This ensures that the software can run efficiently on these processors without compatibility issues.
On the other hand, Qt 5 may not have received the same level of optimization or updates for Apple Silicon, leading to potential incompatibility issues. Older versions of software may not be designed to run seamlessly on the newer ARM architecture, resulting in the need for additional adjustments, patches, or recompilation to make them compatible.
The lack of out-of-the-box support for Qt 5 on Apple Silicon M1, M2, and M3 is likely due to the architecture-specific optimizations introduced in Qt 6 and later versions to ensure smooth operation on ARM-based platforms.
Of course, Qt 6 and later versions will work on Apple Silicon M1, M2, and even on M3 out of the box, but I am not sure about compiling the NetAnim on an Apple Silicon M1/M2 with Qt 6. It may need lot of patching in the current version of NetAnim.
The Step-by-Step Installation Procedure
If you have already installed ns-3 as explained in the following procedure[7], then you may directly skip to Step 5
Procedure for Installing ns-3 (3.40) on New Apple Mac M1/M2.
Step 1 : Installation of Homebrew
Getting started with Homebrew is easy:
-
- Open the terminal application.
- Run the following command to install Homebrew:
% /bin/bash -c "$(curl -fsSL https://raw.githubusercontent.com/Homebrew/install/HEAD/install.sh)"z
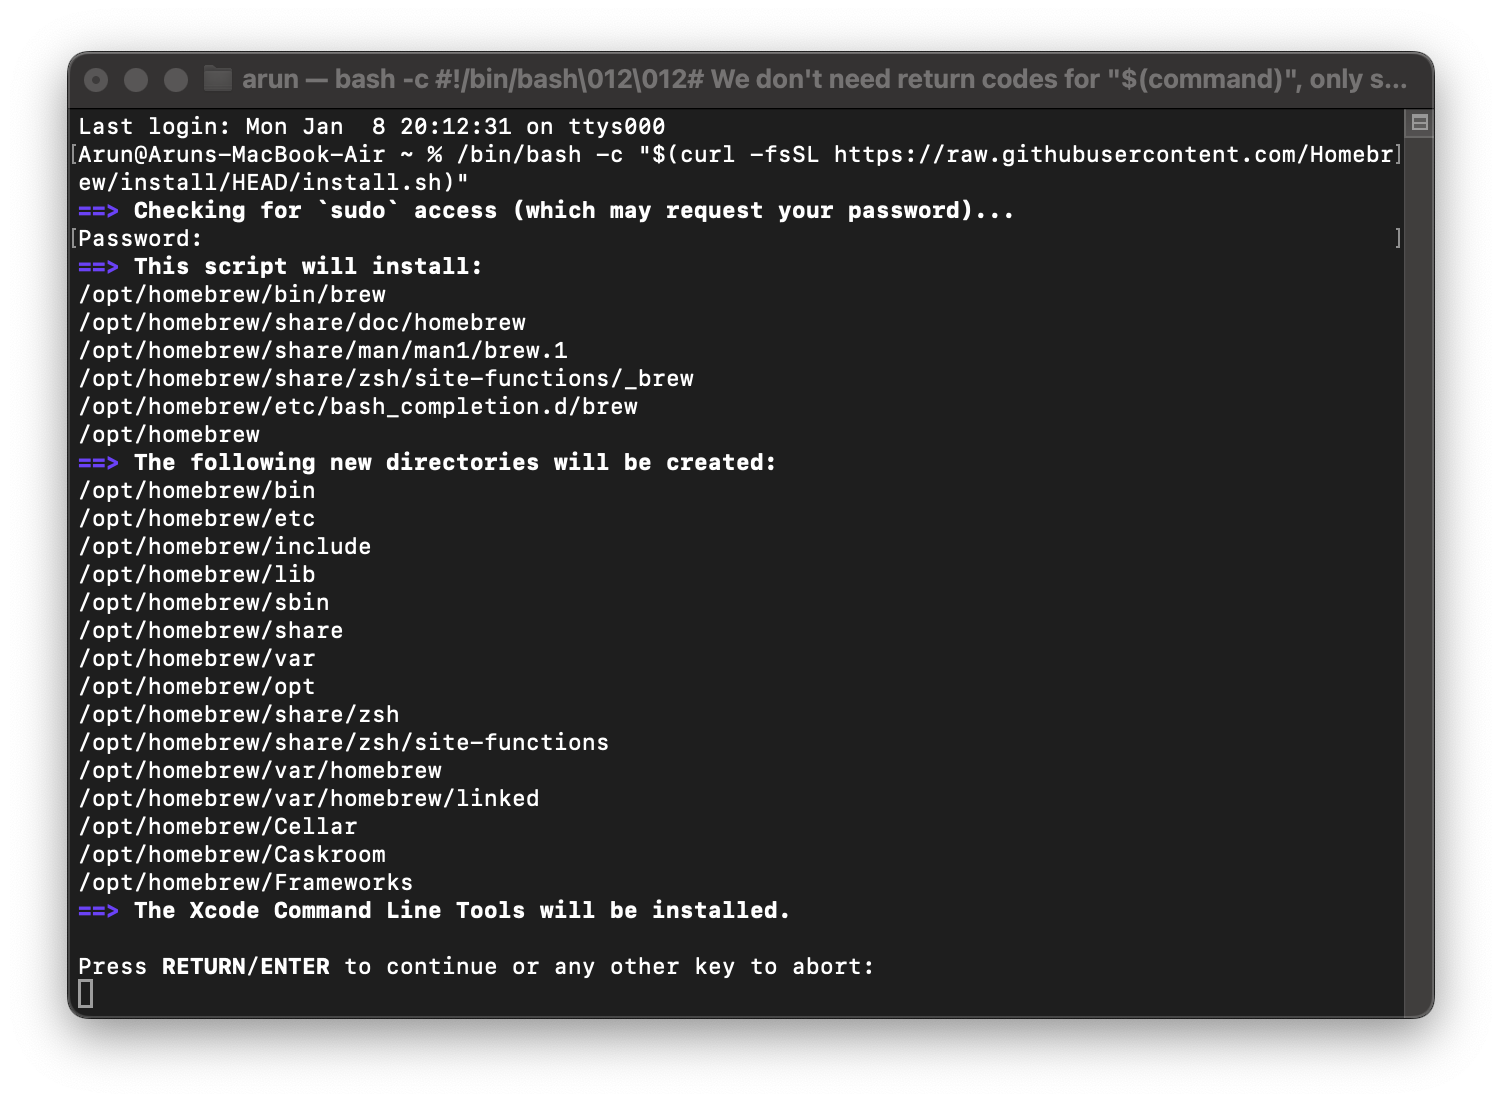
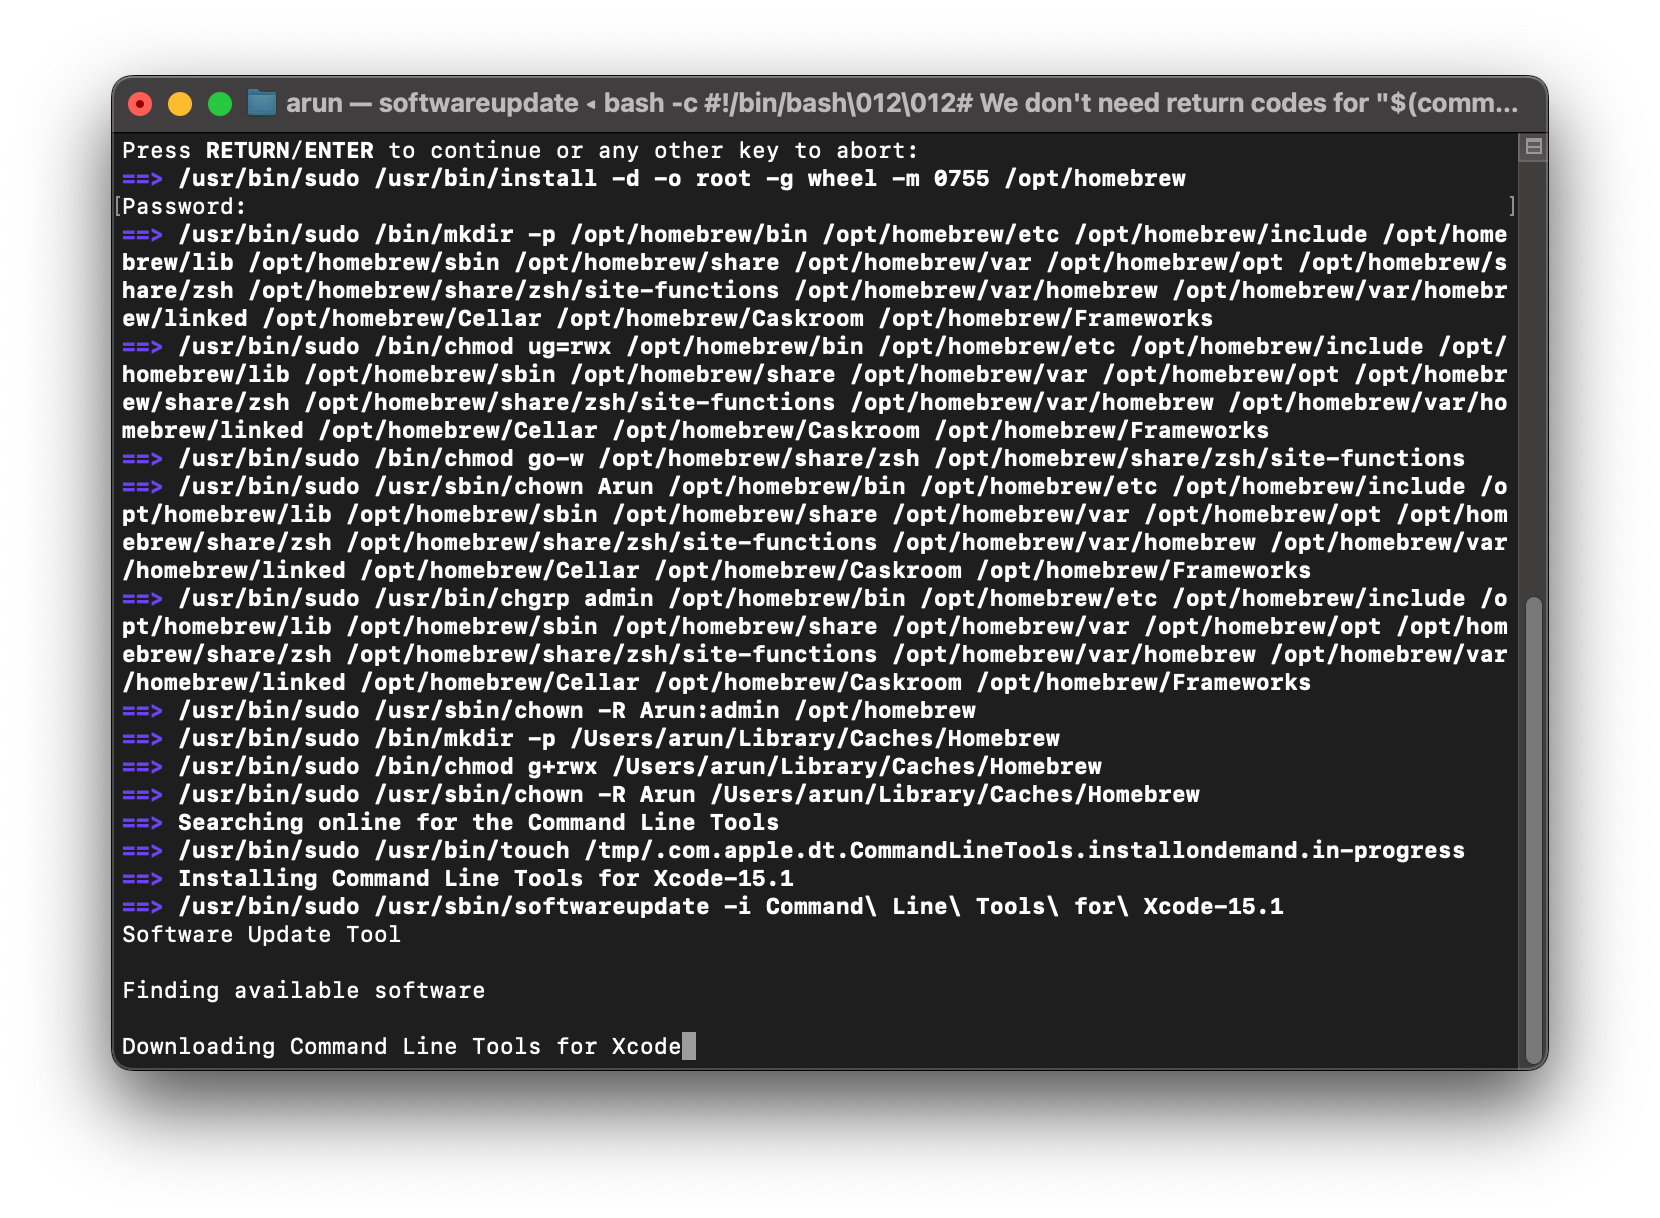
- Follow the on-screen instructions to complete the installation.On continuation, it will ask for the password.
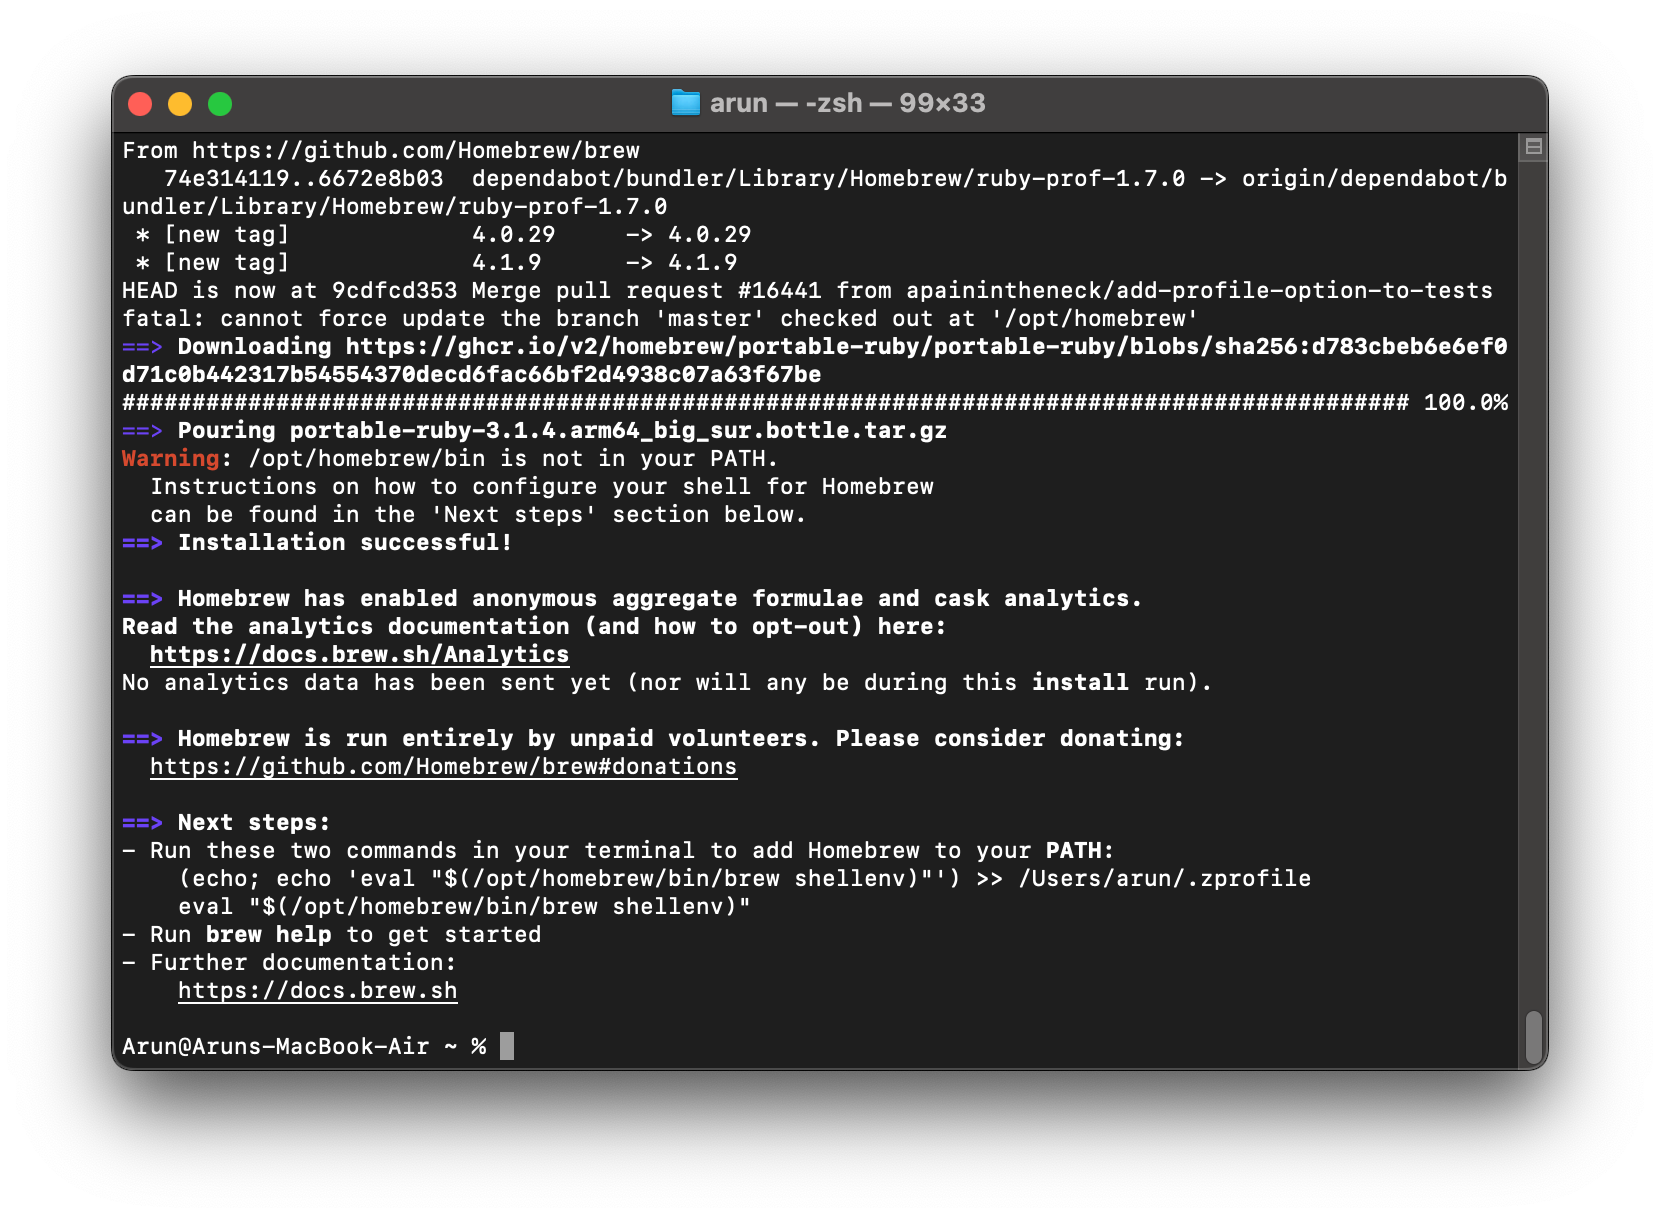
- Set up the user profile
% (echo; echo ‘eval “$(/opt/homebrew/bin/brew shellenv)”‘) >> /Users/arun/.zprofile
% eval “$(/opt/homebrew/bin/brew shellenv)”
- Know about the command line parameter of the command using help
%brew help
- Once Homebrew is installed, you can start browsing and installing packages.
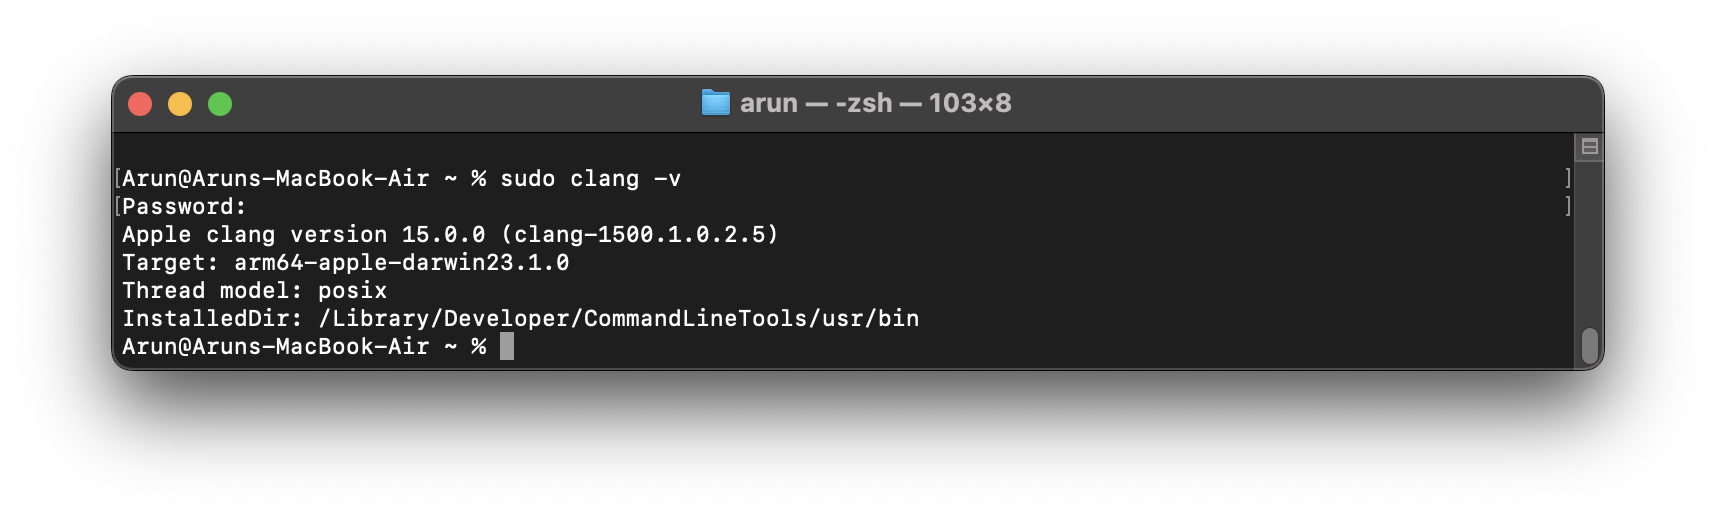
Step 2: Installing Necessary Command-line Tools and Clang
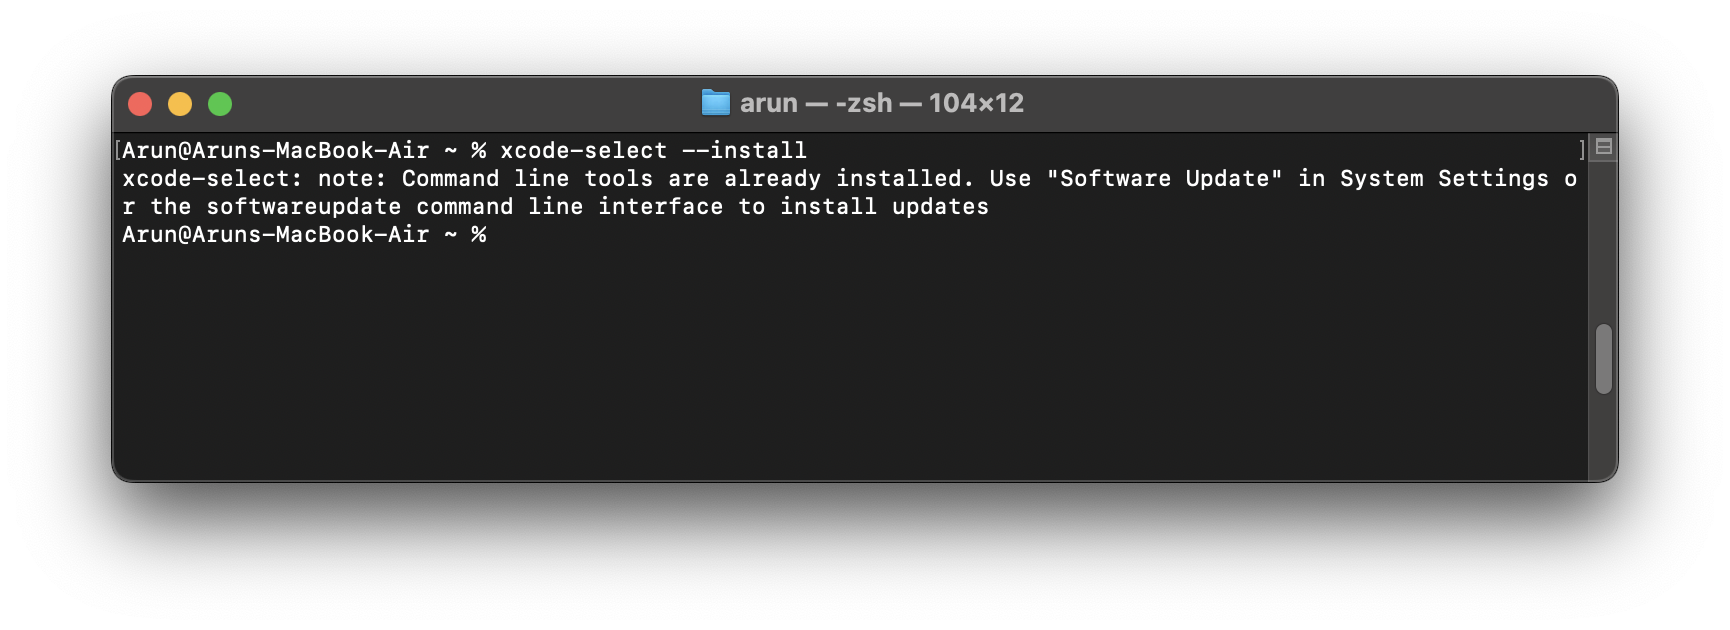
- Check the availability of Xcode Command Line Tools that are installed in the system. If it is missing, we have to install it before proceeding with the installation[3].
Check the clang version. If it is missing, we have to install it before proceeding with the installation.
 If the above two checks confirm the installation of tools and clang; then we will be able to compile the ns-3 C++ code.
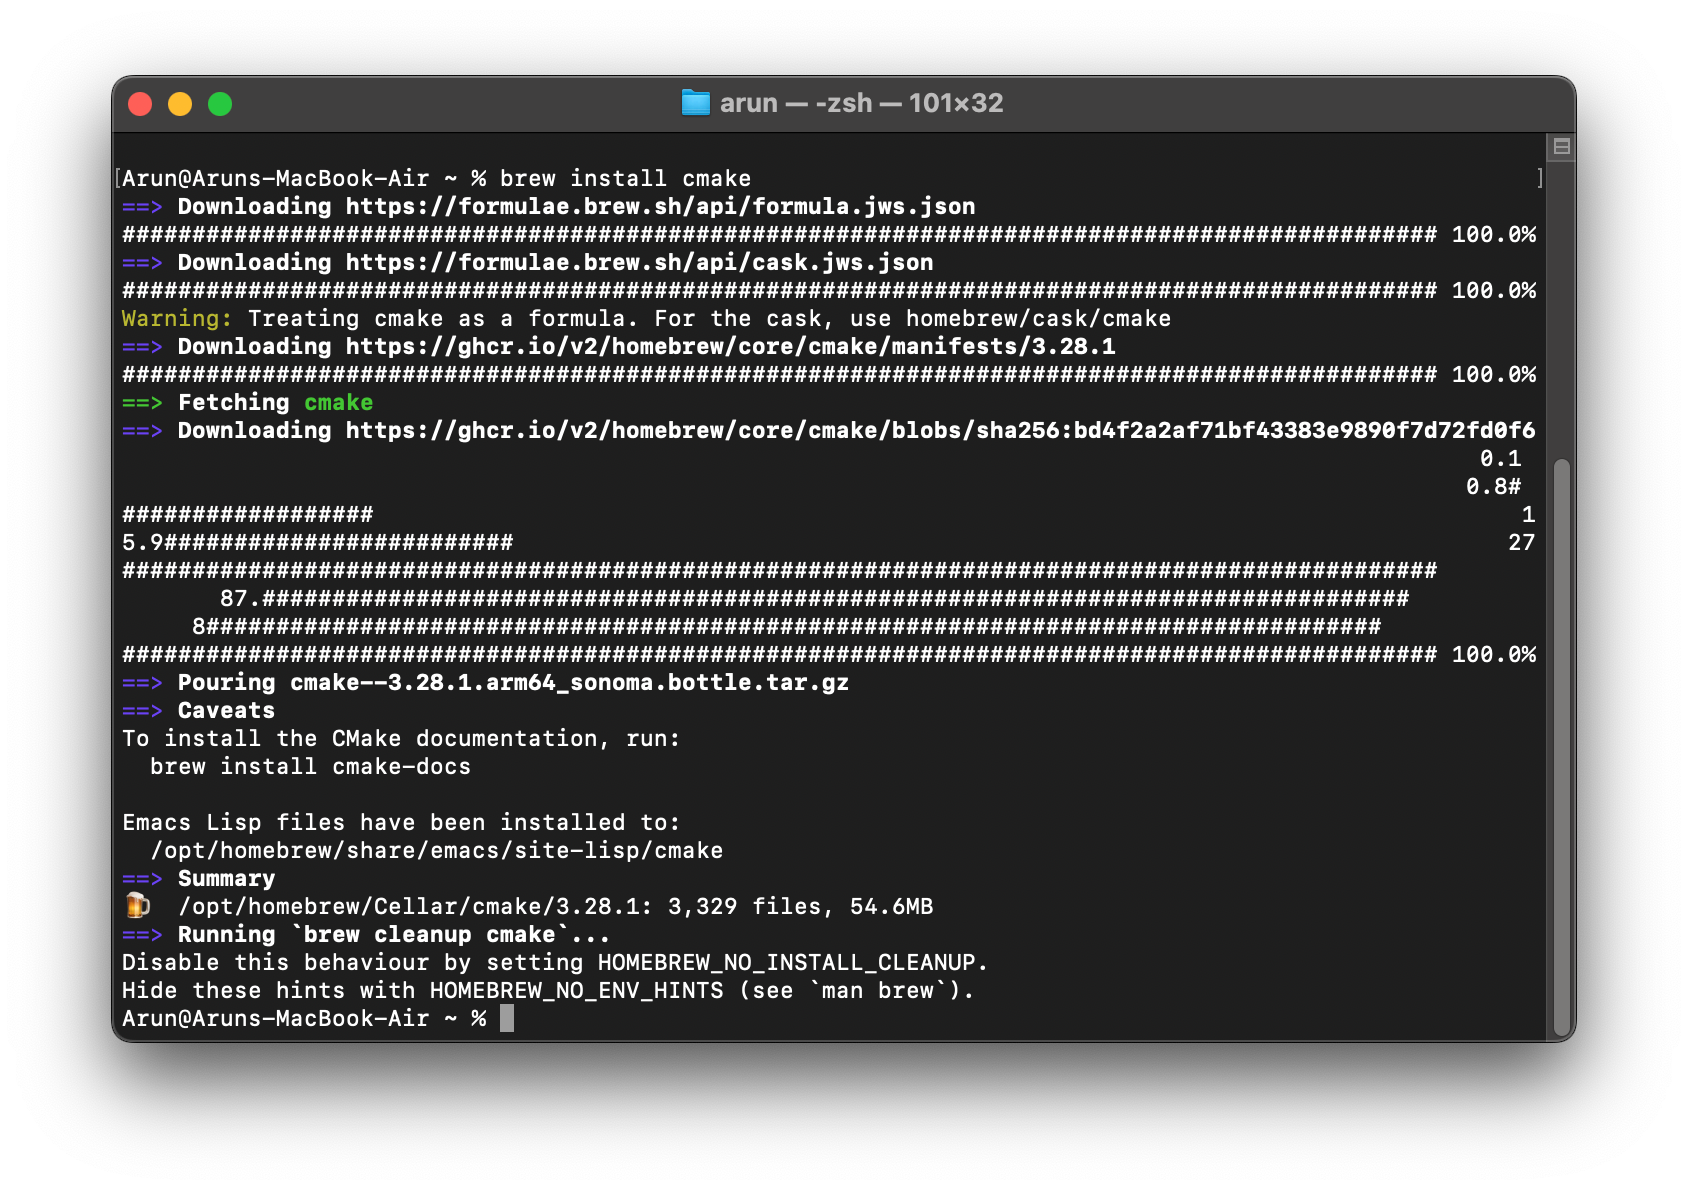
Step 3: Install Cmake
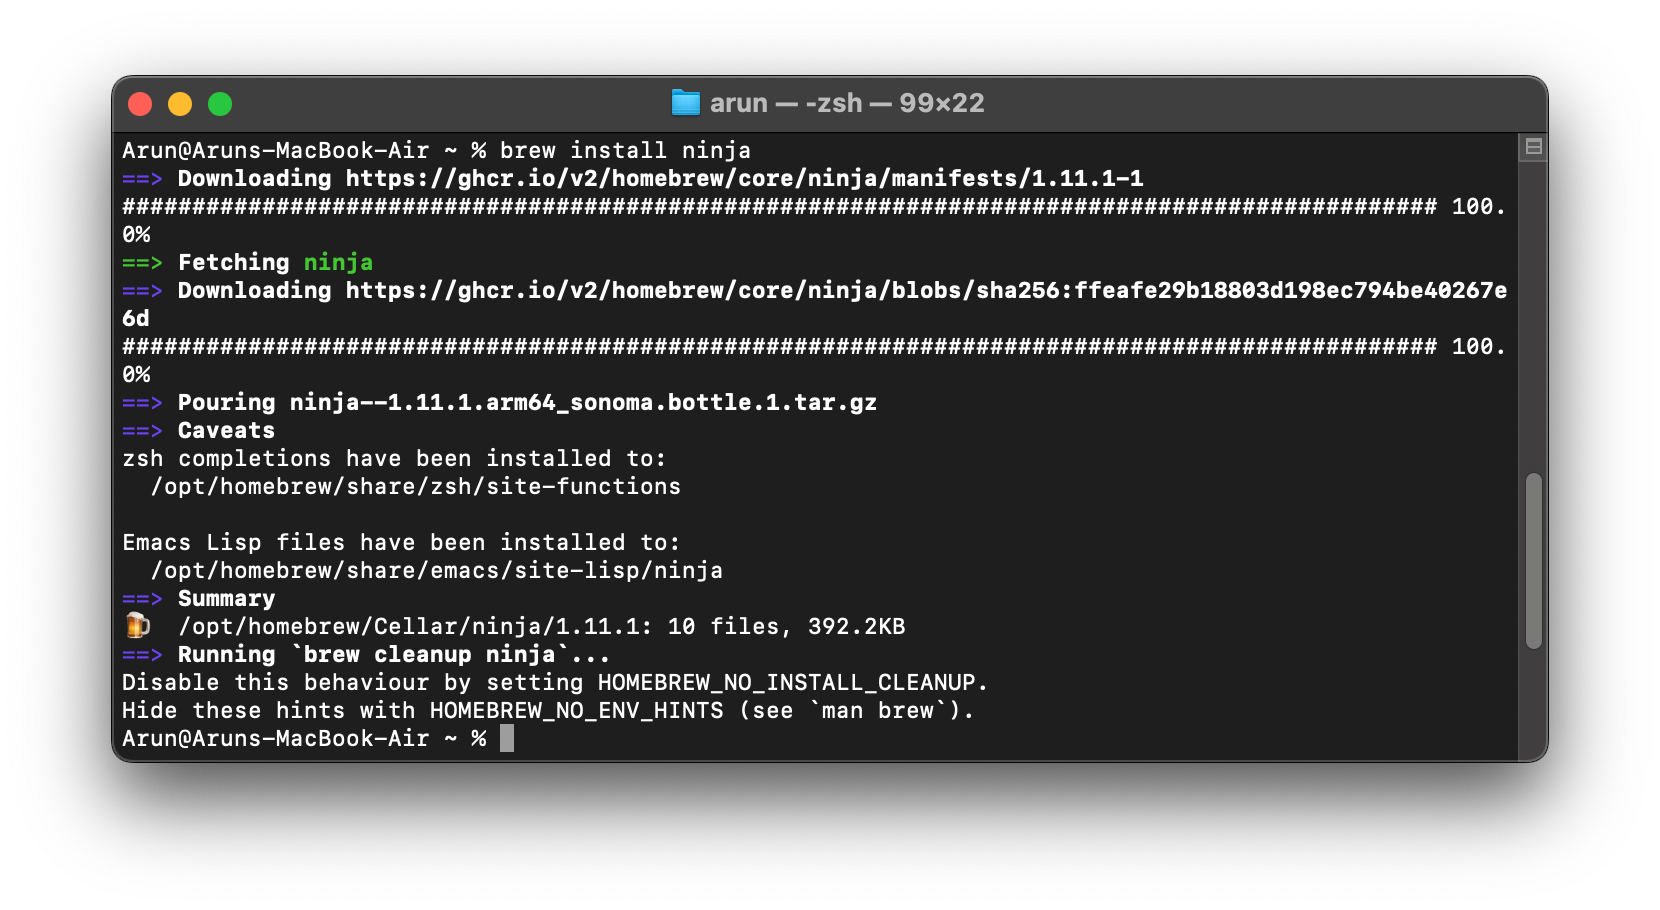
Step 4: Install Ninja
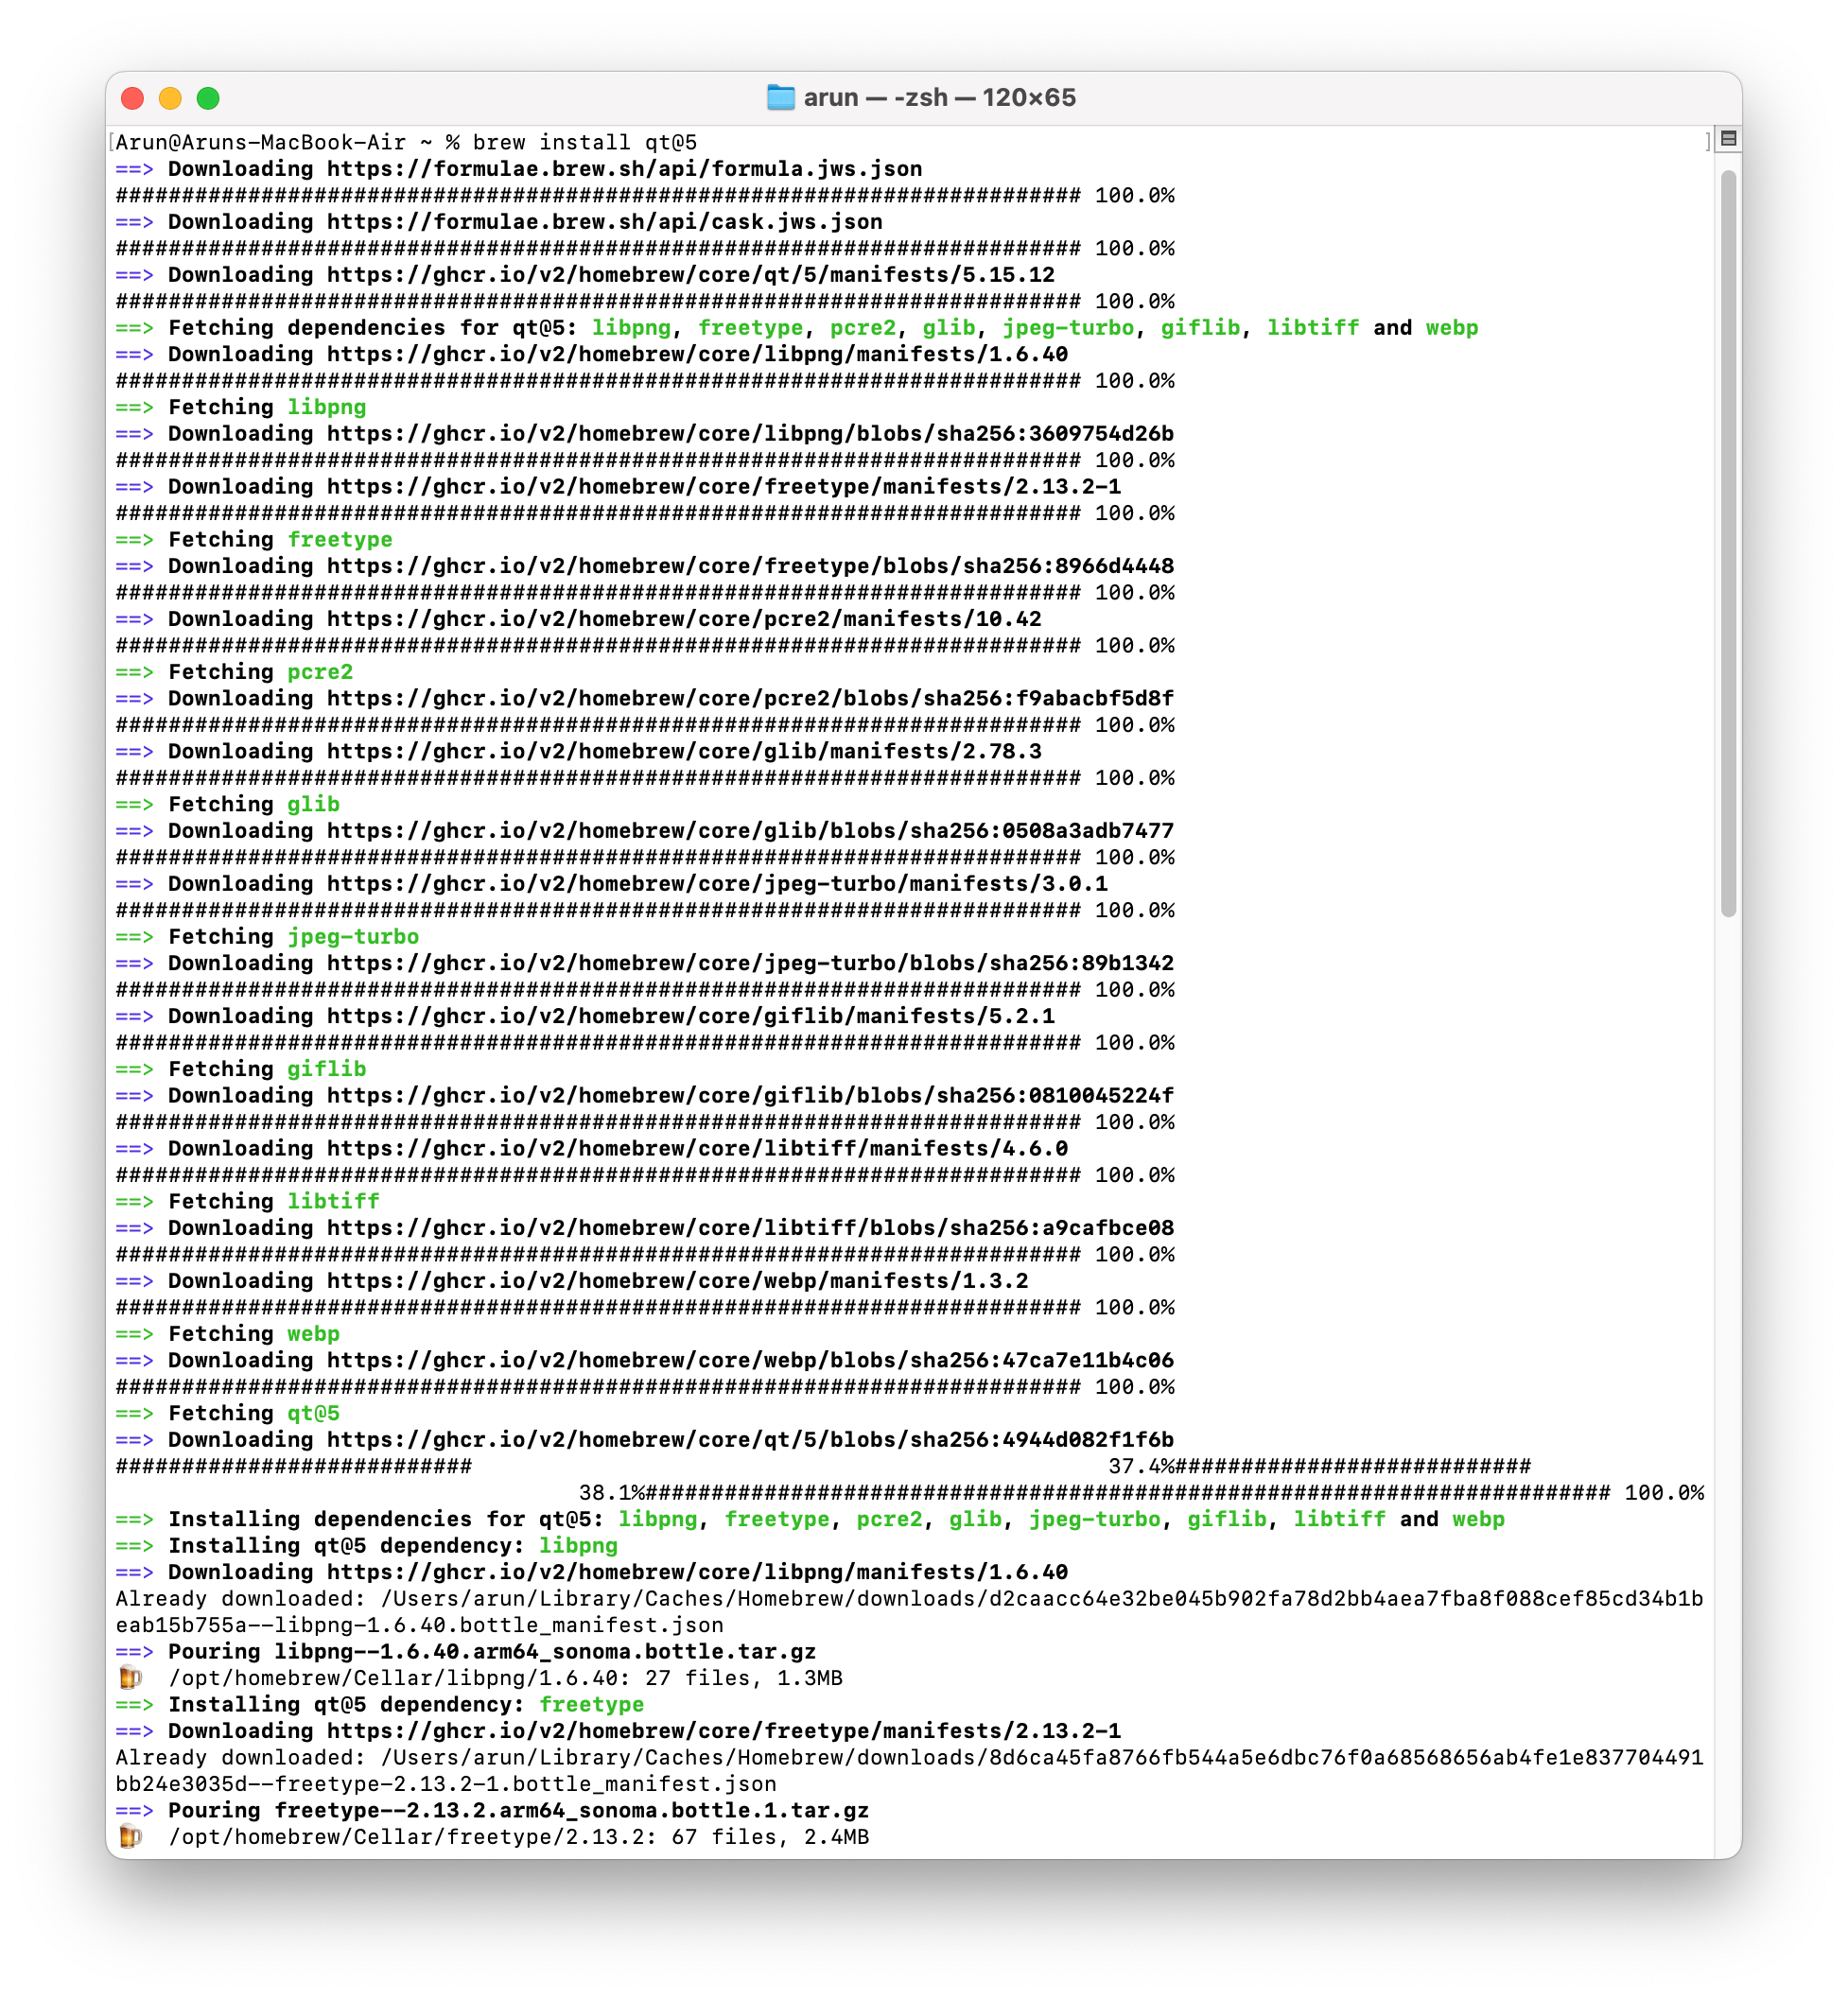
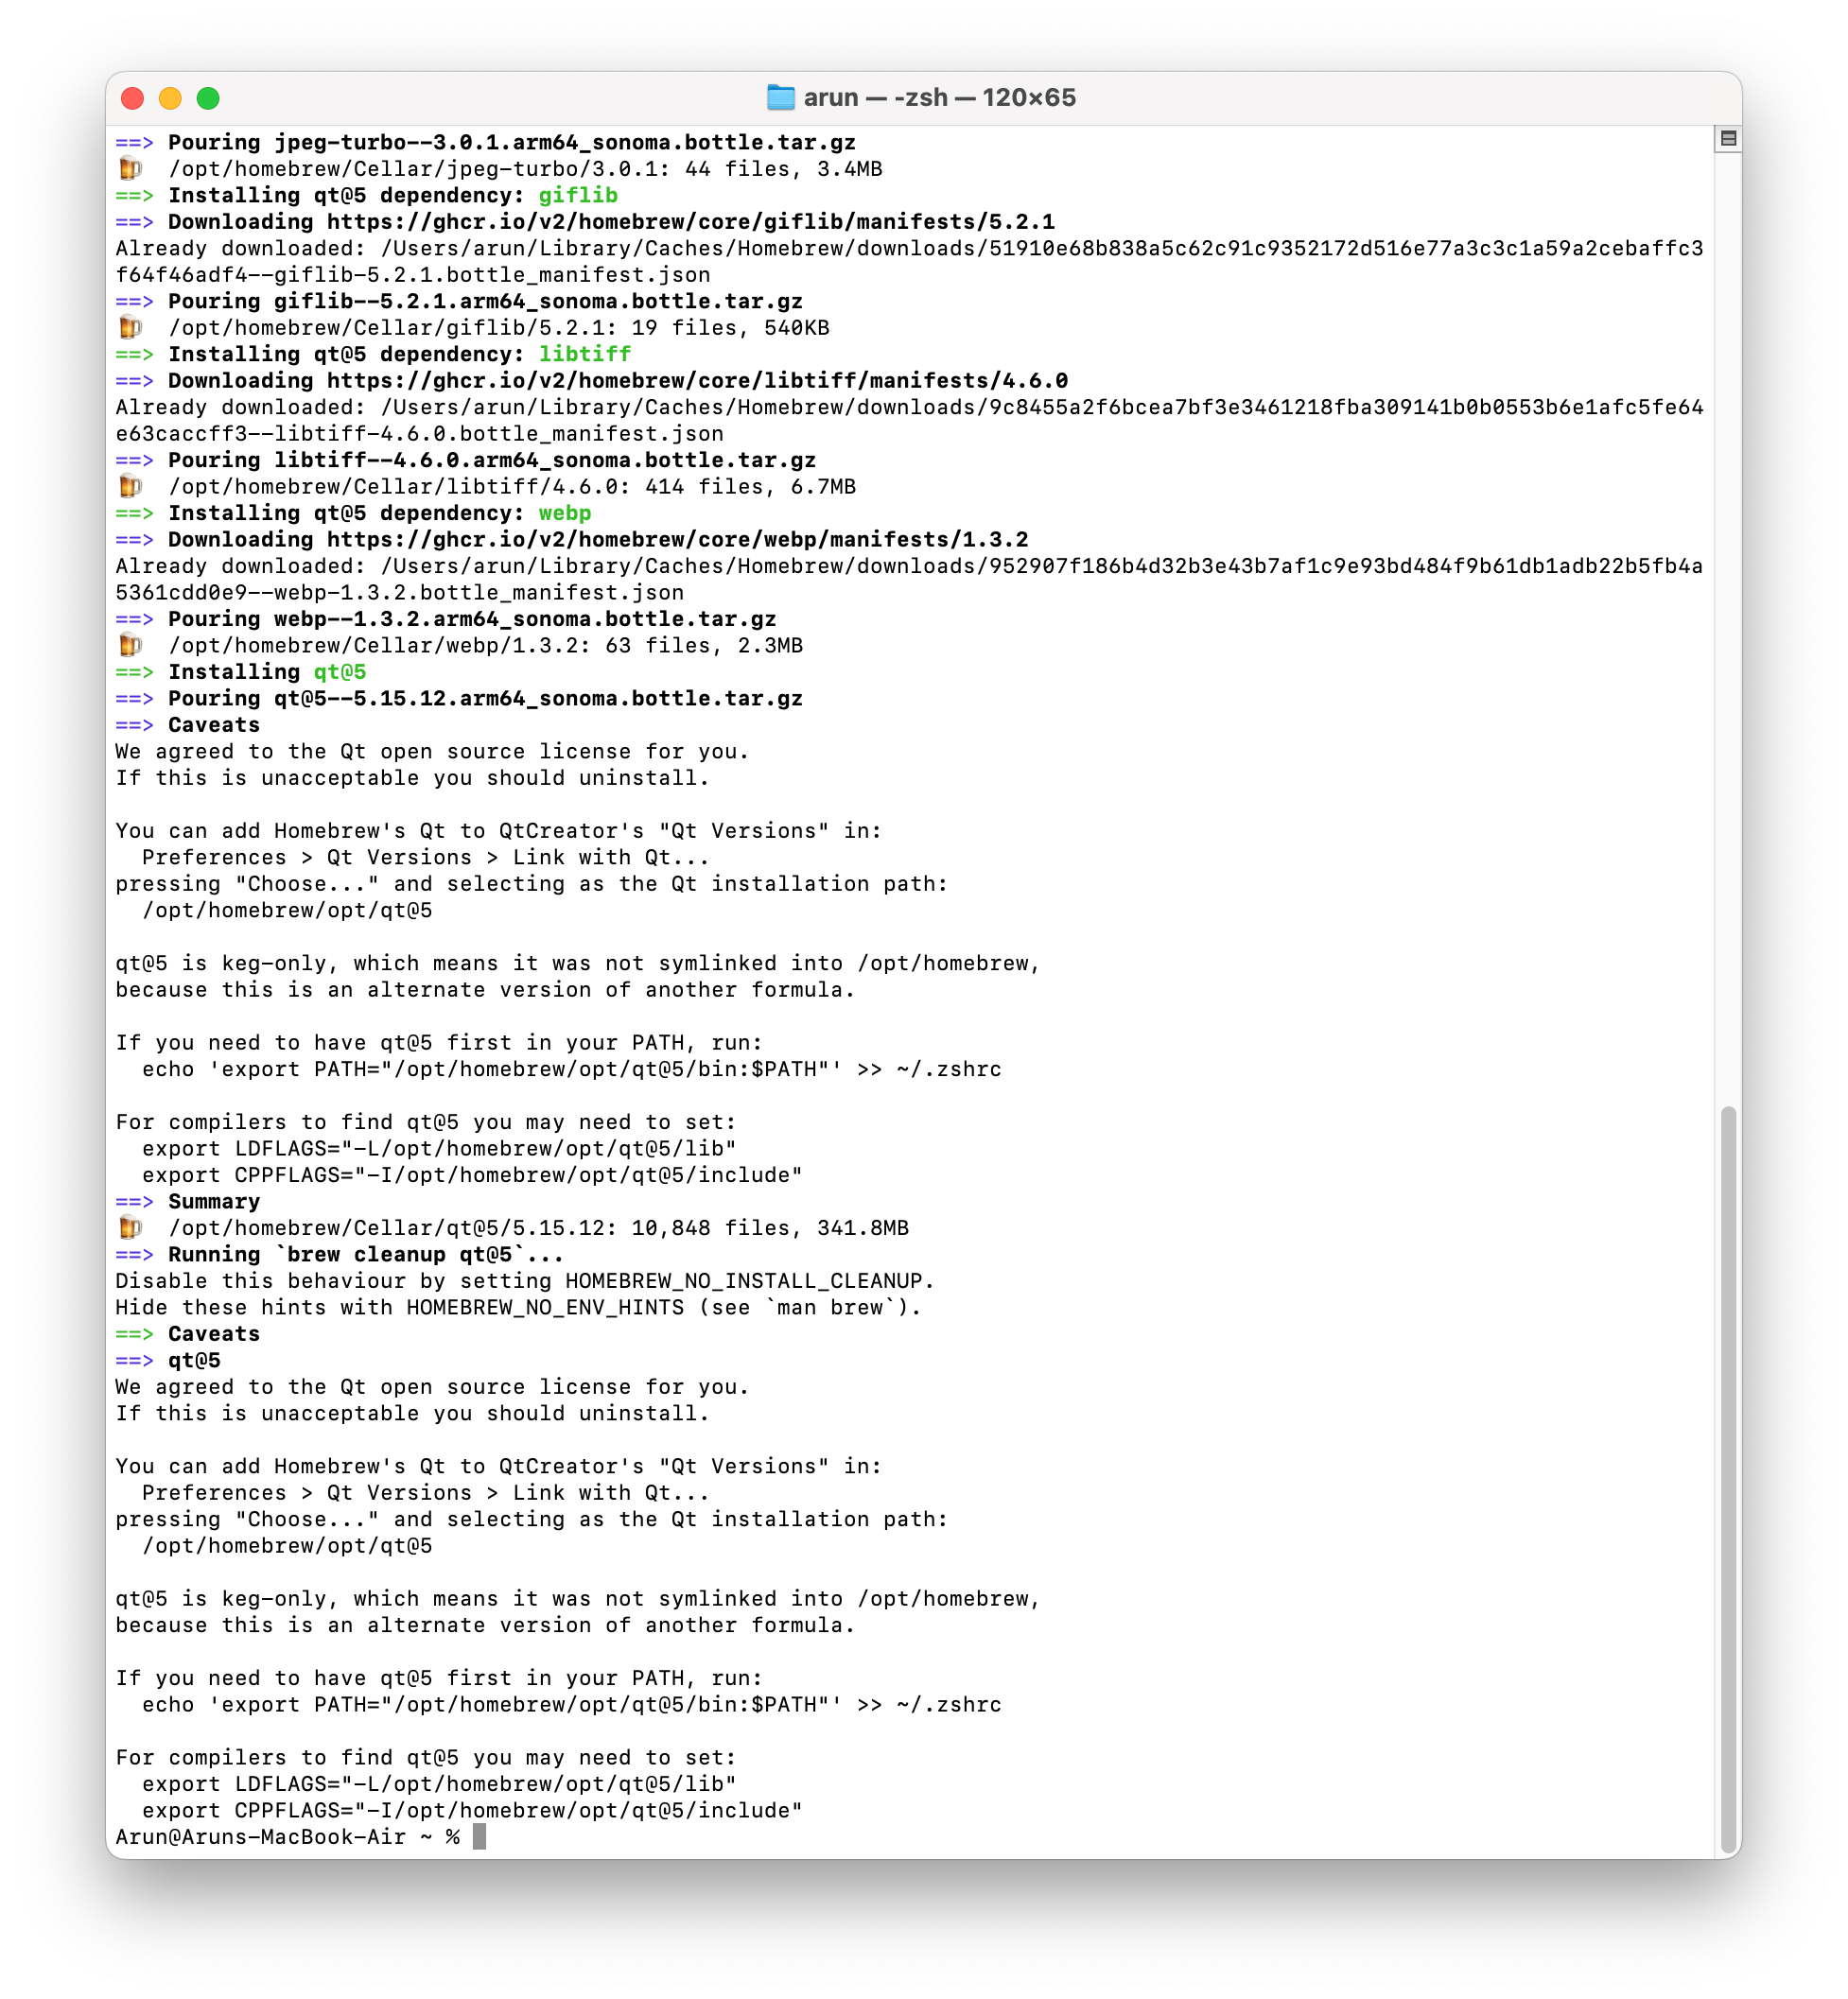
Step 5: Installing Qt 5
The main secret in installing Qt 5 is the way that is explained in [6]. Just install the package qt@5 using brew as follows:
This will start installing several dependencies …
 And finally, complete the Qt 5 installation Successfully.
Step 6: Editing Profile/Startup Scripts
Now we have to edit the script ~/.zshrc and add the path to Qt 5 and export the LDFLAGS and CPPFLAGS.
Step 7: Installing NetAnim
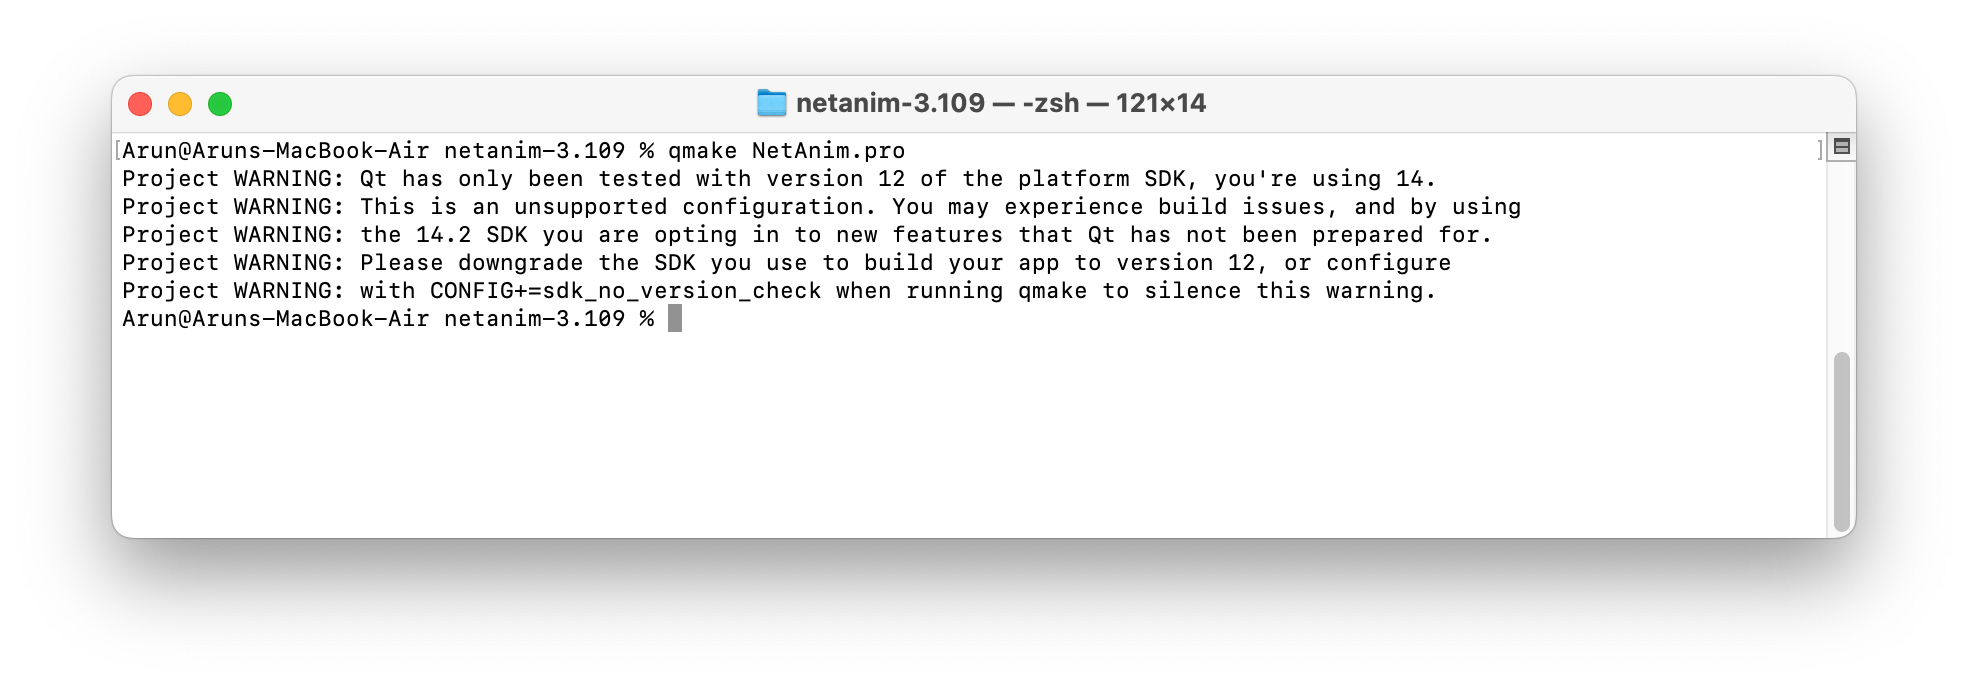
Creating a Makefile
Now we are ready to install NetAnim. First, run make on NetAnim.pro to create the ‘Makefile’ as follows:
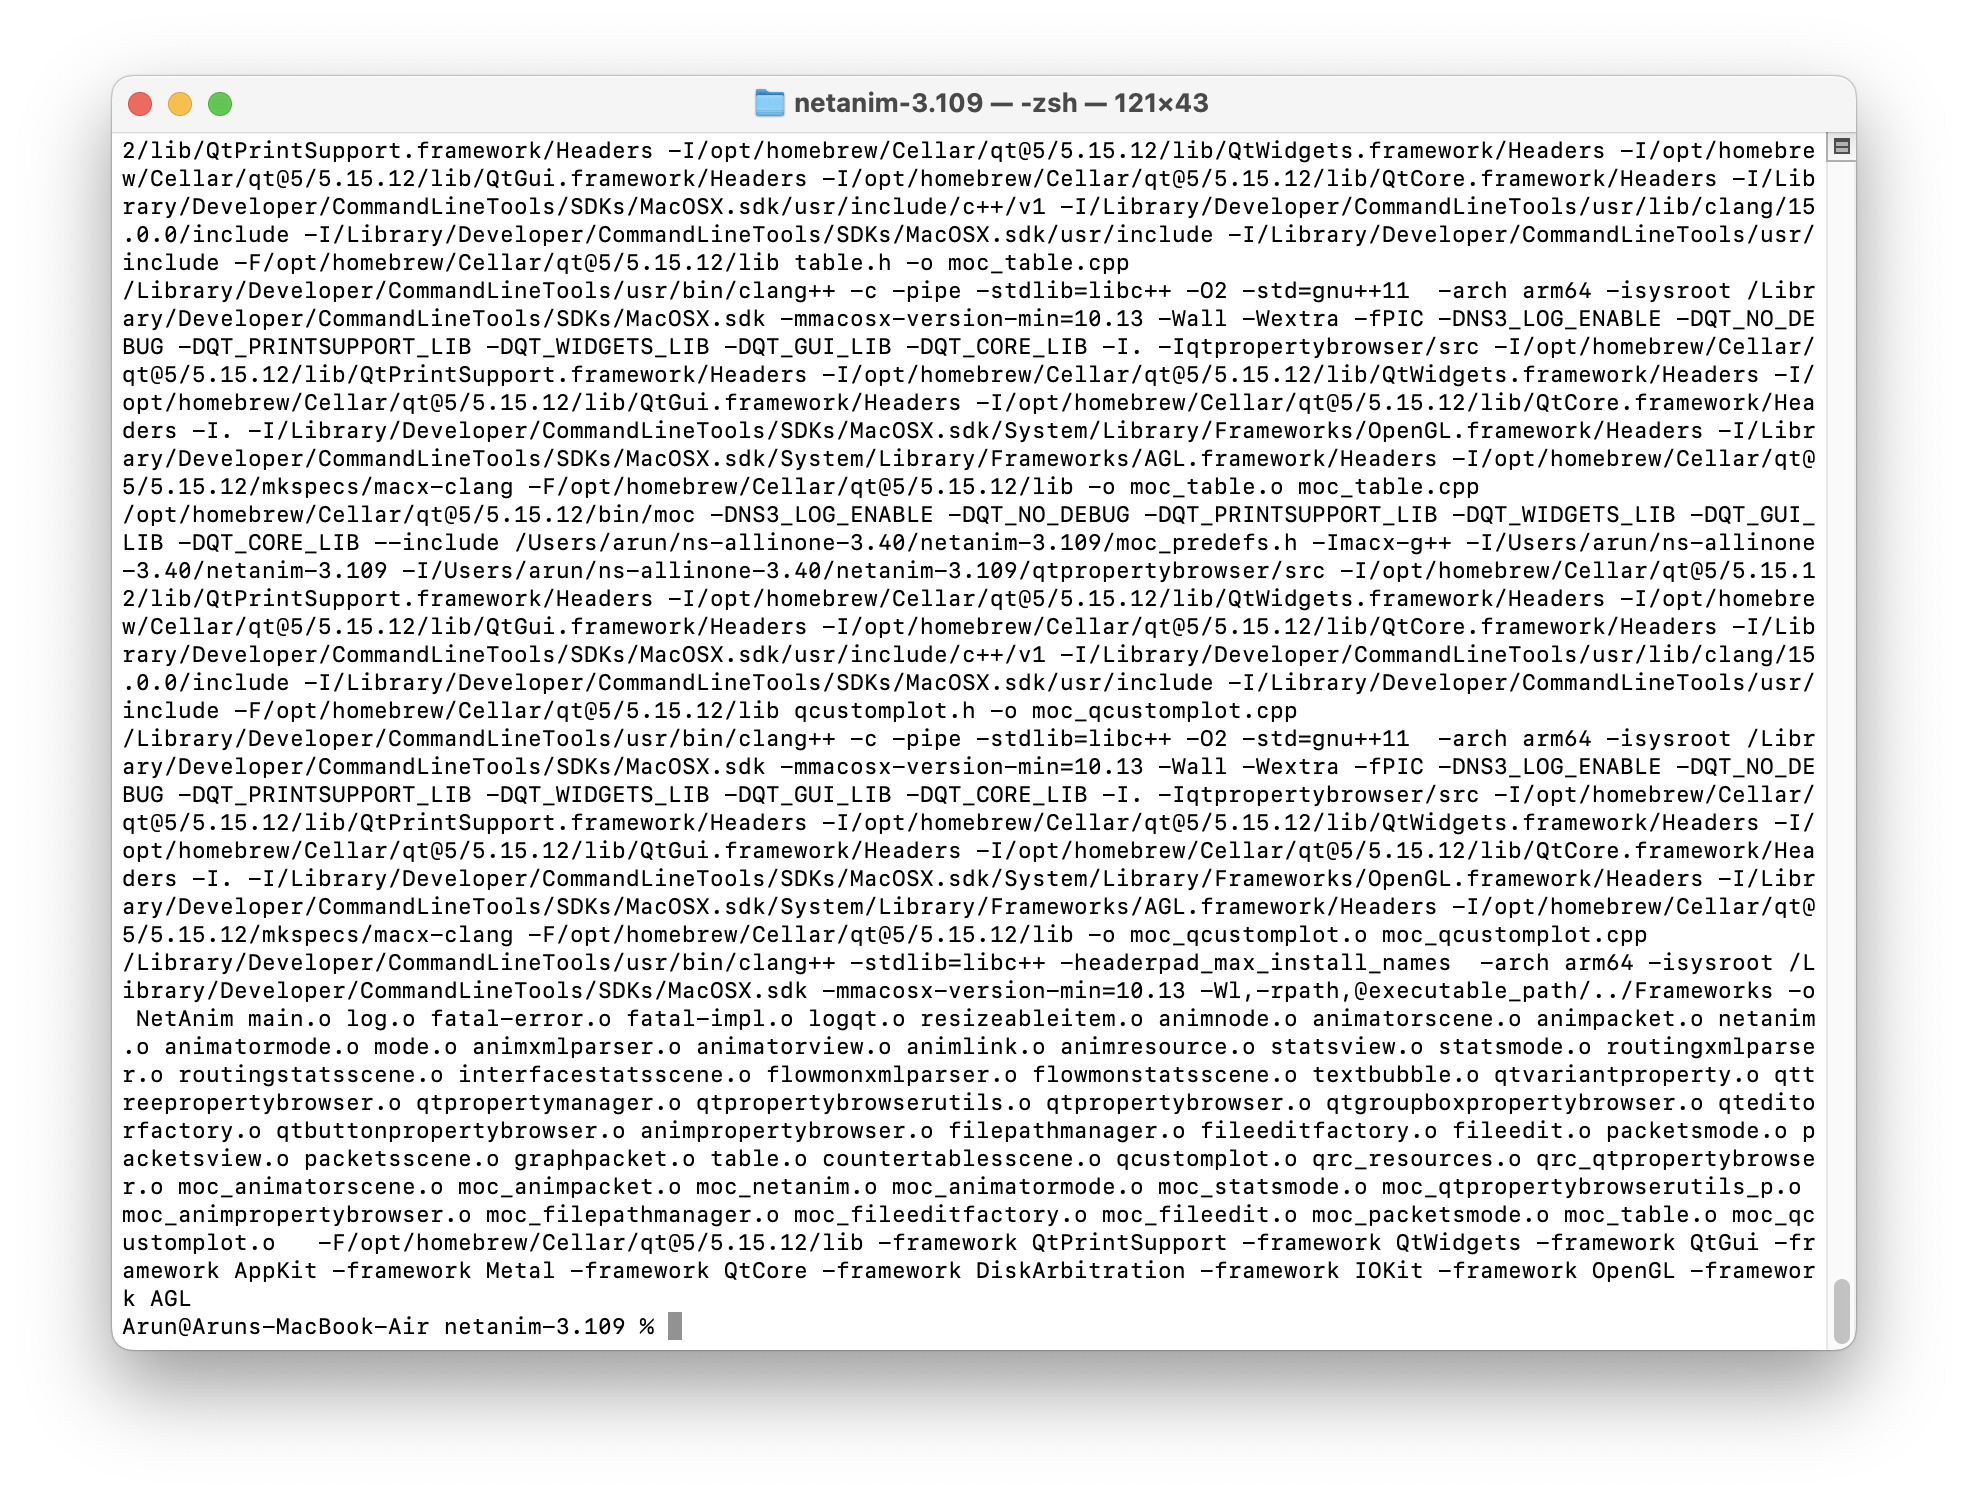
Building NetAnim
Now we can build NetAnim using make command as follows :
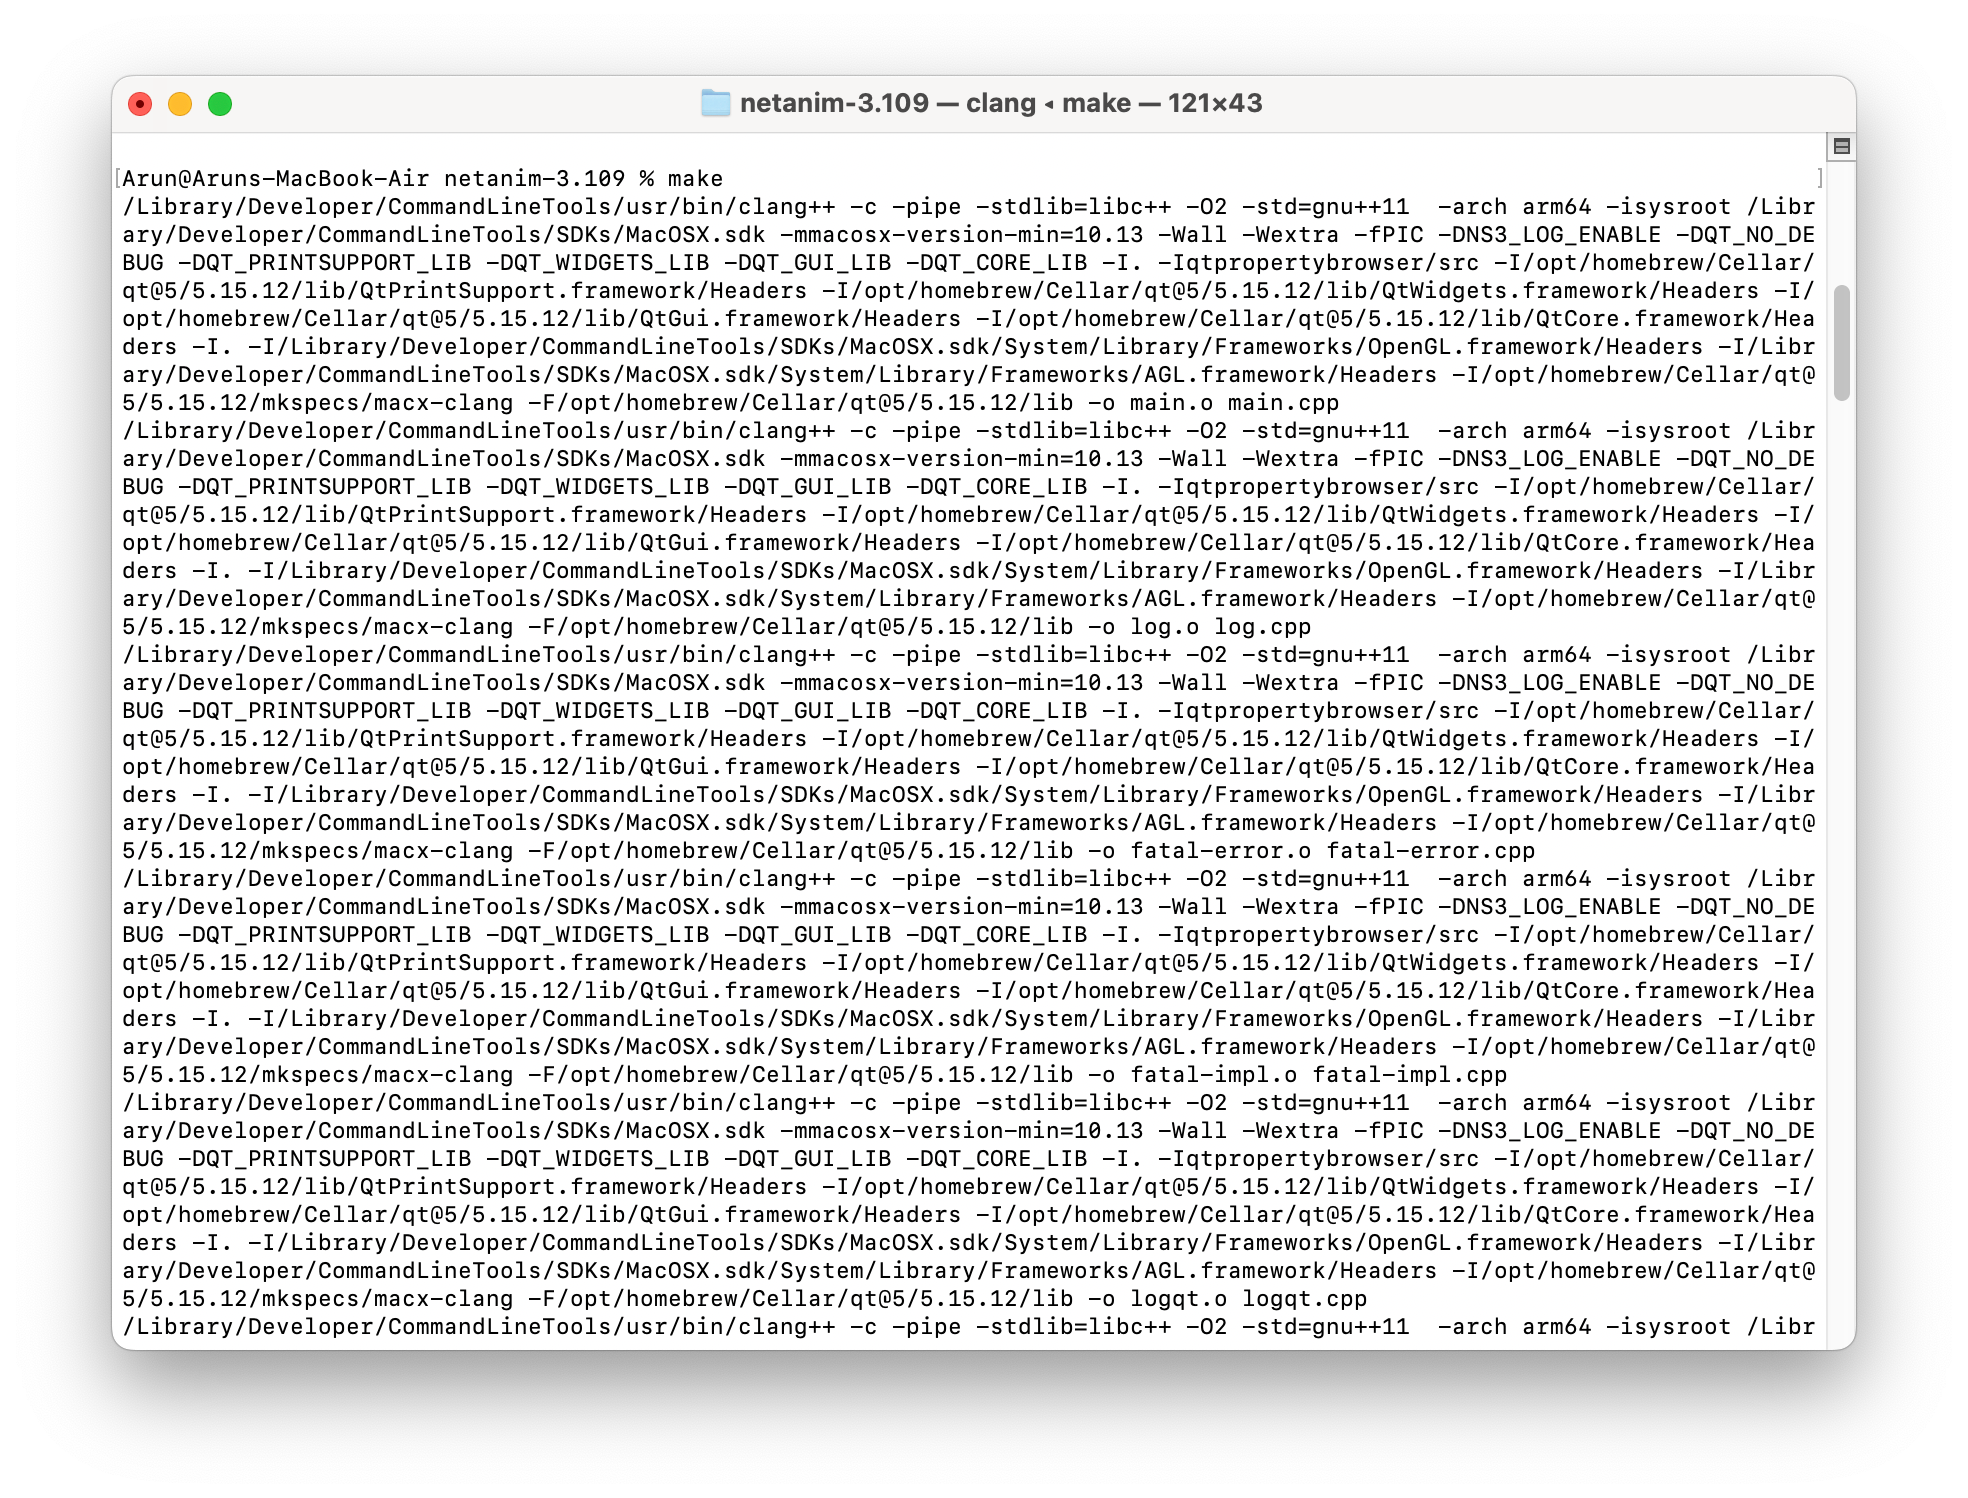
After a few seconds of compiling different files, it will generate the final binary “NetAnim” in the same folder.
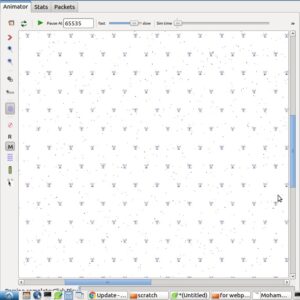
Testing the Working of NetAnim
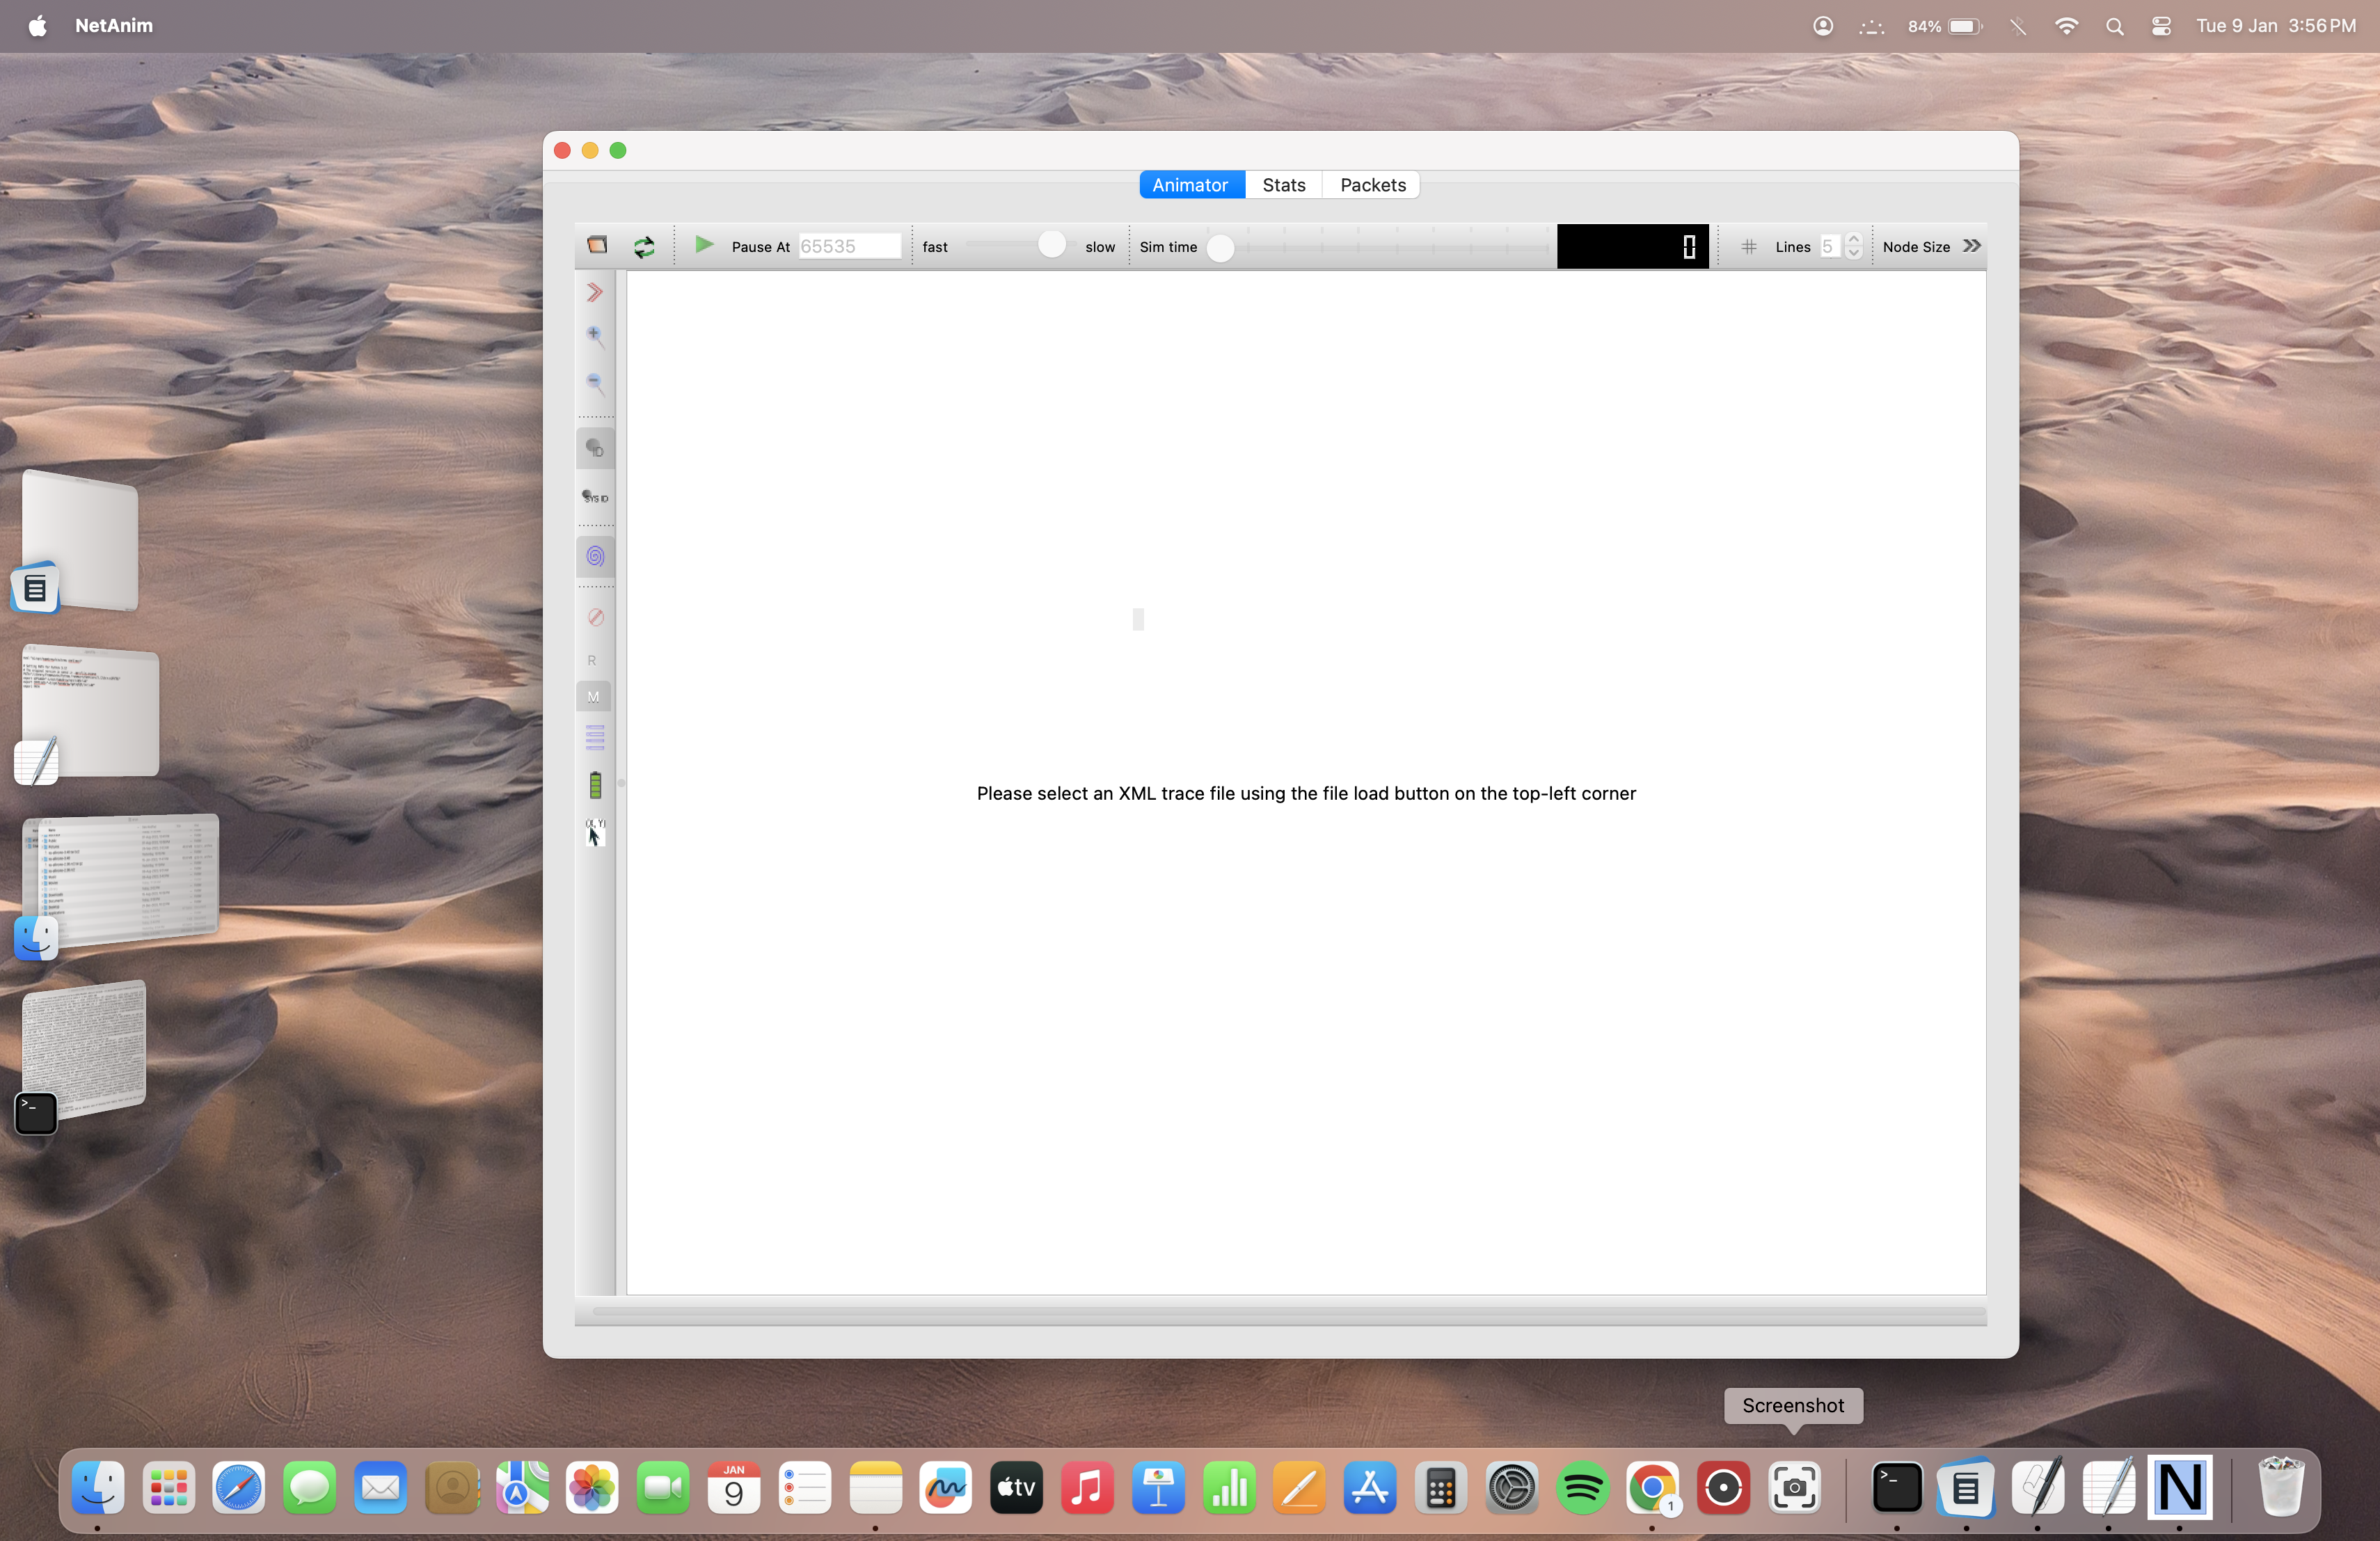
Run the command and open the main GUI of NetAnim as follows :
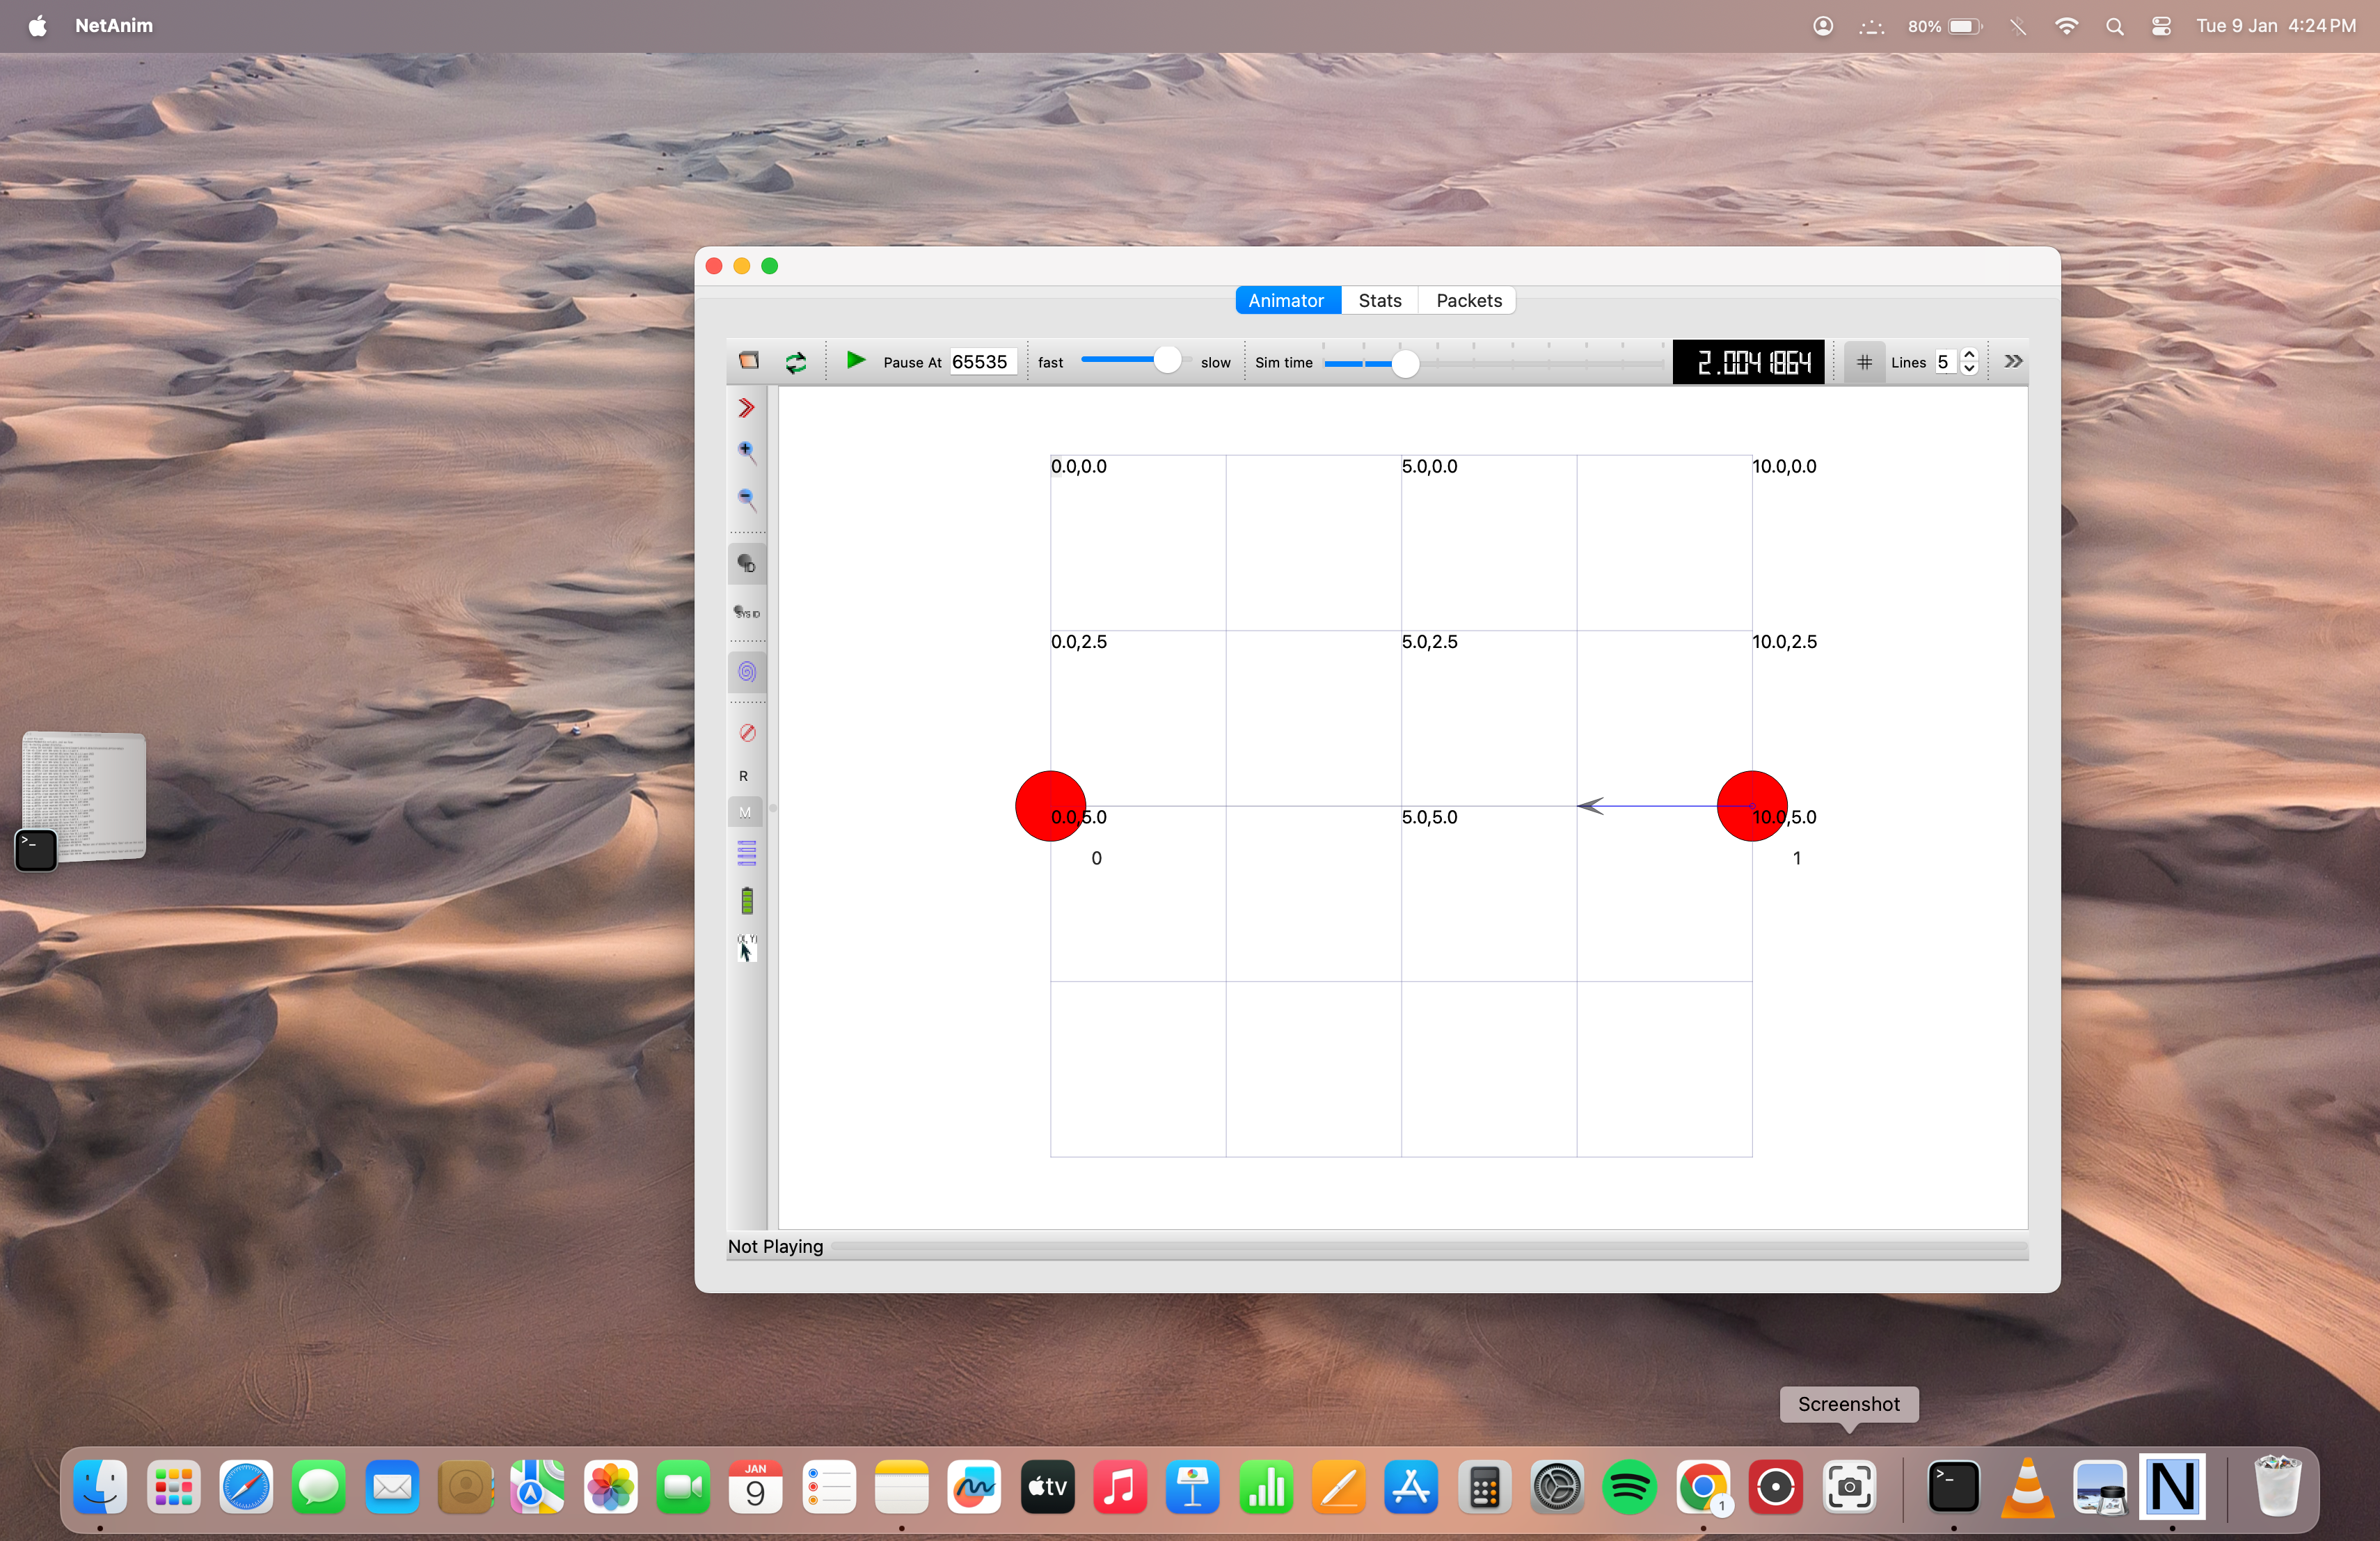
Now open an example NetAnim output file (XML) and play it.
Conclusion
In my earlier attempt[2], I encountered challenges during the NetAnim installation; the issues mainly related to QT5 and its dependencies and now I explored some potential solutions to enable NetAnim functionality on the M2 platform. Now we successfully set up NetAnim on a Mac M2, and it is working good without any issues.
Since we could install ns-3 as well as NetAnim on Apple Mac M1/M2, now it will fulfill all our simulation needs.
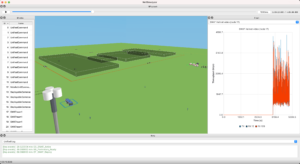
The 3D visualization tool, NetSimulyzer, is also require Qt 5. So, we may explore the possibilities of installing NetSimulyzer in our future article and may try to visualize our ns-3 simulations in 3D on a Mac M1/M2.
References
- https://www.nsnam.org/wiki/Installation
- https://brew.sh/https://www.nsnam.org/docs/installation/ns-3-installation.pdf
- https://www.python.org/downloads/mac-osx/
- https://groups.google.com/g/ns-3-users/c/5Kaswr9m6-s
- https://www.nsnam.org/wiki/Installation#macOS
- https://tr0.medium.com/how-to-set-qt-5-15-on-apple-silicon-m1-336dbbb0b23e
-
Procedure for Installing ns-3 (3.40) on New Apple Mac M1/M2.
 Take Me to Afarion ns-3 iPlayground