NetSimulyzer 3D Visualization Tool:
The NetSimulyzer 3D visualization tool can be used to play/animate/visualize ns-3 network scenarios for better understanding, presenting and debugging them.
While trying to install the NetSimulyzer 3D visualization tool on Linux variants such as Debian 10 and some Ubuntu versions that is installed under VirtualBox, we may face some problems during installation and execution of the NetSimulyzer 3D visualization tool.
The most common issues
The most common issues that we may face under Virtualization are:
- The virtual hardware (under VirtualBox) will not have sufficient memory (RAM) so that the installation will simply ‘hang the system’ or simply ‘crash the system’ around 70% to 80% of the compile process.
- Generally, people forget to use a ‘.swap’ file or ‘swap’ partition under VirtualBox installations. So, even if you will allot 12 GB RAM for your virtual computer, the installation will simply ‘hang the system’ or simply ‘crash the system’ around 70% to 80% of the compile process.
- Since NetSimulyzer 3D visualization tool expects a 3D graphic acceleration hardware by default, and such 3D graphics hardware will not be available or will not be configured under virtualization, (Even if we can successfully complete the compile process under VM) simply, NetSimulyzer fails to start with some ‘3D graphics’ related errors.
Solving the memory and swap issues
So First, solve the memory and swap issues.
The 3D Visualization Tool – Installation Requirements
- (Preferably) a Debian 10.
- A C++ 17 compliant compiler
Minimum supported compilers:
GCC 7.3.0
or Clang 6.0.0 - CMake 3.13 or greater
- A graphics card supporting OpenGL 3.3
- Qt 5.12
- Optional: Doxygen
- And most preferably, a computer/laptop with a higher-end CPU and a LOT of memory. (Because compiling NetSimulyzer on native hardware itself will consume a lot of CPU and memory resources and may just ‘hang’ or ‘crash’ your machine — particularly around at 85% of the ‘make’ process – Since you are doing this installation under VirtualBox, and your virtual machine is having low memory (12 GB or low), then better configure the swap partition or .swap file properly under the virtual machine so that the ‘make’ process will logically end with NetSimulyzer binary)
Note: This part of the installation will not require a pre-installed ns-3. (For demonstration purposes, we will only need a sample .json output from a previous 3D simulation)
Installation
Step 1: Install the dependencies
(Note: Debian 11 and some latest Ubuntu distros will not have ‘qt5-default’ in their repositories. So try this installation under Debian 10 or Equivalent Ubuntu versions)
Step 2: Install ‘git’ if needed
Step 3: Change to a folder under which you want to install NetSimulyzer and clone the NetSimulyzer project from github.
$ git clone –recursive https://github.com/usnistgov/NetSimulyzer.git
This will create a folder ‘NetSimulyzer’ under your home directory.
Step 4: Create a folder under /home/yourname/NetSimulyzer for doing make from that folder
$ cd build
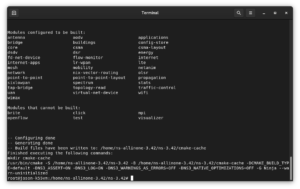
Step 5: Run cmake and specify the source directory, build type, and desired build options and then build.
$ cmake –build . –parallel
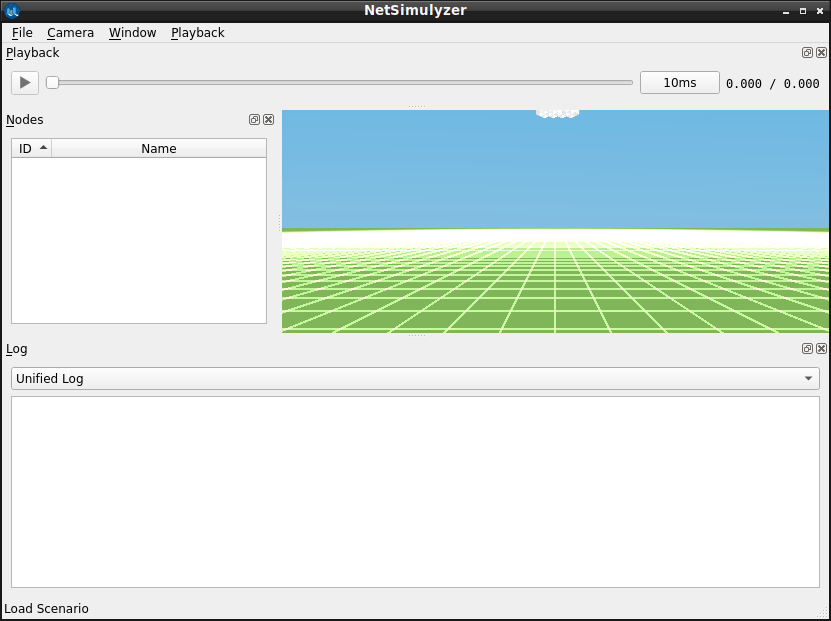
Step 5: Run the NetSimulyzer.
$ ./build/netsimulyzer
Generally, under virtual Linux installations, this will not successfully open the NetSimulyzer user interface and simply will end up with an open GL error. The reason is: the virtual machine will not have the expected accelerated 3D hardware.
So we have to instruct it to use 3D rendering method under a virtual machine as follows:
Now it will successfully open NetSimulyzer user interface using a software driver.
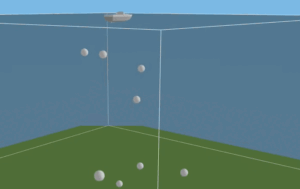
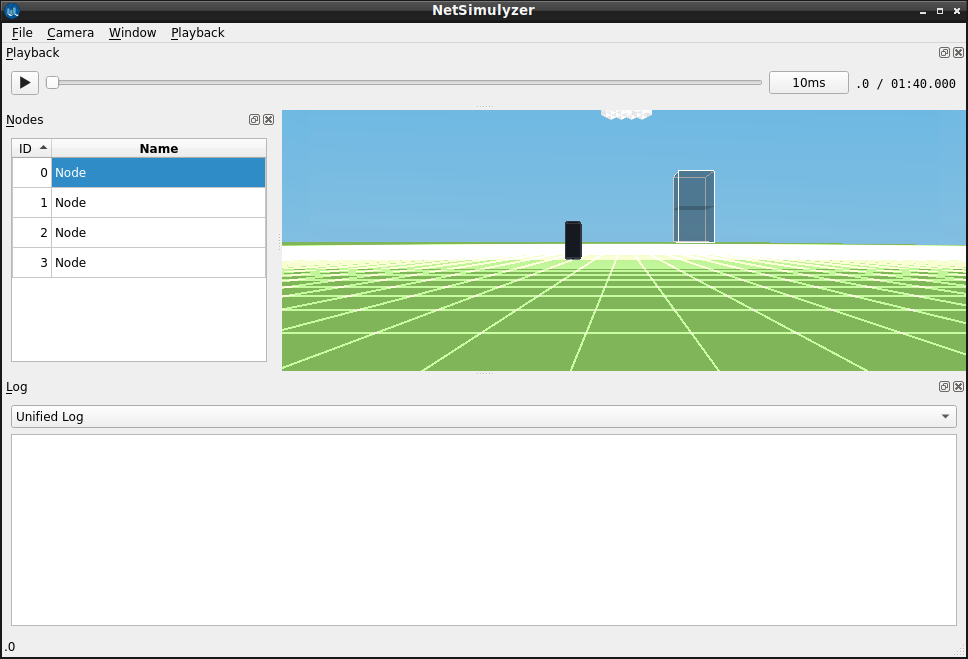
Step 6: Load and visualize a 3D Network Scenario (that was previously created during a 3D ns-3 Simulation)
In this example, the output file of the ns-3 example simulation ‘netsimulyzer-mobility-buildings-example.cc’ – ‘netsimulyzer-mobility-buildings-example.json’ has been loaded in the NetSimulyzer visualization tool. By clicking Node 0, we can ‘look’ the scenario from that node’s camera perspective.
Note: In the following article, I explained the installation of ‘NetSimulyzer ns-3 companion module’ — which is used to generate 3D traces needed for recreating the 3D network scenarios.
Installing NetSimulyzer 3D Visualization Support Add-on Module in ns-3 under Debian/Ubuntu
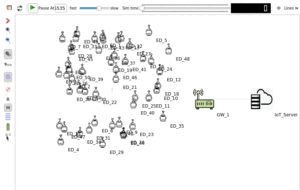
The following posts show the use of NetSimulyzer.
- 3D Aquatic Animal Tracking Underwater Network Simulation (UWSN) Under ns-3
- Implementation of Circle Mobility Model for ns-3 and Visualizing it in 3D
 Take Me to Afarion ns-3 iPlayground