Generally, we can do FANET/UAV/DRONE simulations as mentioned in the following article :
Simulation of UAV based Search and Rescue Scenario with ns-3
FlyNetSim is somewhat different from the above kind of simulation.
The official GitHub page of FlyNetSim states that the code was originally tested on an Ubuntu 16.04 system with network simulator version 3.27. Of course, installing some old version of software on a new Linux variant may end up with a lot of software version compatibility issues. Further, installing FlyNetSim under virtual machines also may lead to poor performance. So we try to install FlyNetSim on a “chroot” based Debian installation to achieve near-native performance.
ArduPilot
ArduPilot is a trusted, versatile, and open source autopilot system supporting many vehicle types: multi-copters, traditional helicopters, fixed-wing aircraft, boats, submarines, rovers and more[3]. A vehicle installed with ArduPilot firmware can be driven with autopilot mode to avoid obstacles even during manual maneuvering of the vehicle, and it is possible to restrict the movement of a vehicle by adopting a predefined path or allowing it to move only within a virtual geo-fence. So it is assumed that the vehicle which is controlled with ArduPilot is equipped with the standard sensors and controls.
FlyNetSim[1]
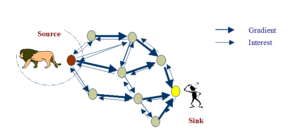
FlyNetSim is a UAV Network Simulator created by combining ns-3 network simulator and Ardupilot based UAV simulator Software-in-the-loop with lightweight Pub/Sub based middleware[1]. So FlyNetSim provides realistic FANET mobility for the ns-3 drone nodes by interacting with ArduPilot. The overall objective of FlyNetSim is to enable the simulation and evaluation of UAV swarms operating within articulated multi-layered technological ecosystems, such as the Urban Internet of Things[3].
Software Reruirements and Dependencies :
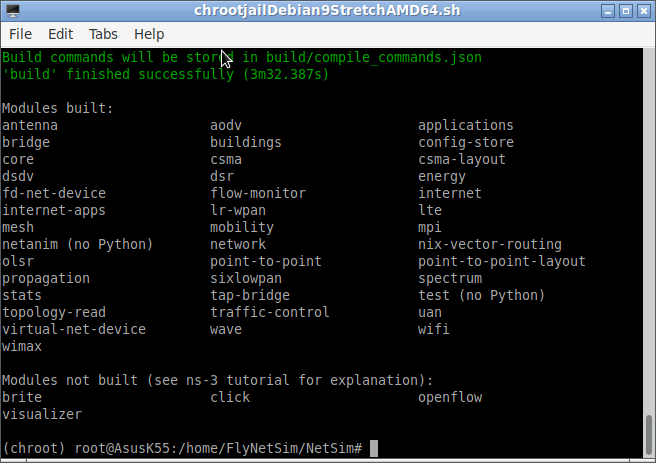
- FlyNetSim code was originally tested on an Ubuntu 16.04 system with network simulator version 3.27. So all the dependent packages related with ns-3 should be installed before proceeding the installaton of ns-3 and FlyNetSim.
- The basic packages needed are : Python2.7, pip, python-dev, gcc.
- FlyNetSim will also depend on some specific versions of czmq, libzmq, libczmq and libxml
Installation of “Chroot” Environment
This procedure presents the way of installation of on a 64bit Debian 9 (Stretch) which is the original basis of Ubuntu 16.04. Here I used Debian 9 which was installed in a “chroot” environment. You may understand and learn a “chroot” based installation of Linux and ns-3 from the following post:
Installing ns3.35 in Debian 10 chroot Jail Under Debian 11 Host OS or any Version of Linux Host
Instalation of FlyNetSim
Step 1: Install the Dependencies
$ apt-get install python pip python-dev python-qt4
$ git clone https://github.com/zeromq/zeromq4-x.git libzmq
$ cd libzmq
$ ./configure; make; make install
$ git clone https://github.com/saburhb/FlyNetSim.git
Step 3: Run the FlyNetSim installer script
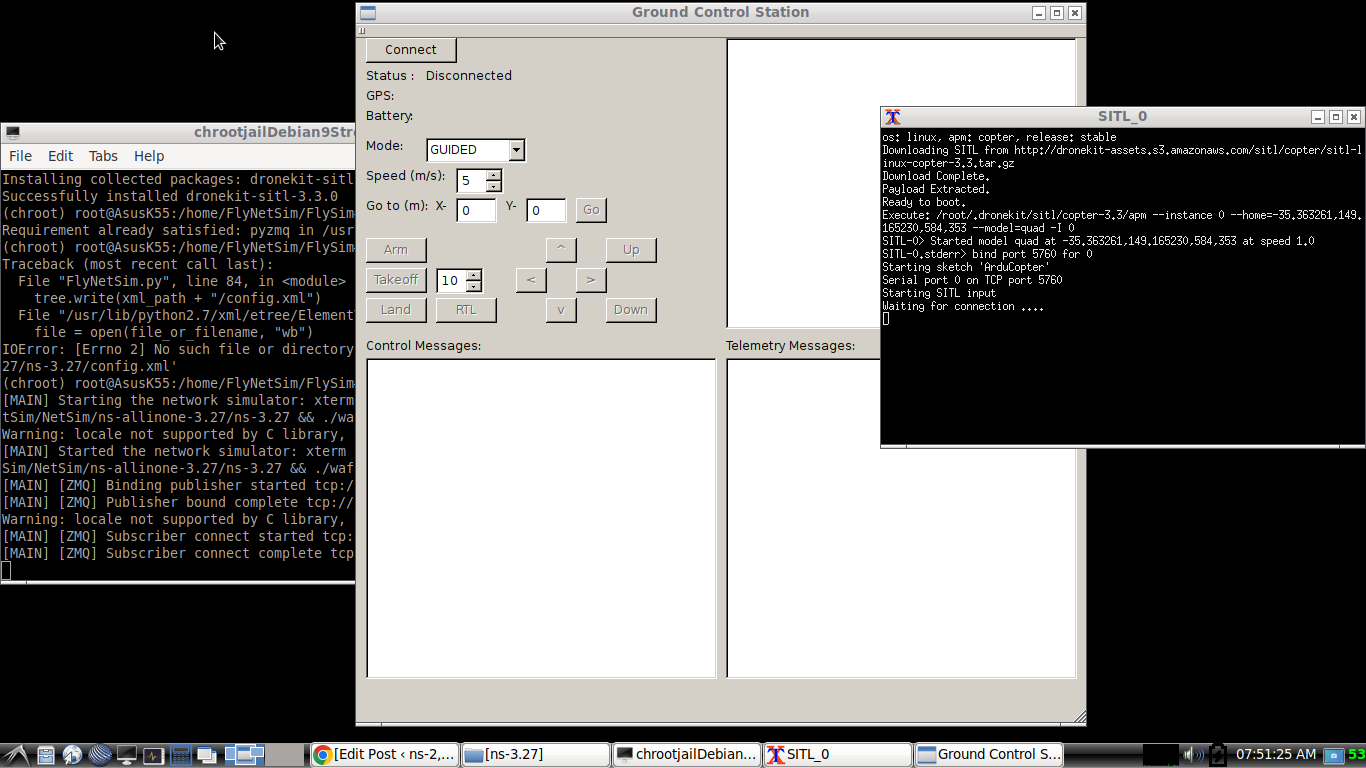
$ ./net_init.sh
Step 4: Downloading and configuring Ardupilot, dronekit and sitl
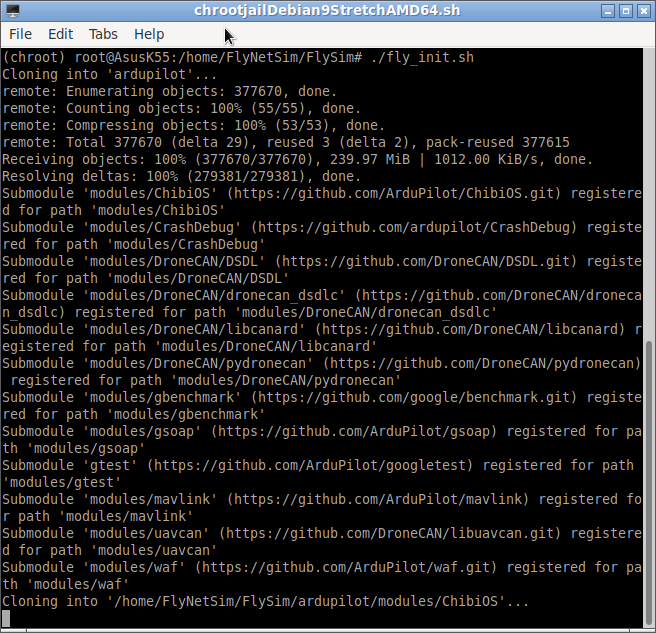
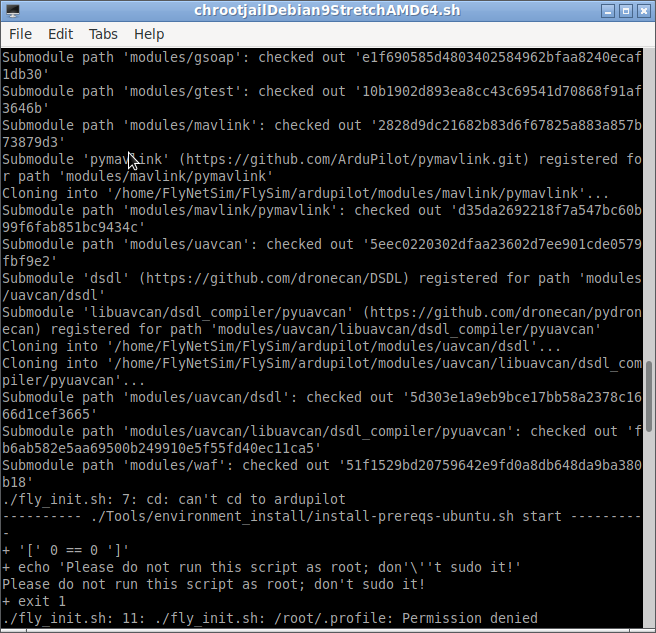
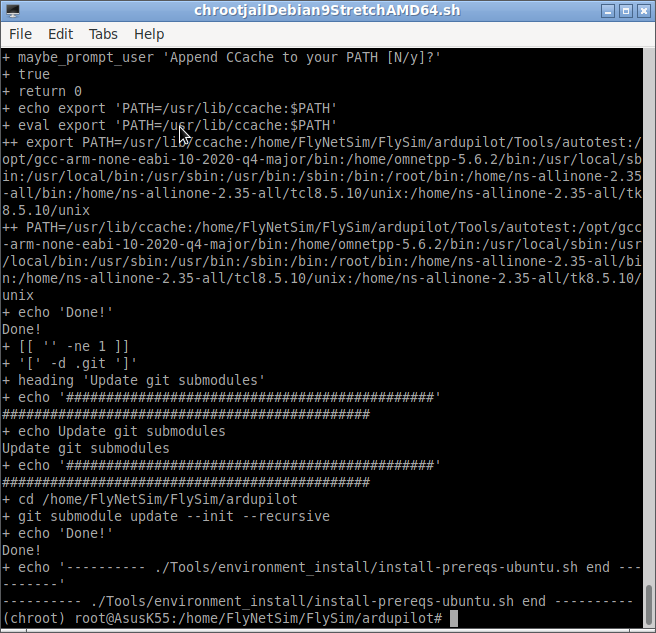
$ ./fly_init.sh
$ pip install dronekit-sitl
$ pip install pyzmq
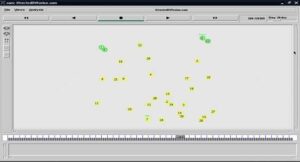
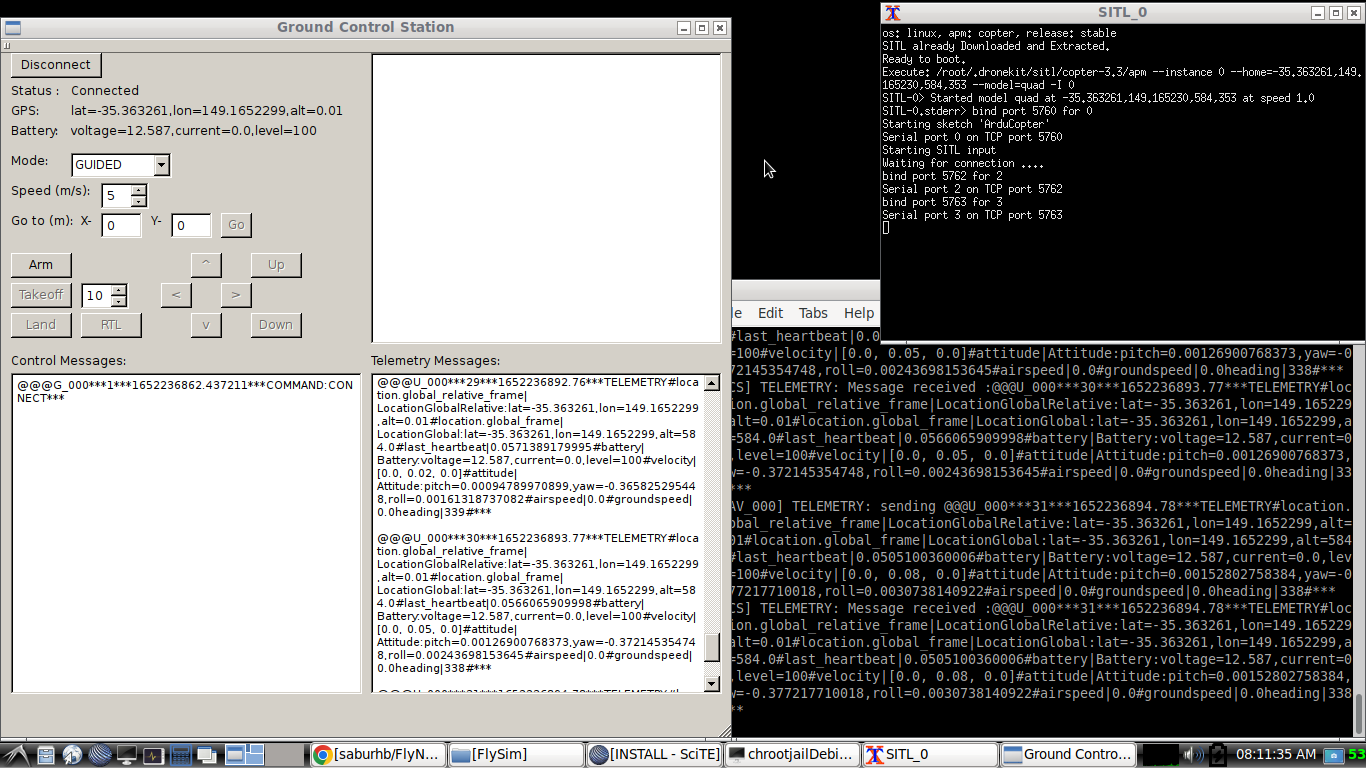
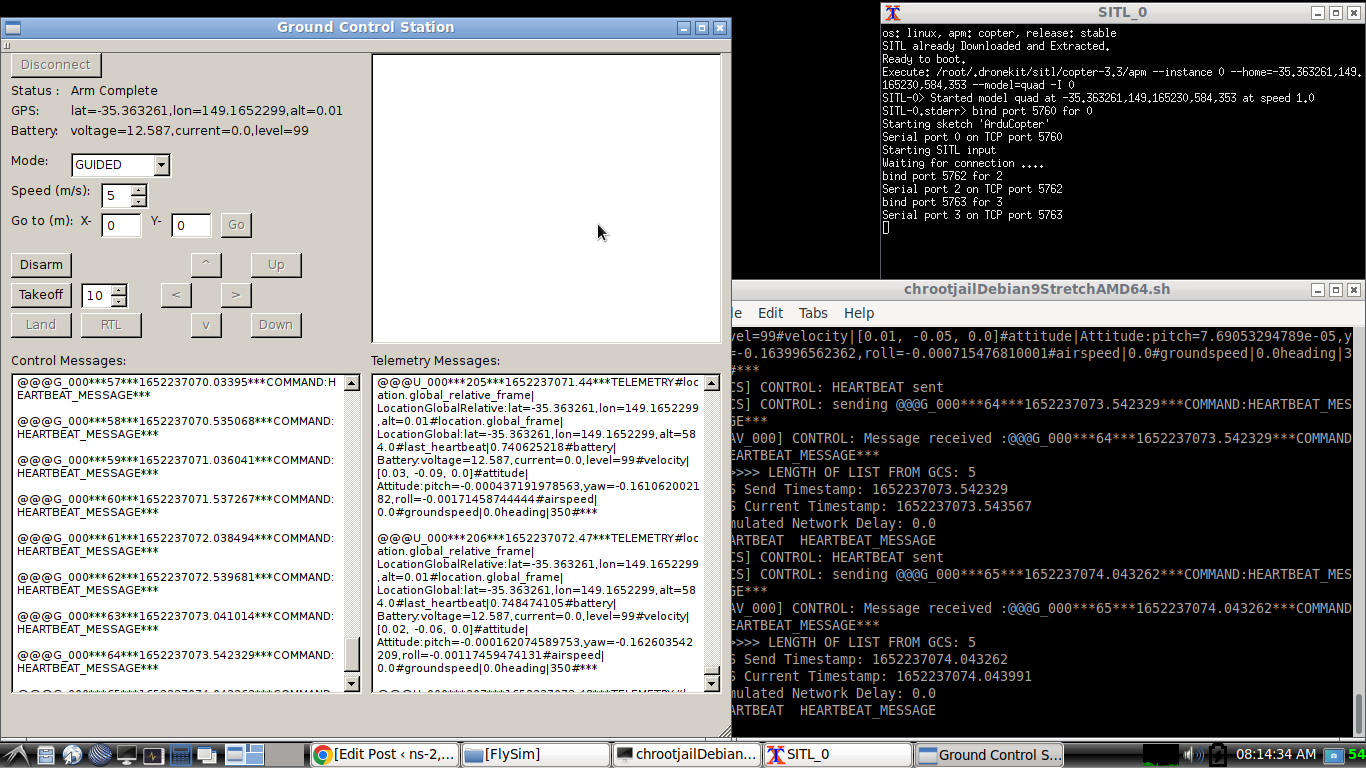
Step 5: Testing the Installation by running a Simulation
Some questions that should be answered
- What is the speciality of this FlyNetSim? why do we need this for a ns-3 based FANET simulation? Only to mimic realistic movement of nodes? What is the exact use of FlyNetSim in a ns-3 simulation-based research? The question is in my mind because, even without this FlyNetSim we can do a good, realistic FANET simulation under ns-3 using NetSimulyzer 3D tool for visualization as explained in the following post: https://www.projectguideline.
com/using-gauss-markov-3d- mobility-model-under-ns-3-for- simulating-unmanned-aerial- vehicle-uav-aerial-ad-hoc- network-aanet-and-flying-ad- hoc-network-fanet/ ) - Further, while running FlyNetSim, nothing happens interesting after pressing the “Takeoff” button – it is just running and running – without any visible progress – What do we have to do for implementing a meaningful simulation-based research with FlyNetSim?
- How to use this FlyNetSim to get numerical and graphical results and analysis that were achieved in the paper[2]?
The following some interesting simulations related with FANET/UAV/DRONE Simulations:
Simulating And Visualizing 3D Flying Ad-hoc Network (FANET) Under Omnet++
Real-time Visualization of TCP cwnd, rtt, rto and ssthreshold Dynamics of a 3D FANET Scenario
References
- https://github.com/saburhb/FlyNetSim
- Baidya, S., Shaikh, Z., Levorato, M. “FlyNetSim: An Open Source Synchronized UAV Network Simulator based on ns-3 and Ardupilot”. In Proceedings of the 21st ACM International Conference on Modeling, Analysis and Simulation of Wireless and Mobile Systems (ACM MSWiM).
- https://ardupilot.org/
- https://www.projectguideline.com/installing-ns3-35-in-debian-10-chroot-jail-under-debian-11-host-os-or-any-version-of-linux-host
 Take Me to Afarion ns-3 iPlayground