The ns-3 Topology 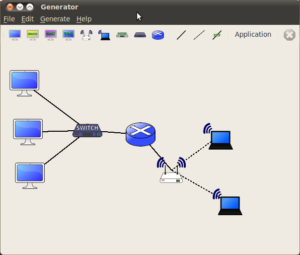 Generator
The ns-3 topology generator (Copyright (c) 2009 University of Strasbourg) provides a quick and easy way to create ns-3 simulation code in an automated fashion. While using this tool, with the help of a GUI we can design our simulation scenario and generate the corresponding simulation code with a few clicks click.
It provides an easy to use GUI from which we can add nodes, links, applications, and generates C++ simulation code for an ns3 simulation.
The Procedure for Installing and Using ns-3 Topology Generator
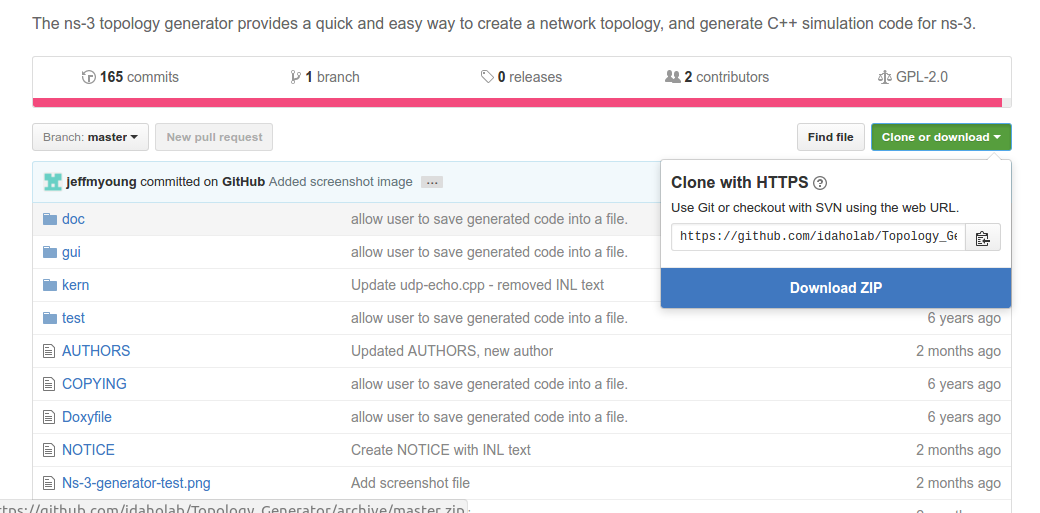
1. Download the code from the following link :
https://github.com/idaholab/Topology_Generator
Simply Download it as a zip (Topology_Generator-master.zip) file by using the option at the right top.
2. Extract the compressed folder(Topology_Generator-master.zip) in your filesystem. (for example, /home/username/Topology_Generator-master )
3. Open a terminal window and change to that folder/home/username/Topology_Generator-master.
4. Compile the code as follows :
$cd /home/username/Topology_Generator-master
$ qmake
and then
$ make
(Note: You will need Qt 4 librarie to compile and use ns-3 topology generator)
To open the GUI, issue the following command from the folder /home/username/Topology_Generator-master
$ cd /home/username/Topology_Generator-master
$ ./ns-3-generator
This will open the following GUI
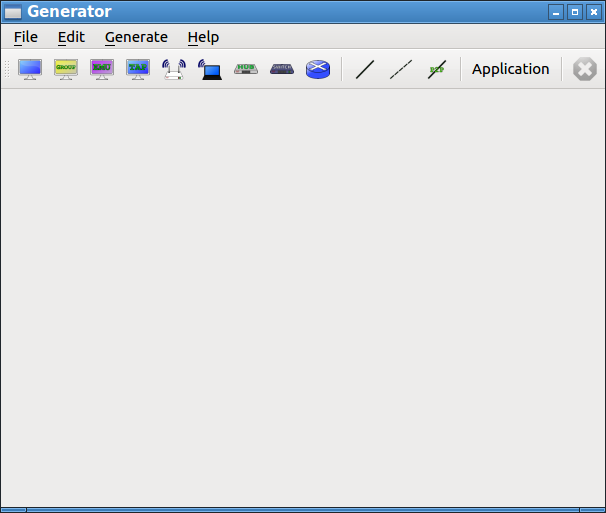
By using the buttons available on the toolbar, we can design a simulation scenario. In this example, we are creating two wired nodes with a link and attaching a ping application to them.
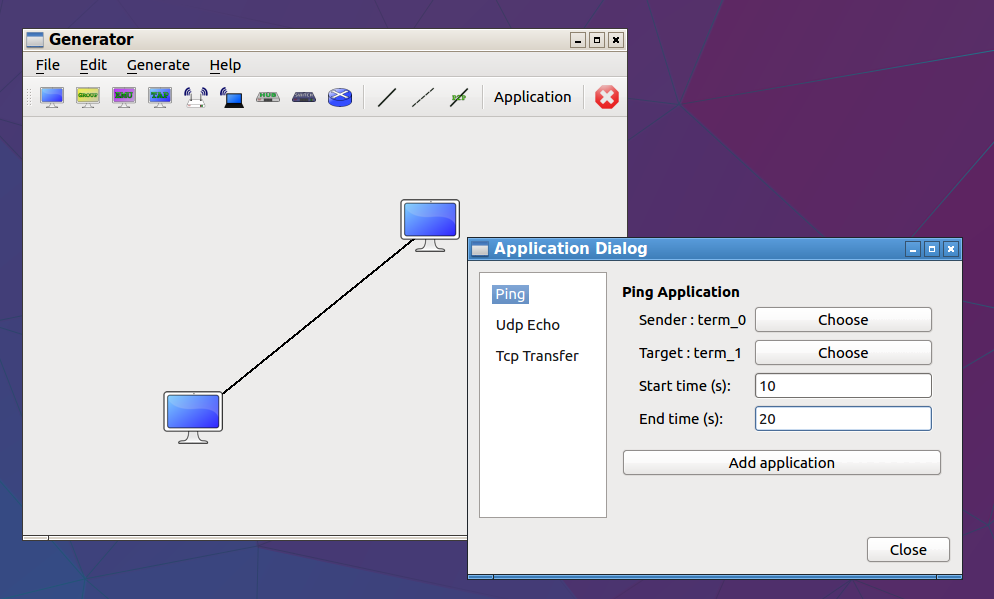
If we press the menu option Generate -> C++, then it will automatically generate the following code.
#include “ns3/global-route-manager.h”
#include “ns3/network-module.h”
#include “ns3/internet-module.h”
#include “ns3/bridge-module.h”
#include “ns3/csma-module.h”
#include “ns3/applications-module.h”
#include “ns3/v4ping-helper.h”
#include “ns3/v4ping.h”using namespace ns3;int main(int argc, char *argv[])
{
CommandLine cmd;
cmd.Parse (argc, argv);/* Configuration. */
/* Build nodes. */
NodeContainer term_0;
term_0.Create (1);
NodeContainer term_1;
term_1.Create (1);
/* Build link. */
CsmaHelper csma_hub_0;
csma_hub_0.SetChannelAttribute (“DataRate”, DataRateValue (100000000));
csma_hub_0.SetChannelAttribute (“Delay”, TimeValue (MilliSeconds (10000)));
/* Build link net device container. */
NodeContainer all_hub_0;
all_hub_0.Add (term_0);
all_hub_0.Add (term_1);
NetDeviceContainer ndc_hub_0 = csma_hub_0.Install (all_hub_0);
/* Install the IP stack. */
InternetStackHelper internetStackH;
internetStackH.Install (term_0);
internetStackH.Install (term_1);
/* IP assign. */
Ipv4AddressHelper ipv4;
ipv4.SetBase (“10.0.0.0”, “255.255.255.0”);
Ipv4InterfaceContainer iface_ndc_hub_0 = ipv4.Assign (ndc_hub_0);
/* Generate Route. */
Ipv4GlobalRoutingHelper::PopulateRoutingTables ();
/* Generate Application. */
InetSocketAddress dst_ping_0 = InetSocketAddress (iface_ndc_hub_0.GetAddress(0));
OnOffHelper onoff_ping_0 = OnOffHelper (“ns3::Ipv4RawSocketFactory”, dst_ping_0);
onoff_ping_0.SetAttribute (“OnTime”, StringValue (“ns3::ConstantRandomVariable[Constant=1]”));
onoff_ping_0.SetAttribute (“OffTime”, StringValue (“ns3::ConstantRandomVariable[Constant=0]”));
ApplicationContainer apps_ping_0 = onoff_ping_0.Install(term_1.Get(0));
apps_ping_0.Start (Seconds (10.1));
apps_ping_0.Stop (Seconds (20.1));
PacketSinkHelper sink_ping_0 = PacketSinkHelper (“ns3::Ipv4RawSocketFactory”, dst_ping_0);
apps_ping_0 = sink_ping_0.Install (term_0.Get(0));
apps_ping_0.Start (Seconds (10.0));
apps_ping_0.Stop (Seconds (20.2));
V4PingHelper ping_ping_0 = V4PingHelper(iface_ndc_hub_0.GetAddress(0));
apps_ping_0 = ping_ping_0.Install(term_1.Get(0));
apps_ping_0.Start (Seconds (10.2));
apps_ping_0.Stop (Seconds (20.0));
/* Simulation. */
/* Pcap output. */
/* Stop the simulation after x seconds. */
uint32_t stopTime = 21;
Simulator::Stop (Seconds (stopTime));
/* Start and clean simulation. */
Simulator::Run ();
Simulator::Destroy ();
}
After creating such code, we can customize it according to our needs. This will considerably reduce the errors and also minimize the overall development time.
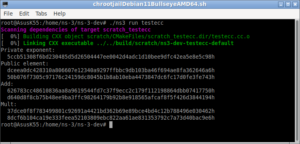
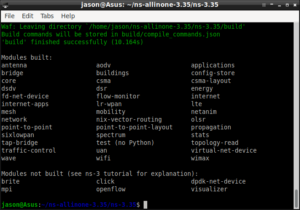
In fact, one can not do a research-level simulation only using this primitive tool. This tool is meant for some elementary experiments on ns-3.
For example, for creating a beach of simulations that is required for quality research work, you can not simply use this tool. Even you have to do a lot on the simulation scripts that was created by this tool for creating a primitive output like the below one.
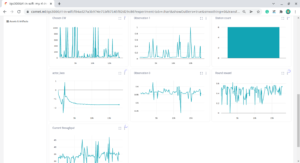
Trace Analysis of TCP Flows Under ns-3 MANET/ FANET/ VANET/ WSN Scenario
Further, you can not use this tool for creating a modern network scenario like the below one :
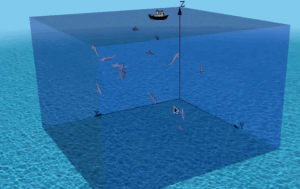
Implementation of Spring Mobility Model for ns-3 and Visualizing it in 3D along with Circle Mobility
So if you are a research student or scholar, simply forget about using this tool – it will provide no use for you,
 Take Me to Afarion ns-3 iPlayground