Some of the old ns-2 versions and even some very old ns-3 versions can only be installed on an older Linux variant because of the gcc and gcc-lib compatibility issues. Installing such old Linux variants under the latest hardware also raises a lot of issues related to driver components. In such cases, we may opt to install that old operating system using virtualization solutions such as “VirtualBox”, “VMware”, “Microsoft Virtual PC” etc.,. This article explains the way of installing VirtualBox in a Debian Host OS and installing an old Linux OS under VirtualBox. We choose to use 64bit Lubuntu 16.04-LTS as a guest OS because, it is a lightweight operating system that will need lower hardware resources to install and work.
Installing VirtualBox Under the Host OS.
You may use any variant and any version of Linux OS as your main Host Operating system. Here we assume using a Debian/Ubuntu variant of Host OS.
You may follow the following steps or follow any installation method from internet (such as https://phoenixnap.com/kb/install-virtualbox-on-ubuntu )
$ sudo apt-get install virtualbox
$ sudo apt-get install virtualbox—ext–pack
Creating a Virtual Machine for an Old Linux Version
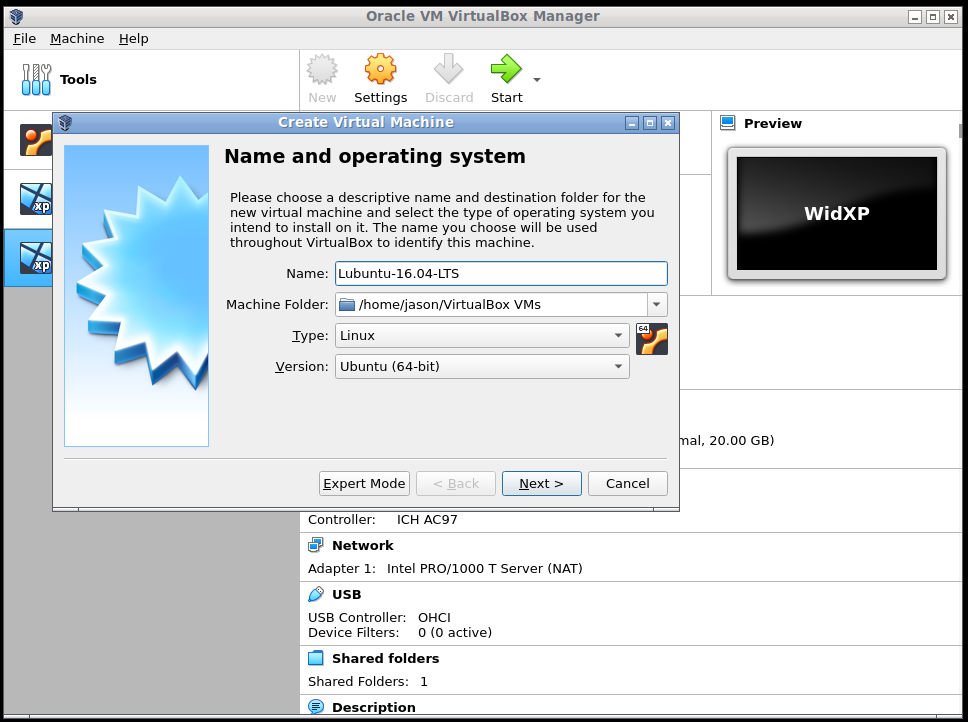
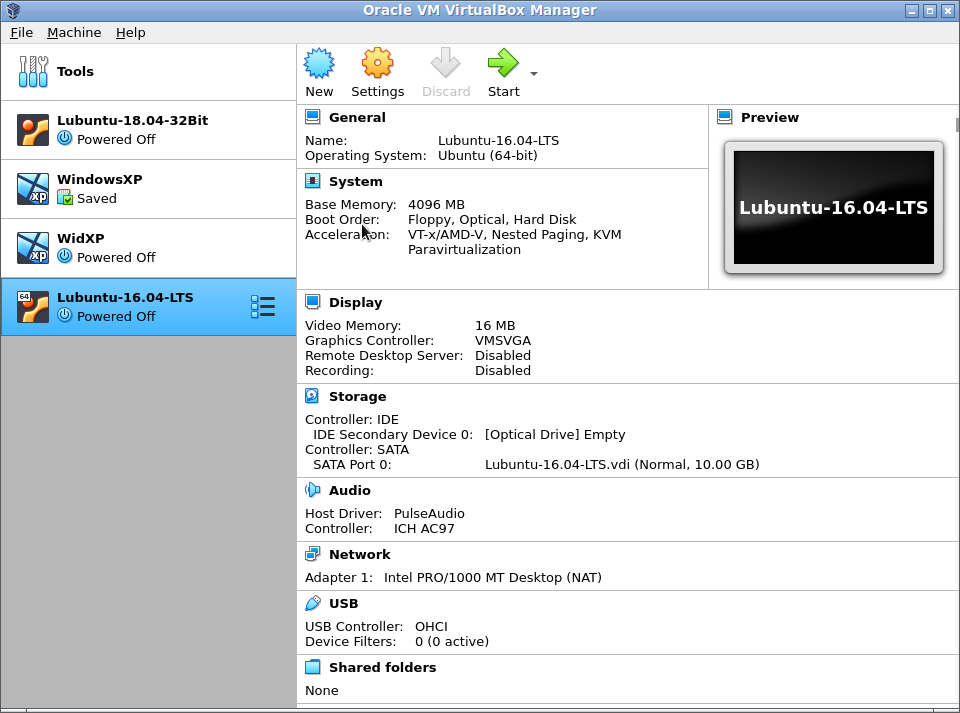
Run VirtualBox and create a new virtual machine using the new button from the top menu. Give a suitable name for your virtual machine. (Here the name of the Virtual Machine is Lubuntu-16.04-LTS.)
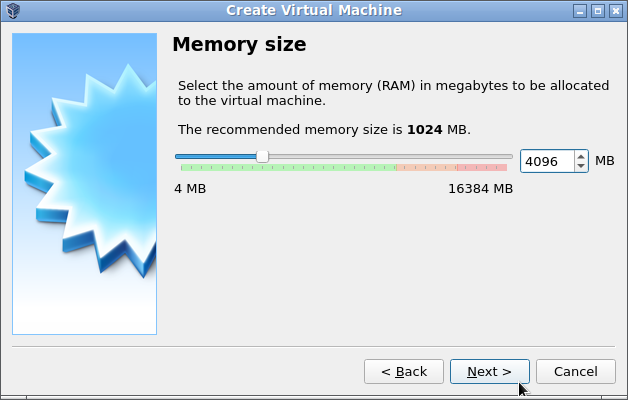
Allocate sufficient RAM for your virtual machine.
(Here we are allocating 4 GB for our new Linux virtual machine)
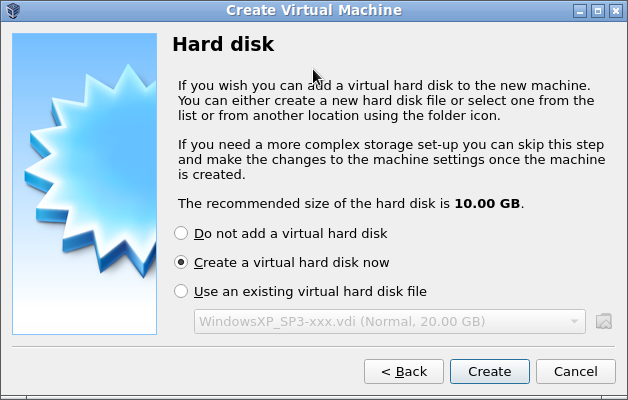
Create a virtual hard disk and allocate sufficient storage on it.
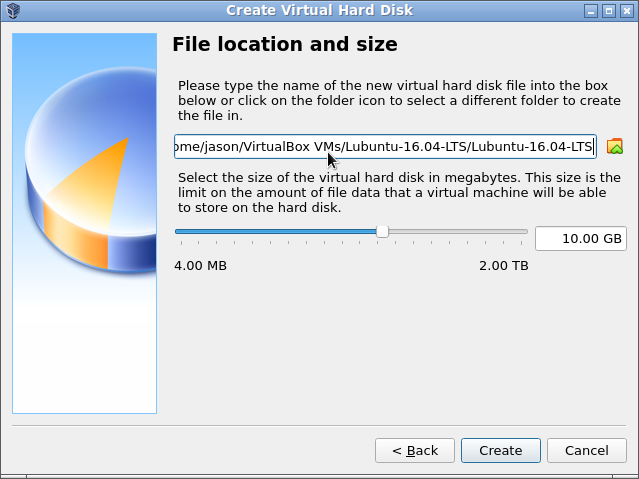
(Here we allocate 10 GB storage for your virtual Linux machine)
Select the disk file type. (Here we use the standard VirtualBox format Disk Image)

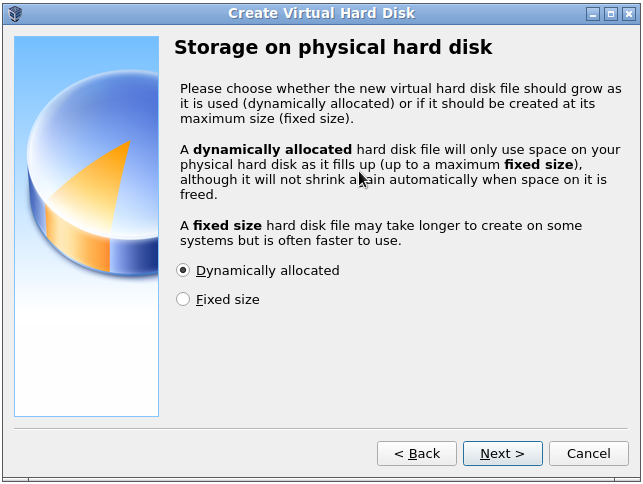
Select whether we need to dynamically grow the disk or just create a fixed size and allocate the whole declared disk space in advance.
Select a location in your host file system to keep the hard disk image of the guest os.
After successful creation of the virtual machine, it will show its properties on the right side pan
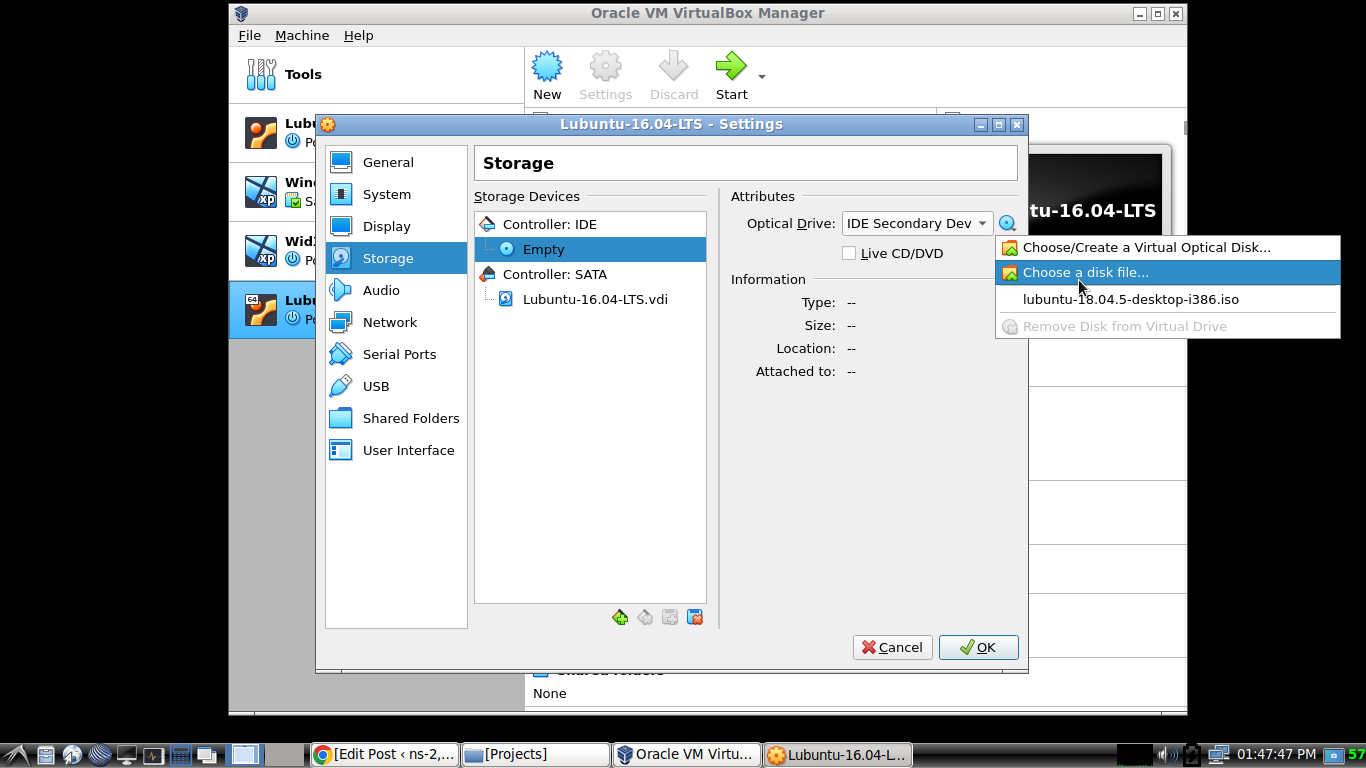
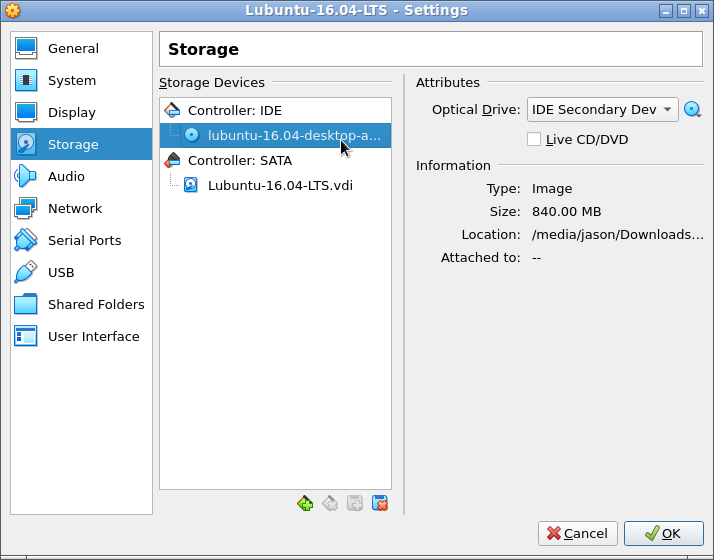
Mounting Guest OS ISO Image
We can mount a bootable ISO image of an operating system from the storage options settings.
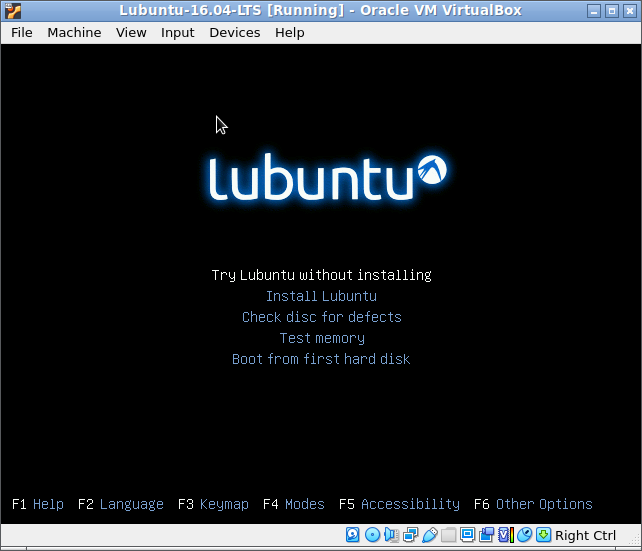
Installing Linus Guest OS from the mounted ISO Image
Now, just starting the new guest image (by selecting the name of the guiest and pressing the start button at the top menu) automatically starts the installation from the mounted iso image.
In the following, select “Install Lubuntu”
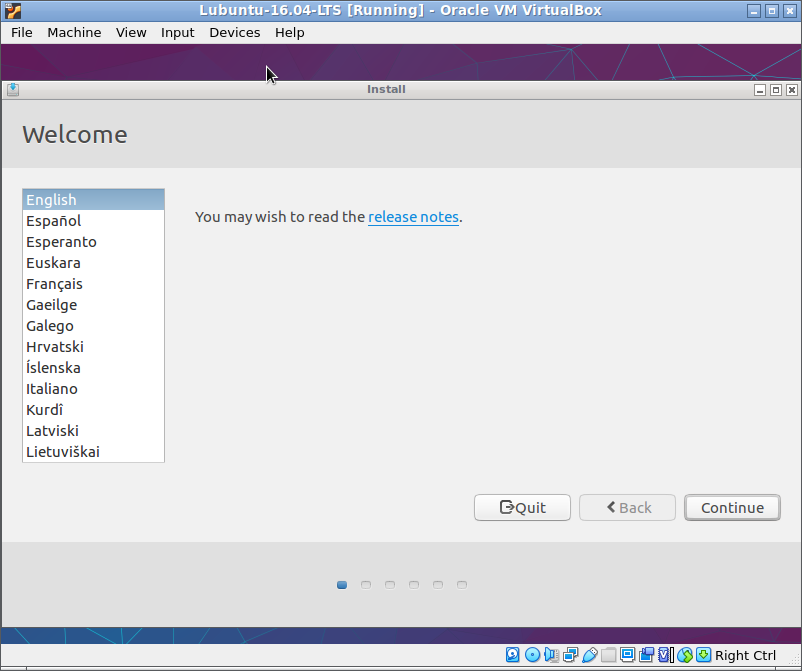
Select the Language
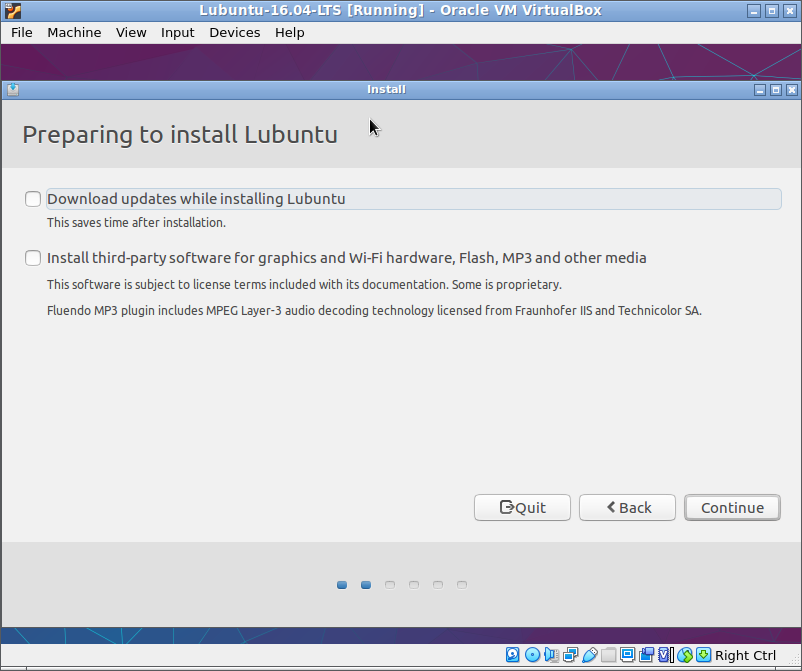
Unselect the additional updates and additional third-party software installation (to minimize the installation time – we may do them latter if needed)
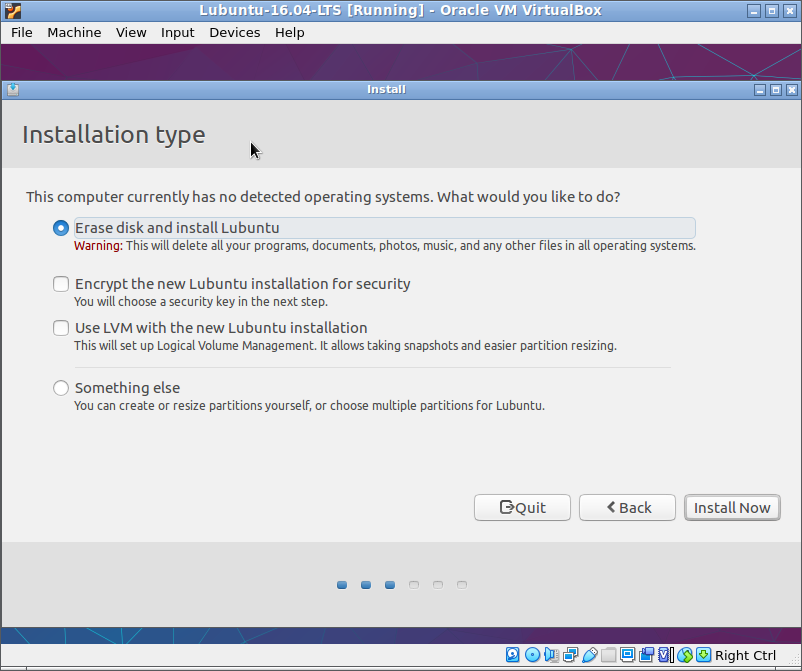
Since our disk image is new, we can select “Erase disk and install Lubuntu” option.
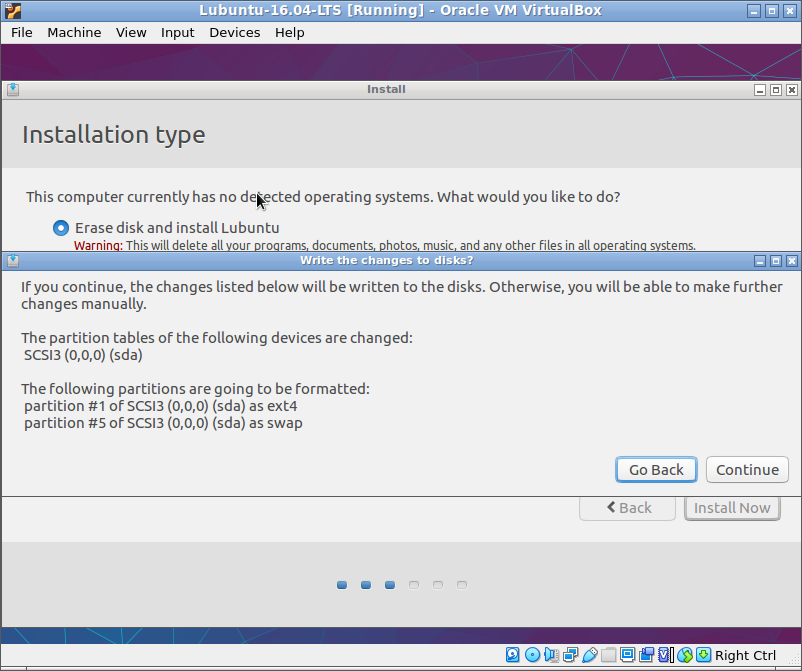
Click “Continue” on the following warning.
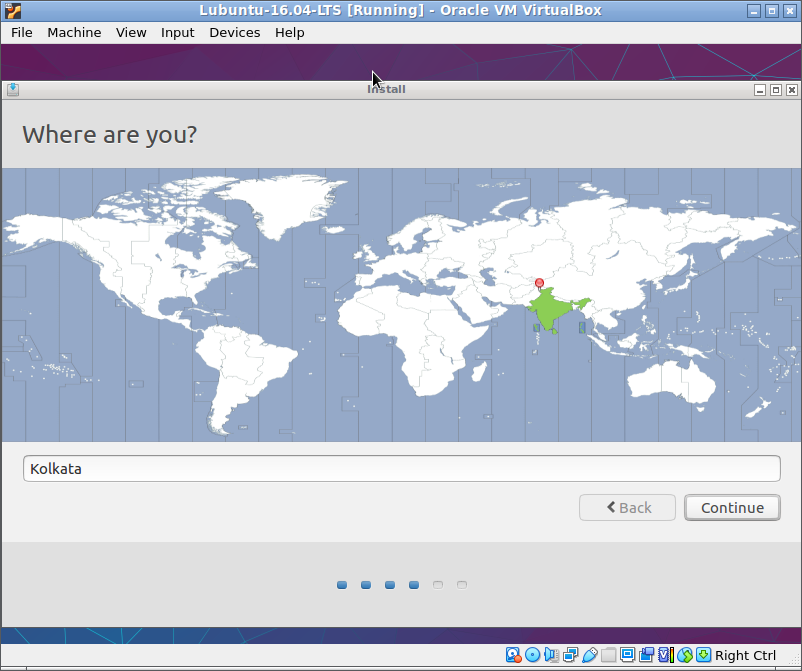
Select the time zone as per your geographical location.
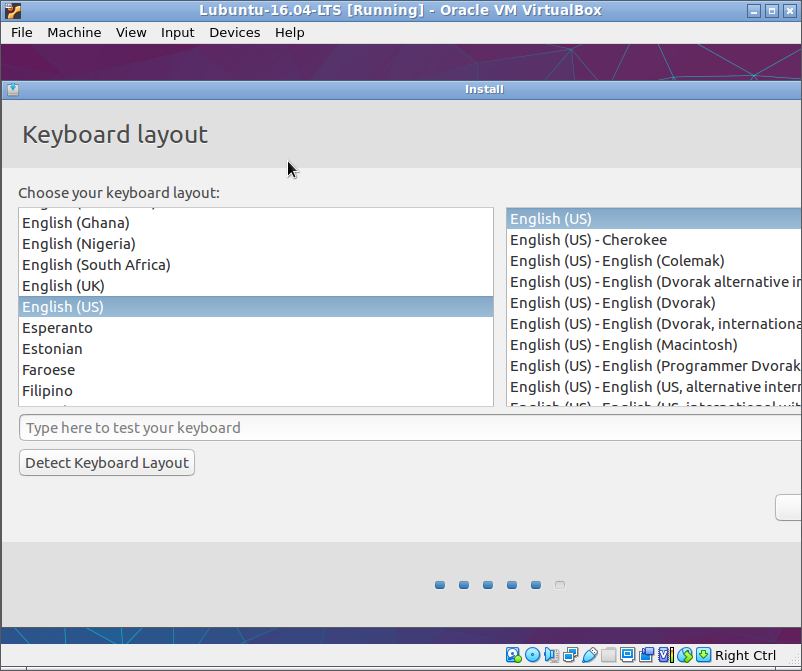
Select a suitable keyboard layout.
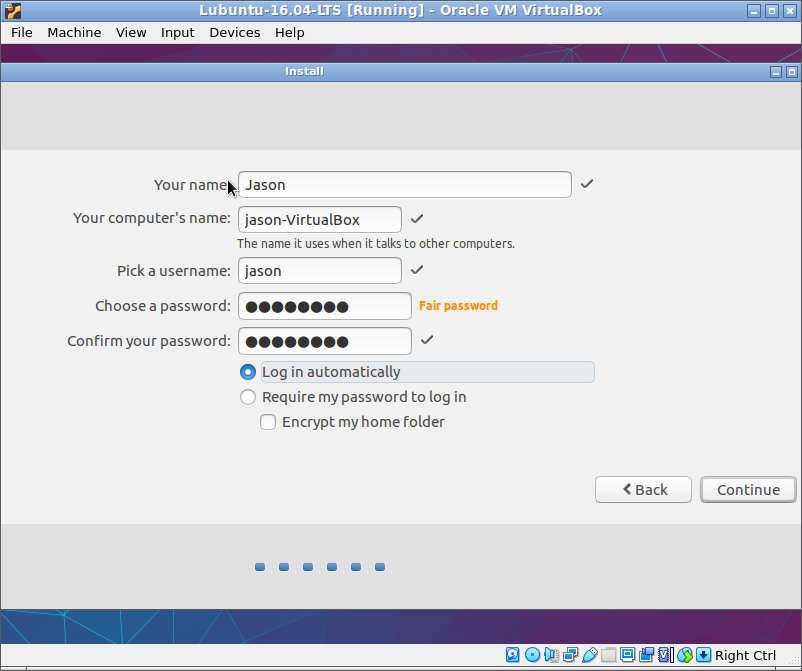
Create a user and set a password. (select “Log in Automatically” to avoid delay in booting)
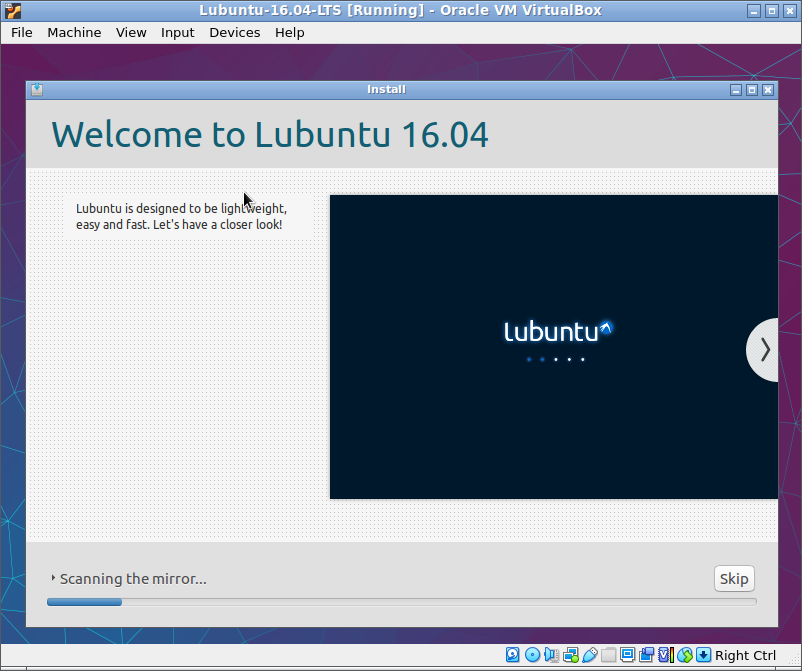
Now this will proceed with the installation and complete it with in a few minutes.
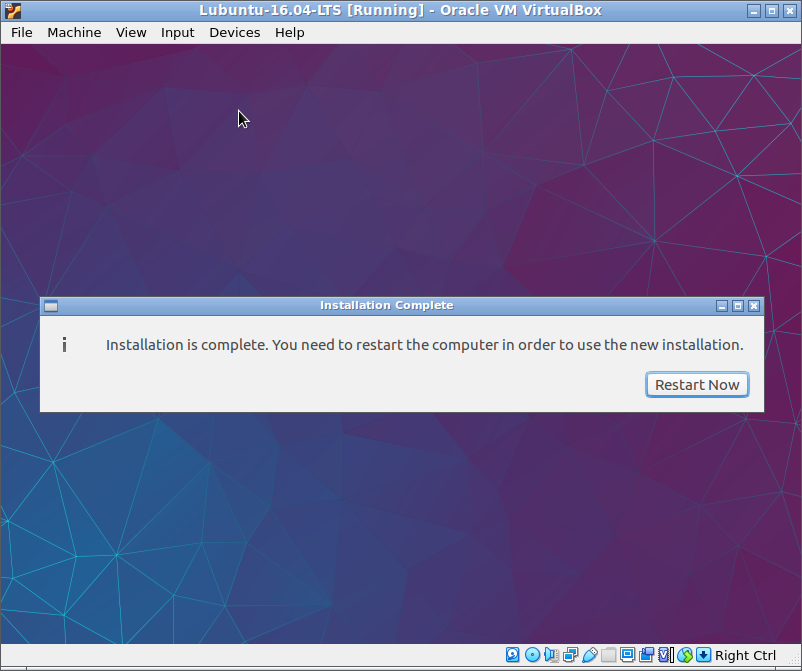
At the end of the installation, it will ask for reboot.
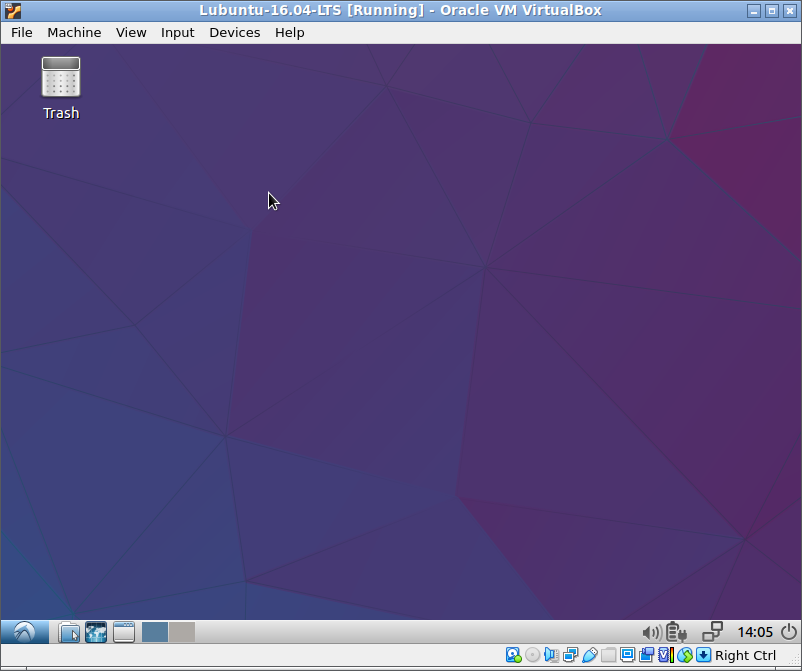
After restarting, it will boot the newly installed Linux system.
Installing VirtualBox Guest Additions
If you want to use the “seamless” mode and want to share the folders of your host os within the guest os, you will need a successful installation of VirtualBox Guest Additions
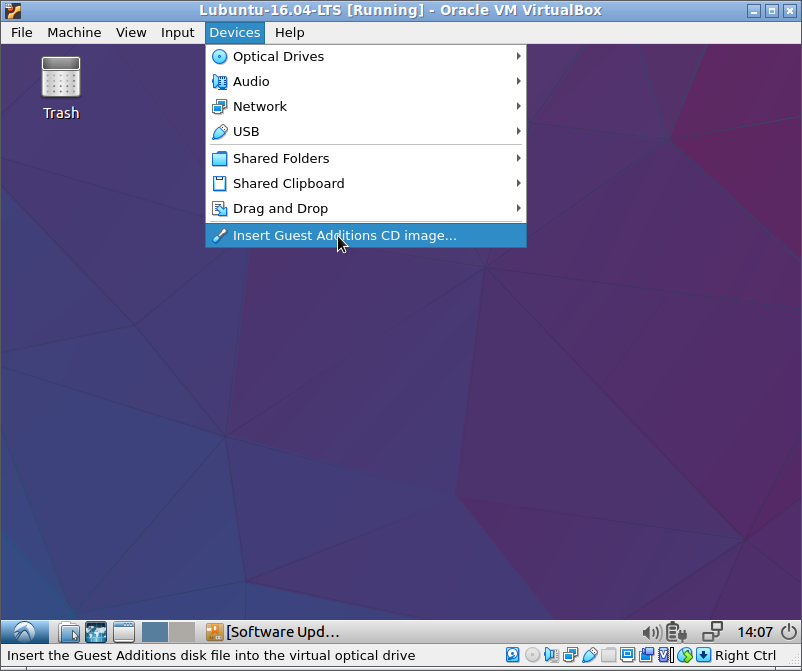
Now open the Guest Additions CD image from the VirtualBox menu
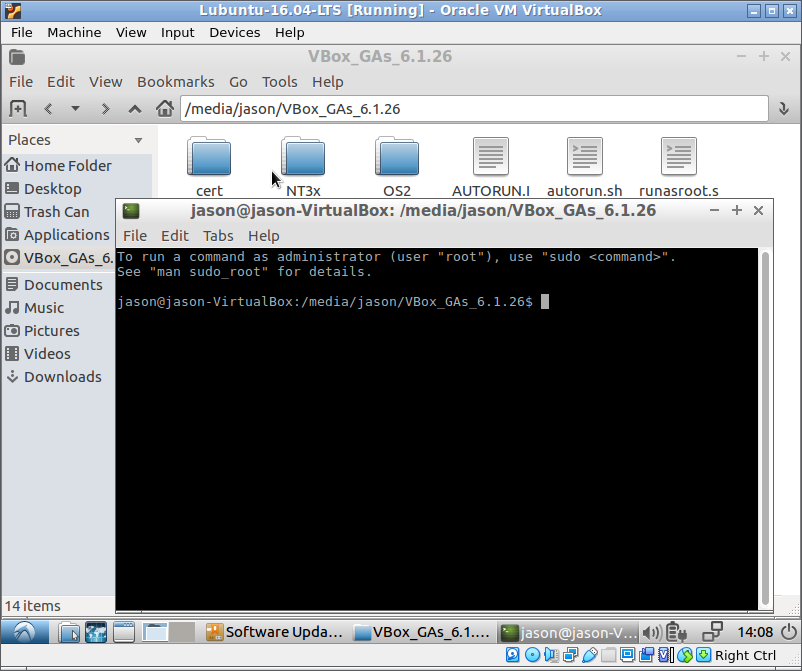
Explore the newly mounted ISO (Guest Additions CD image) and open a new terminal window.
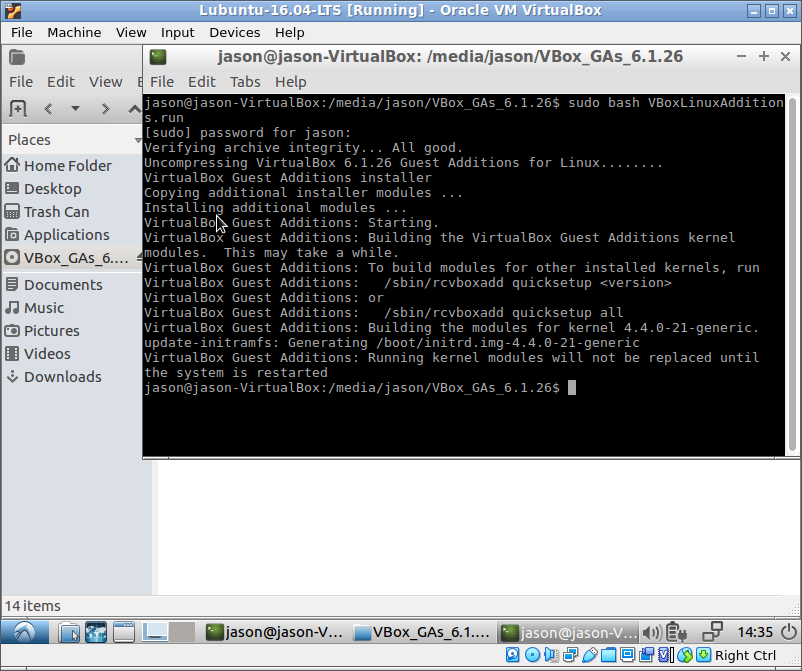
$ reboot
After successfully running the script VBpxLinuxAdditions.run, and after rebooting the system, now we can switch to seamless mode from the VirtualBox Menu.
Making the “Shared Folders” work without Error
Even after successfully installation of VirtualBox Guest Additions, mounting a folder of a host file system under the guest OS will simply fail with errors like “permission denied” on the shared folder.
Resolving the “permission denied” error while using the shared folder.
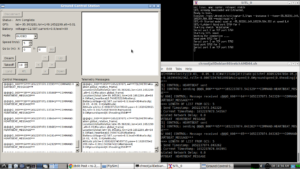
Now we can open the host folders that are shared in the guest OS.
The following output shows the root folder of the Host file system that is mounted under the /media folder of the guest OS.
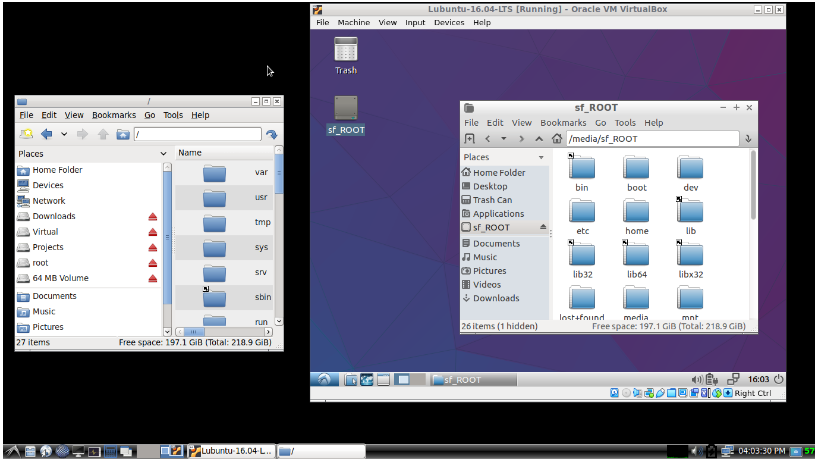
This kind of “sharing the host folder” with the guest OS is often needed because we may have some previously downloaded software under the host OS and want to install it under the new guest OS.
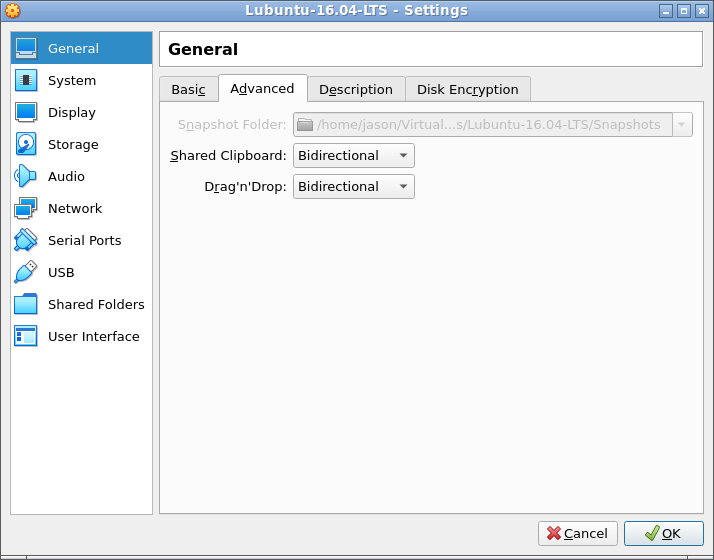
Enabling Copy Past between the Host and the Guest
During installing something under the new guest OS, often we may need to copy some text from the Host’s internet browser and past it in the terminal window of the guest OS. Before trying to do such copy/past operation, we have to enable the “shared clipboard” and “Drag’n’Drop” features from the VirtualBox’s host OS settings. These “shared clipboard” and “Drag’n’Drop” features will only work if we previously installed the VirtualBox Guest Additions in the correct way.
Uses of this Old Linux Guest
We may now install a old version of software under this virtual guest OS.
For example, we may try to install a old version of aquasim as explained in the following procedure.
Installing Aqua-Sim in Ubuntu 16.04 LTS – Underwater Sensor Network Simulation with ns-2
Or we may try to install a old 3D visualization tool “Aqua3D” as explained in the following procedure.
 Take Me to Afarion ns-3 iPlayground