NetSimulyzer ns-3 Add-on Module.
In fact, ‘NetSimulyzer’ consists of two parts. One is the actual 3D visualization tool and the other is an ns-3 companion module. Both are named as NetSimulyzer — so it will make some confusion during installation.
This article will only explain the installation of ‘NetSimulyzer ns-3 companion module’ — which is used to generate 3D traces needed for recreating the 3D network scenarios
This article is about installing ‘NetSimulyzer ns-3 companion module’ with ns-3.37 on Debian 11 operating system.
The following article explains the installation of ns-3.37 under Debian 11.
The following article explains the installation of the ‘NetSimulyzer 3D visualization tool’ under Debian 11/Ubuntu Linux variants which is going to be used to test the ns-3 NetSimulyzer based 3D simulation and visualization.
Installing NetSimulyzer 3D Visualization Tool under Debian/Ubuntu
Installation Requirements
- (Preferably) a Debian/Ubuntu or any Linux variant.
- A C++ 17 compliant compiler
Minimum supported compilers:
GCC 7.3.0
or Clang 6.0.0 - CMake 3.13 or greater
- A graphics card supporting OpenGL 3.3
- Qt 5.12
- Optional: Doxygen
- This ns-3 NetSimulyzer module installation will require a pre-installed ns-3 (in this case ns-3.37).
- And most preferably, a computer/laptop with a higher-end CPU, and GPU and with a LOT of memory. (Even though, this ns-3-cmake compile process can be done on a computer with decent hardware, compiling NetSimulyzer Tool part that will be used to visualize the 3D simulation outputs of ns-3 will consume a lot of CPU and memory resources and may just ‘hang’ or ‘crash’ your machine)
Installation
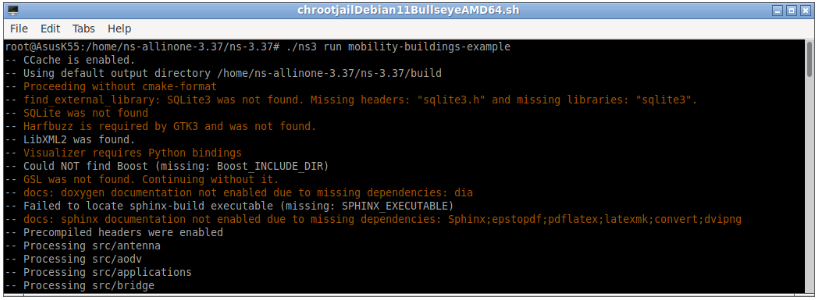
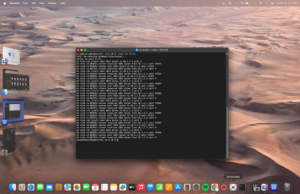
The following terminal output shows the simulation outputs of ‘mobility-buildings-example’.
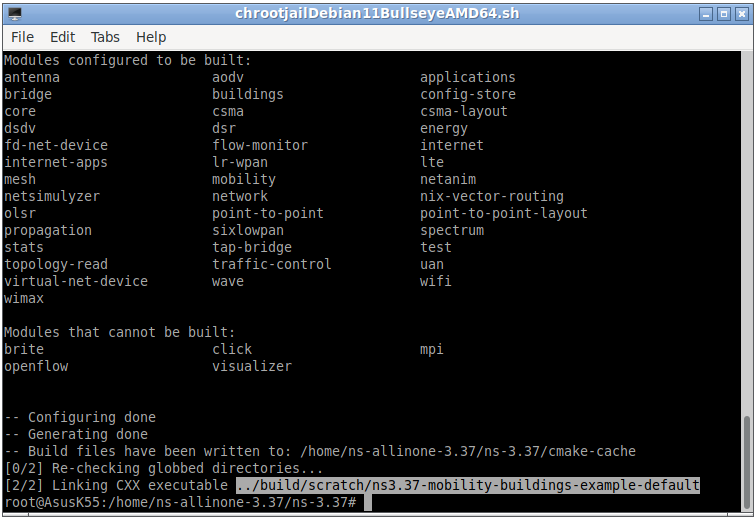
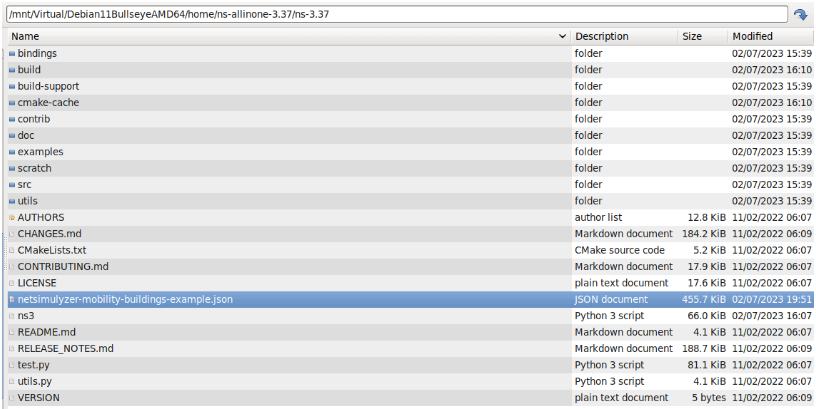
In fact, this simulation is not creating any particular console output – but it will create a 3D trace output file called ‘netsimulyzer-mobility-buildings-example.json’. Further, that .jason file ‘netsimulyzer-mobility-buildings-example.json’ will be available under ns-3.37 folder. Now check the output of ns-3.37 folder.
Step 5:Visualizing the 3D output of the Simulation
Run the NetSimulyzer visualization tool that was installed earlier (as explained in the article https://www.projectguideline.com/installing-netsimulyzer-3d-visualization-tool-under-debian-ubuntu/)
$ ./build/netsimulyzer
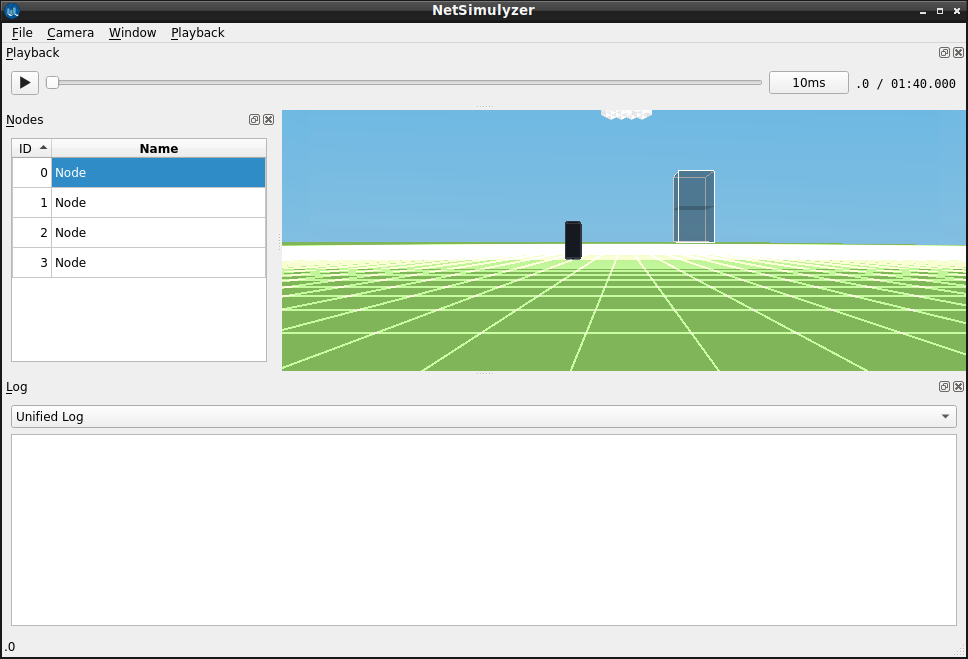
This will open the NetSimulyzer user interface from which you can load and play .jason format output 3D trace files.
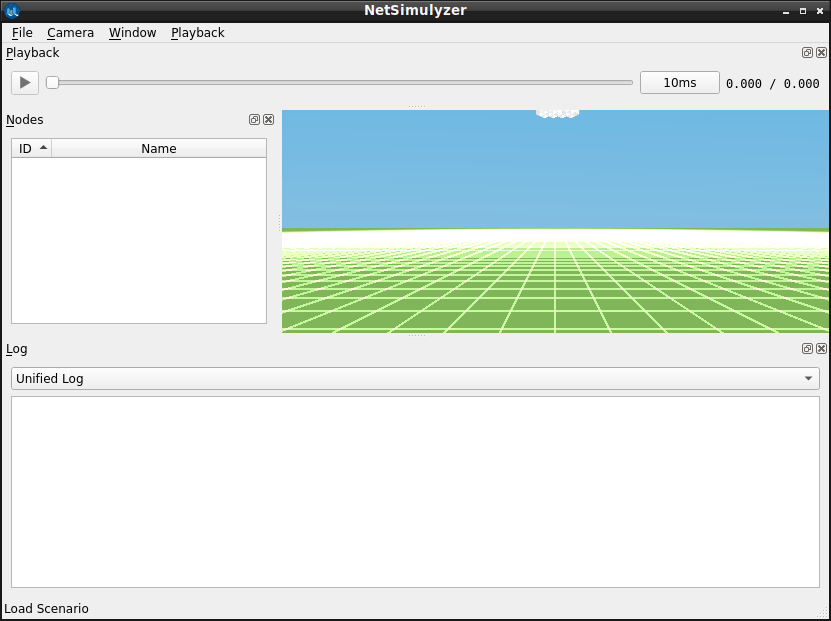
Load and visualize a 3D Network Scenario (that was previously created during Step 5)
In this example, the output file of the ns-3 example simulation ‘netsimulyzer-mobility-buildings-example.cc’ – ‘netsimulyzer-mobility-buildings-example.json’ has been loaded in the NetSimulyzer visualization tool. By clicking Node 0, we can ‘look’ the scenario from that node’s camera perspective.
The following posts show the use of NetSimulyzer.
- 3D Aquatic Animal Tracking Underwater Network Simulation (UWSN) Under ns-3
- Implementation of Circle Mobility Model for ns-3 and Visualizing it in 3D
 Take Me to Afarion ns-3 iPlayground