Aqua-Sim
Aqua-Sim is an ns-2 based simulator for simulating underwater sensor networks. It can simulate acoustic signal attenuation, packet collisions, routing in underwater sensor networks.
According to its manual, it has the following mac protocols
- ALOHA
- Broadcast MAC
- GOAL: a geo-routing aware MAC integrating VBF and handshake scheme in cross-layer approach.
- Slotted-FAMA: a MACA like handshake-based MAC
- UWAN-MAC
- COPE-MAC
- R-MAC
According to its manual, it has the following routing protocols
- VBF: vector-based forwarding. Note: VBF only works with Broadcast MAC.
- HH-VBF: hop-by-hop VBF
- Dynamic Routing: a Distance-vector routing like protocol
- Static Routing: routes with a predefined routing table
- Dummy Routing: for purpose of testing MAC protocols; only forwards packets to upper/lower layers
You may read further about it from the following link :
http://obinet.engr.uconn.edu/wiki/index.php/Aqua-Sim
Installing Aqua-Sim 1.0 under Ubuntu 16.04 LST
Installing this very old piece of software under native hardware will be a challenging task. Alternatively one may ty a VM based installation.
A Latest and most detailed, VirtualBox based installation procedure can be found at the following link :
Installing Aquasim & Aqua3D on an old Linux under VirtualBox
Aqua-Sim is developed and tested on Linux versions lower than Ubuntu 16.04. So, if we try to install it on any latest flavour of Linux such as Ubuntu 16.04LTS, then we may face some minor compilation errors.
Step 1: Download Aqua-Sim from the following link
http://ubinet.engr.uconn.edu/aqua_packages/Aqua-Sim-1.0.tgz
In fact, it is a modified version of ns-allinone-2.30 with functionalities to simulate underwater networks and protocols.
Step 2 : Extract Aqua-Sim-1.0.tgz in a folder as follows.
$ mkdir Aqua-Sim
copy the previously downloaded Aqua-Sim-1.0.tgz file in the Aqua-Sim folder
$cd Aqua-Sim
Extract the compressed file as follows
$tar –xvf Aqua-Sim-1.0.tg
This will extract the folders and files under the folder Aqua-Sim
Step 3 : Installing the aqua-sim
Installing Aqua-Sim is nothing but installing a modified version of ns-allinone-2.30. So, the standard install script will automatically do the installation.
In the Aqua-Sim Folder, there will be an installer script. We have to run it as follows:
$./install
Probably we may see the following error at the ns2 part of the installation.
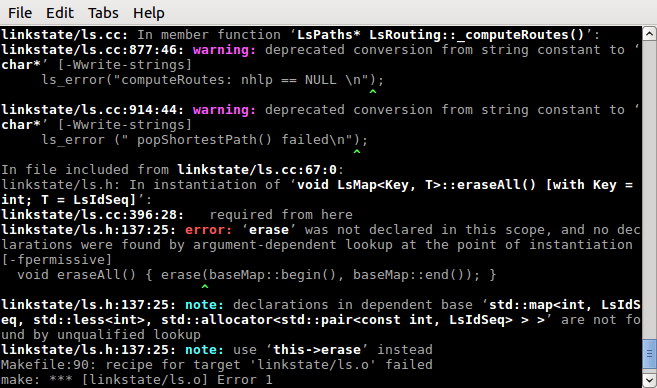
To correct this error, we should do the following :
And run the installer again.
$./install
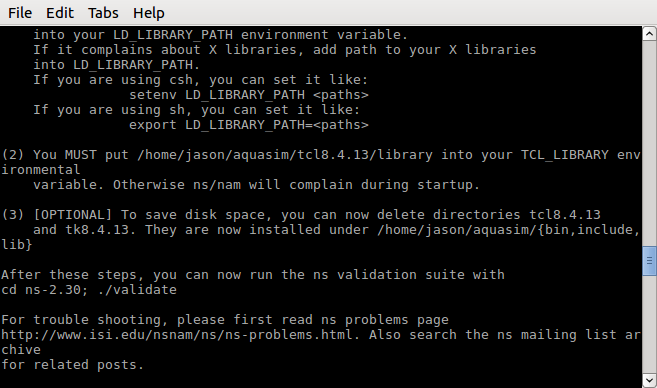
Now the installation is successful.
The above screen shows the final instructions of the installer for setting the environment variables in .profile or .bashrc.
This final output signifies a successful installation of Aqua-Sim (or ns2.30 with Aqua-Sim extension)
Testing Aqua-Sim Installation
Now we may test the features of the Aqua-Sim simulator by running the example scripts which are available in the folder
ns-2.30/underwatersensor/uw_tcl
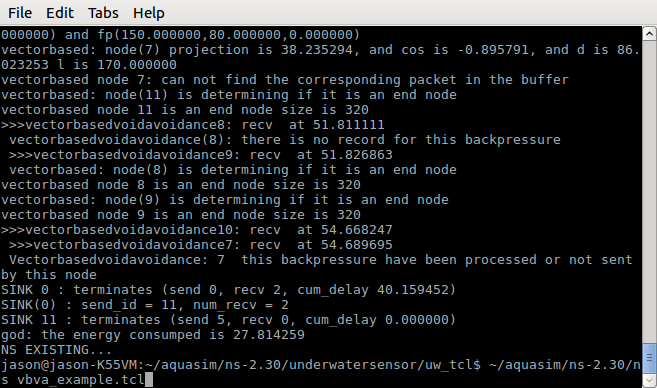
For example, if we run the example script vbva_example.tcl as follows, then we will see the text as shown in the following terminal output.
$ns vbva_examle.tcl
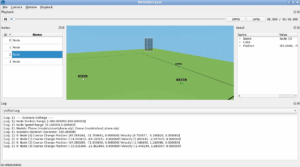
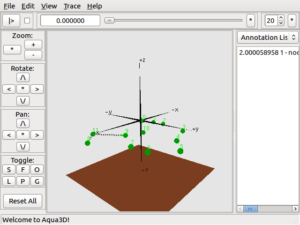
After successful running of an underwater simulation, we can visualize the scenario using a special version of NAM (Network Animator) called Aqua3D.
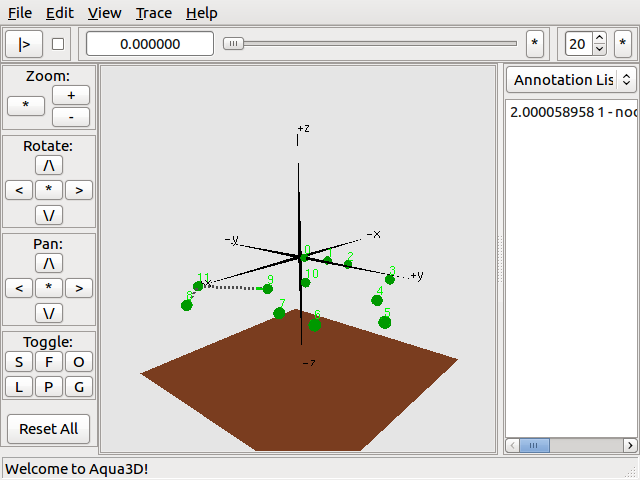
We will learn about installing and using Aqua3D in detail in another tutorial.
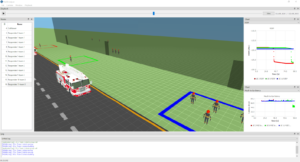
You can simulate realistic 3D UWSN like the following one using ns-3 and NetSimulyzer:
![]()
You may see a few more ns-3 based UWSN simulation examples here:
 Take Me to Afarion ns-3 iPlayground