This article presents a step-by-step procedure for installing and running ns-3 network simulations using the free resources provided by Kaggle Cloud Platform.
Note: The Complete Notebook file of this procedure can be downloaded from [3] and can be imported into your Kaggle account for easy installation of ns-3 on Kaggle.
The following are the major steps in this installation procedure:
- Setting up Kaggle environment
- Setting up a Persistent Storage
- Downloading ns-3 on the Persistent Storage
- Installing ns-3 on the Persistent Storage
- Running an example ns-3 simulation.
Step 1: Setting up Kaggle environment
- Go to the Kaggle website: https://www.kaggle.com/account/login?phase=startRegisterTab&returnUrl=%2Fcode%2F.
- Register in with your Google account.
- Click on the “New Notebook” button (and you may rename the Notebook as according to the version that you are installing (for example you may rename it as ‘ns-3.37’)
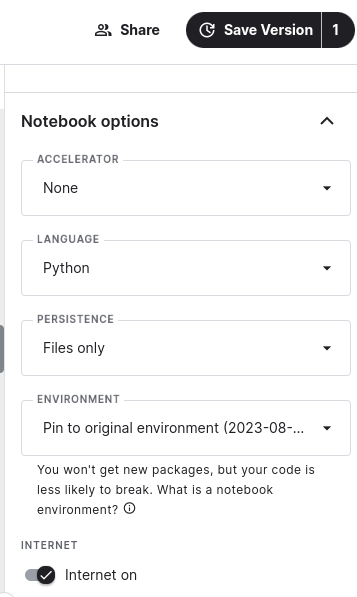
- Select the “Python” Language from the Notebook options menu.
- You can now start writing code in your notebook.
Step 2: Setting up a Persistent Storage
Now you have to change to the folder /kaggle/working/where you will have read, write (and execute) access. For that, you have to run the following command from the Jupyter Notebook.
Step 3: Downloading ns-3 on the Persistent Storage
Now you may download ns-3 from [2] and keep it under the /kaggle/working/ folder. For that, you have to run the following command from the Notebook.
It will store the compressed file inside the folder ‘/kaggle/working/. Now we may extract the compressed file by running the following command from the Jupyter Notebook.
Step 4: Installing ns-3 on the Persistent Storage
Configure ns-3 by running the following commands from the Jupyter Notebook.
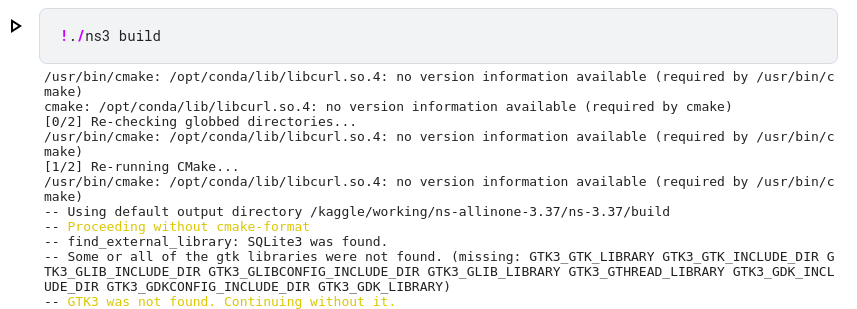
Build ns-3 by running the following commands from the Jupyter Notebook.
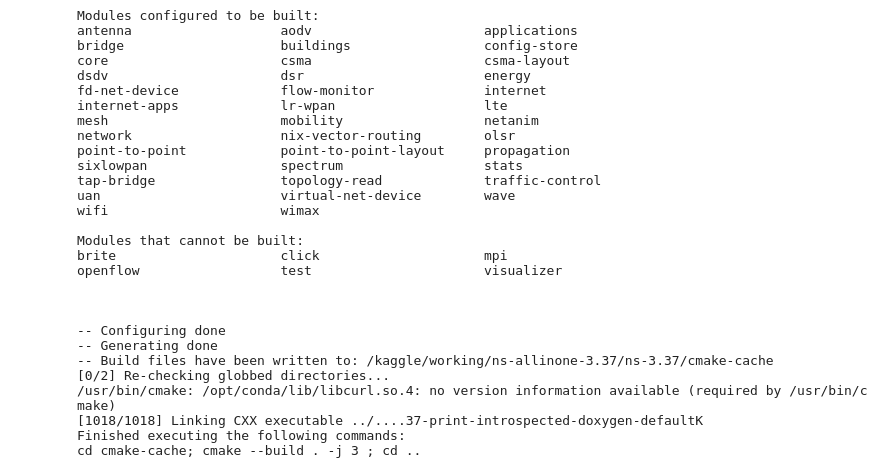
The following output shows that the build operation has been completed after a few minutes
The following screenshot confirms the successful build operation.
Step 5: Running an example ns-3 simulation.
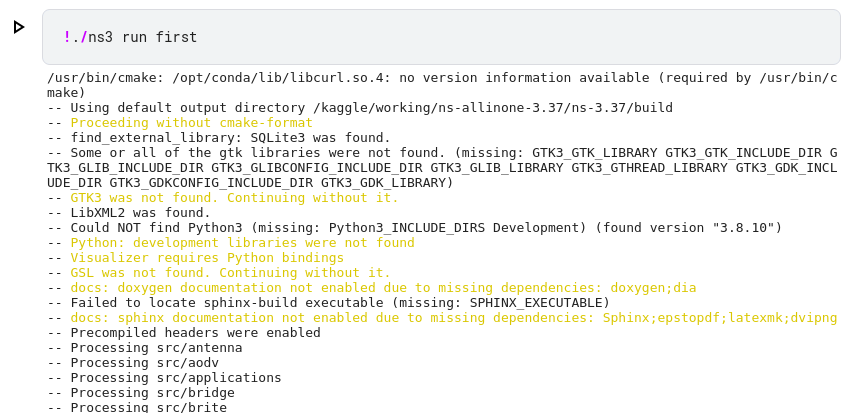
Run the Example simulation ‘first.cc’ provided with ns-3 by running the following commands from the Jupyter Notebook.
The following output shows that the first time the compile operation took a few seconds.
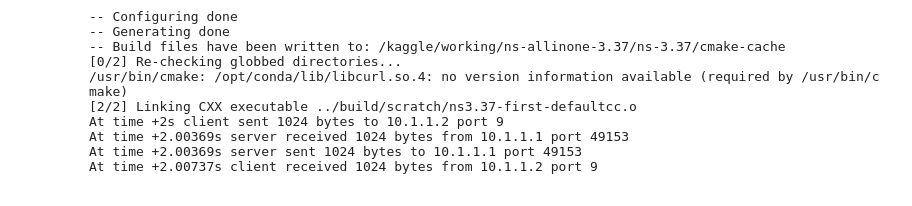
The following is the output we will get while running the compiled simulation of fist.cc
Conclusion
This article shows the way to use the free computing and storage resources of Kaggle for doing ns-3 simulations. Even though the overall compile time was not good, it is possible to use it for running a large simulation (that may take, for example, 10 hours of CPU time). It is possible to run a batch of simulations remotely using the free cloud resources.
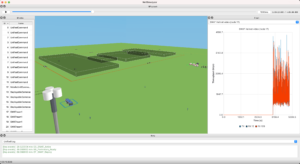
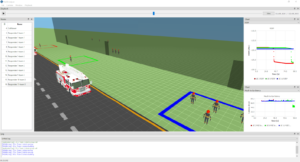
In fact, there is no simple way to run Network Animations such as NetAnim through this facility and visualize the simulation output. However, it is possible to do quality analysis and produce graphs using the available tools of Jupyter Notebooks.
 Take Me to Afarion ns-3 iPlayground