Generally, the procedures that you find on the internet for installing OpenFlow 1.3 support module (OFSwitch13) may fail on latest Linux Operating systems because of the new conventions and standards that are found in the default versions of compilers found in them. This article provides a way to successfully compile ns-3 with OFSwitch13 module.
Procedure for installing OpenFlow 1.3
Before installing OpenFlow, first, we should install a suitable version of ns-3. One may follow the installation procedure presented in the following link, or follow any other installation procedure for installing the preferred version of ns-3.
For a chroot-jail based installation procedure, one may follow this link[1].
The following step-by-step procedure explains the way of installing OpenFlow 1.3.
Step 1: Installing dependencies.
Step 2: Clone the original ns-3.29 repository.
$ hg clone http://code.nsnam.org/ns-3.29
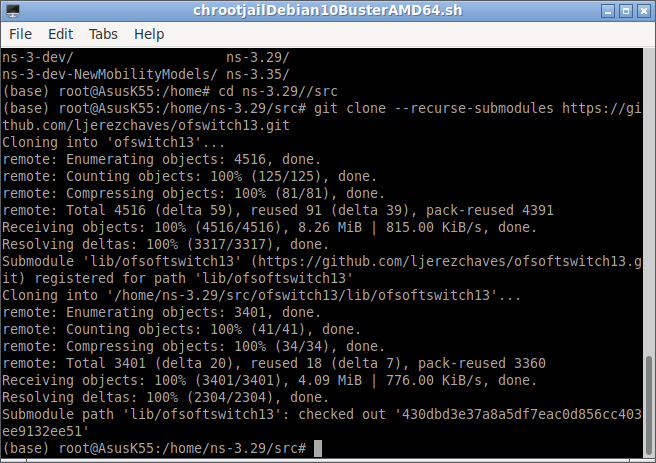
Step 3: Downloading OFSwitch13 code.
We can download the OFSwitch13 source code into the /src folder or /contrib folder of the ns-3.29.
$ git clone –recurse-submodules https://github.com/ljerezchaves/ofswitch13.git
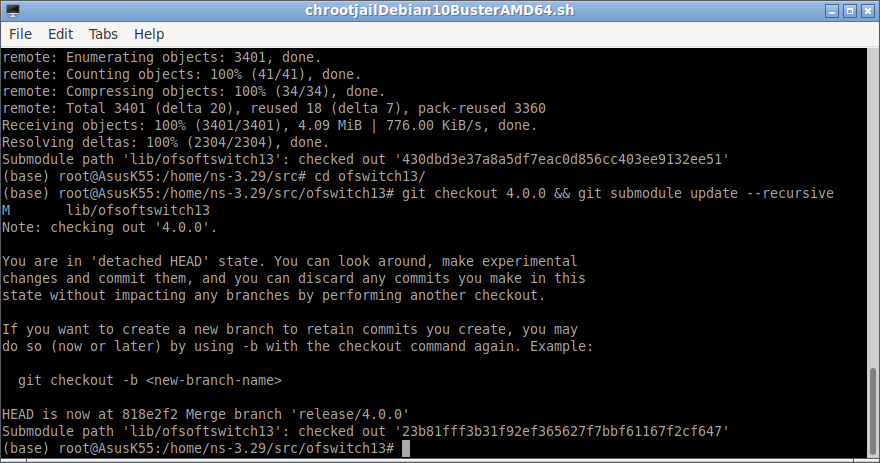
Step 4: Update the code to the desired release version of OFSwitch13 code.
We can download the OFSwitch13 source code into the /src folder or /contrib folder of the ns-3.29.
$ git checkout 4.0.0 && git submodule update –recursive
Step 5: Compiling OFSwitch13 Code.
We have to issue the following commands to compile OFSwitch13 code.
$ ./boot.sh
$ ./configure –enable-ns3-lib
$ make -j8
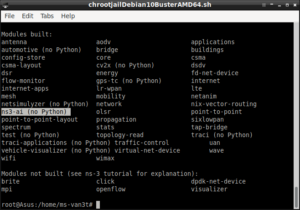
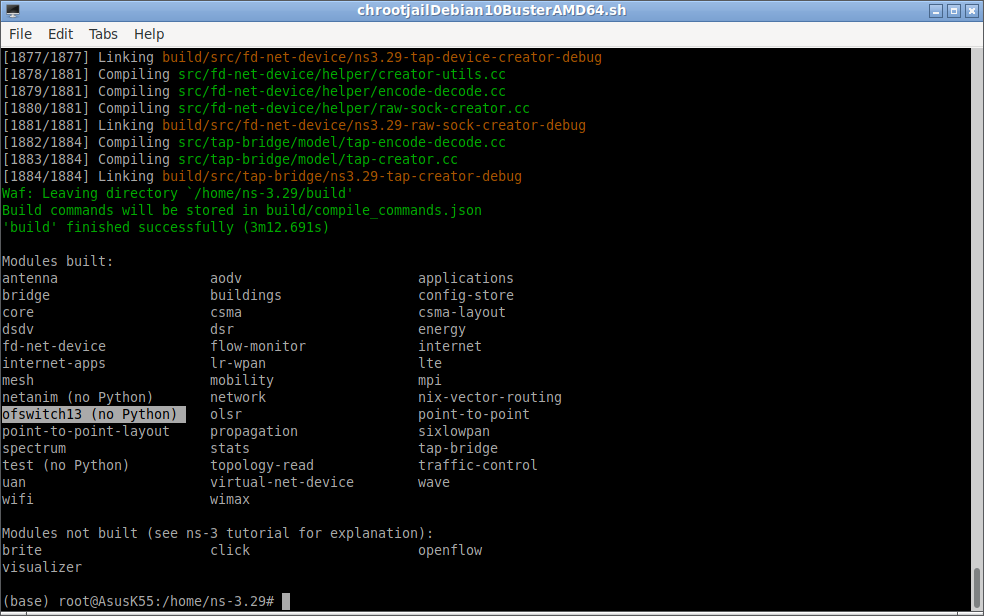
If you are doing all the above steps correctly, then at the end of successful compile, you will see a screen similar to the following:
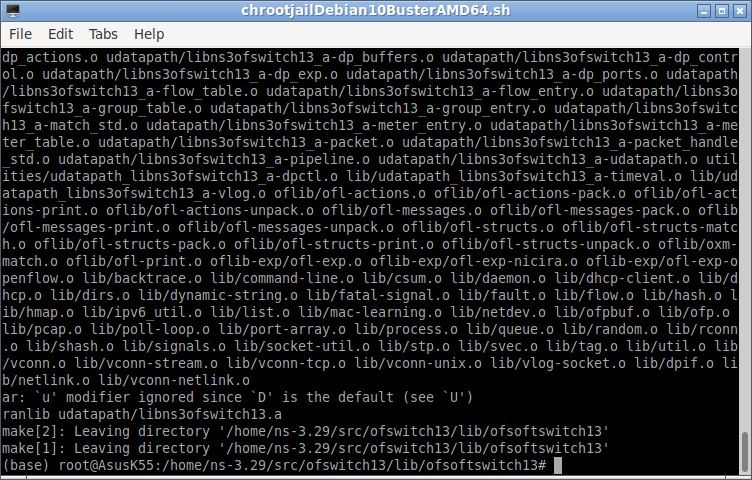
Once everything gets compiled, the static library libns3ofswitch13.a file will be available under the lib/ofsoftswitch13/udatapath directory.
But keep in mind, if you are compiling libns3ofswitch13.a with correct options, then only this compiled binary will be compatible with ns-3 compile process. Otherwise, the “waf” compile process of ns-3 will just end with strange errors that are previously shown in the restricted section of the article.
Step 6: Patching the ns-3 code
This OFSwitch ns-3 module code will need some patching operation in some other module code -then only we can compile and use this ns-3 extension in our simulations. Go back to the ns-3 root directory and patch the ns-3 code with the appropriated patches available under the ofswitch13/utils directory. The ofswitch13/utils directory may contain patches for some other versions of ns3-also.
The src patch creates the new OpenFlow receive a callback at CsmaNetDevice and VirtualNetDevice, allowing OpenFlow switch to get raw packets from these devices. These are the only required changes in the ns-3 code for OFSwitch13 integration. Running the second patch (the doc patch) is optional, and it will only instruct the simulator to include the module in the ns-3 model library and source code API documentation, which can be helpful to compile the documentation using Doxygen and Sphinx.
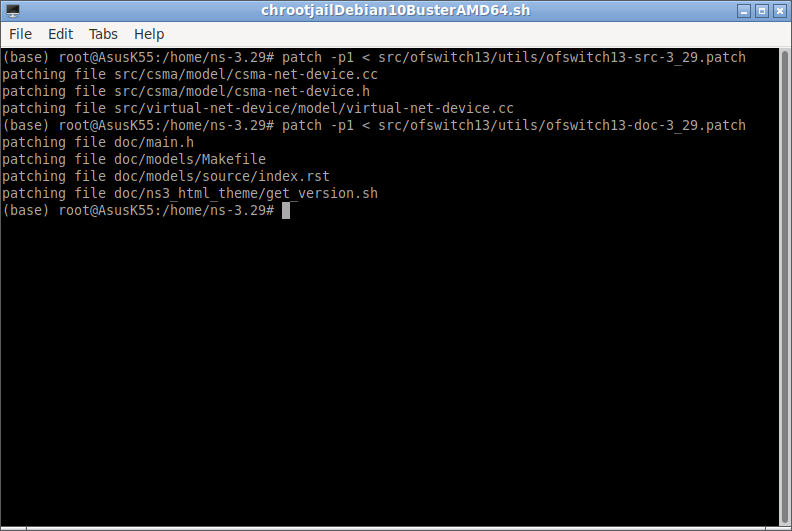
We have to issue the following commands to do the automated patch operation.
$ patch -p1 < src/ofswitch13/utils/ofswitch13-src-3_29.patch
$ patch -p1 < src/ofswitch13/utils/ofswitch13-doc-3_29.patch
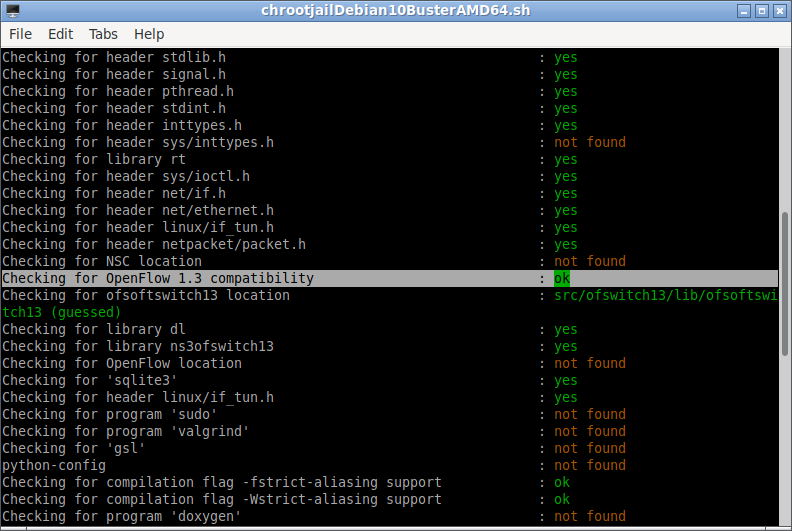
Step 7: Configuring ns-3

Step 8: Compiling ns-3 with OpenFlow Module
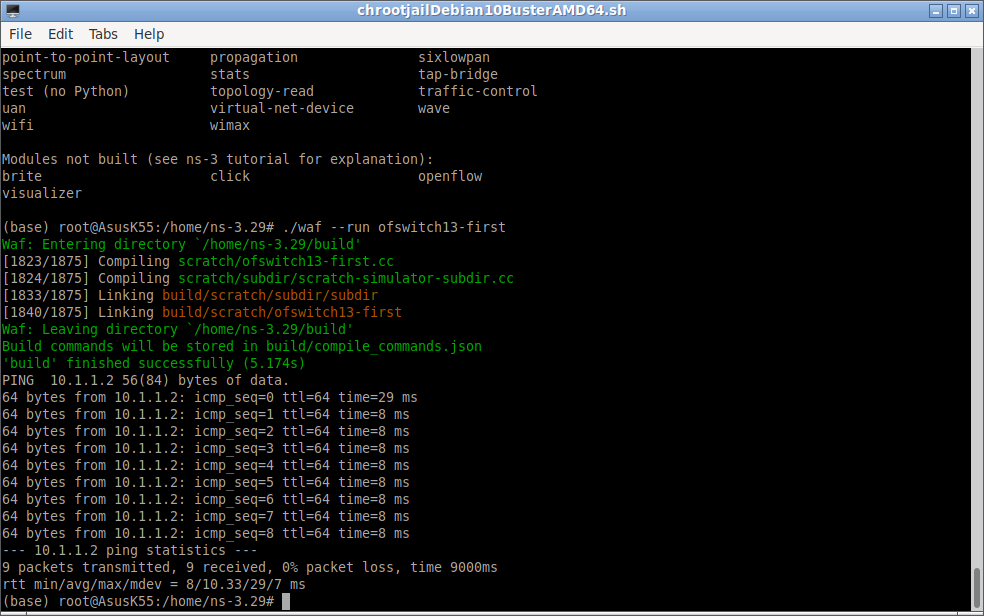
Step 9: Testing the installation of OFSwitch13 ns-3 module
Now we can run an example simulation to test the good working of our installation.
Doing Software-Defined Networking(SDN) Simulation under ns-3
References
Afarion iPlayground
You can run your ns-3 simulation directly in your web browser by enrolling in any Afarion iPlayground ns-3 Course.
 Take Me to Afarion ns-3 iPlayground
🎥 Know More


Search Articles
Article Categories
- 3D Network Simulations (54)
- Articles for Beginners (18)
- Articles for Research Scholars (23)
- Electronics (7)
- Experiments on Ns2 (15)
- General Ns2 related issues (2)
- ns-2 (44)
- Ns-2 Installation (14)
- Patching Ns-2 (12)
- ns-3 (122)
- ns-3 Installation (75)
- Old Undergraduate Projects (6)
- Omnet++ (19)
- Promotion free articles (1)
- Research (127)
- Restricted Articles (96)
- Students Contributed Matlab Projects (1)
- Students Contributed ns-2 Projects (16)
- SUMO (2)
- Uncategorized (3)
- Unrestricted Articles (98)