This article explains the way of installing Ubuntu Linux and ns-3 network simulator under WSL2 of Windows 10 and doing ns-3 simulations under Windows 10. In this procedure, we will install our choice of ns-3 version by installing the current ns-3-dev version and downgrading it to the lower ns-3 version of our choice. In this example, we will install ns-3.35 using ‘waf’ based compile process.
One may check the following article for the detailed procedure for installing WSL2 under Windows 10
Installing WSL2 Under Windows 10 and Running GUI Linux Apps.
Installing WSL2 Under Windows 10 for doing ns-3 Simulations
One may find a detailed installation procedure for installing WSL2 under Windows 11 and using GUI based Linux application in[2]
Step 1: Install WSL2 using windows Powershell
Run Windows Powershell with Administrator privilege and issue the following command:
c:UsersUserNamewsl --install
Restart your computer to finish the WSL installation on Windows 10.
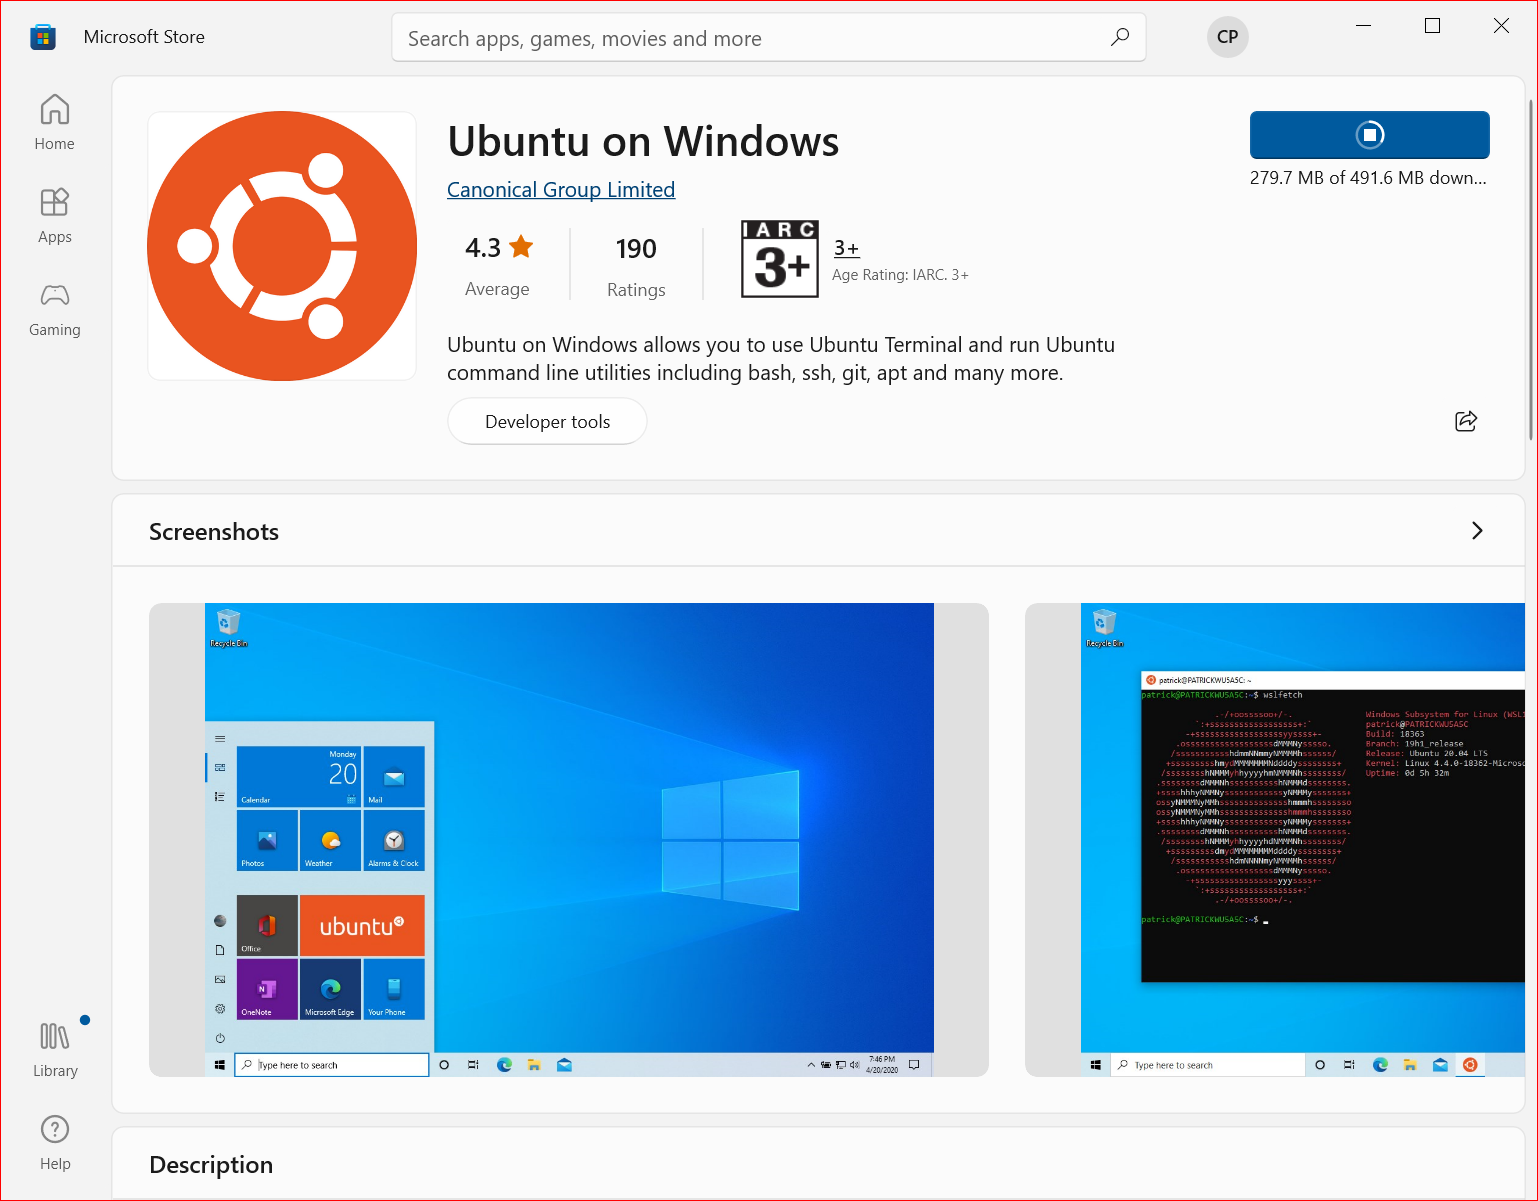
Step 2: Install the choice of your Linux from Microsoft Store
In this example, after running Microsoft Store, we searched for Ubuntu and started to install it by pressing the get button
If we click the “get” button, it will start downloading ubuntu and then installing it.
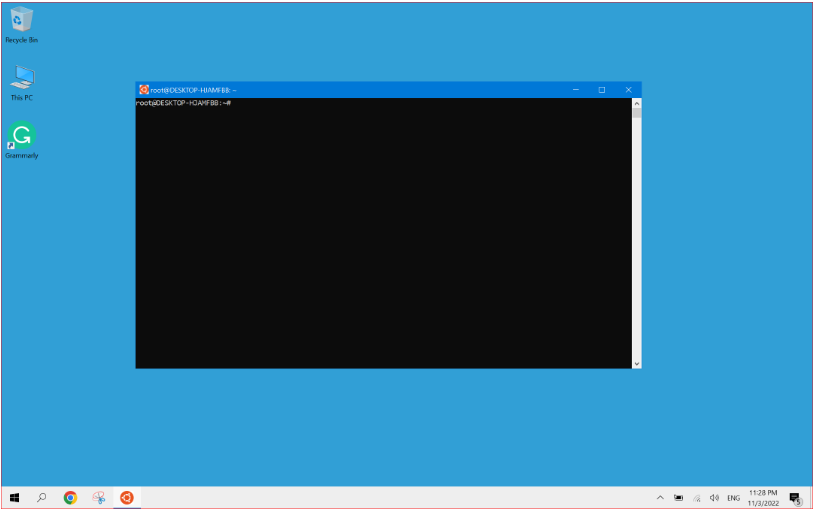
Step 3: Running the Ubuntu Shell
Start the newly installed Ubuntu from the start menu.
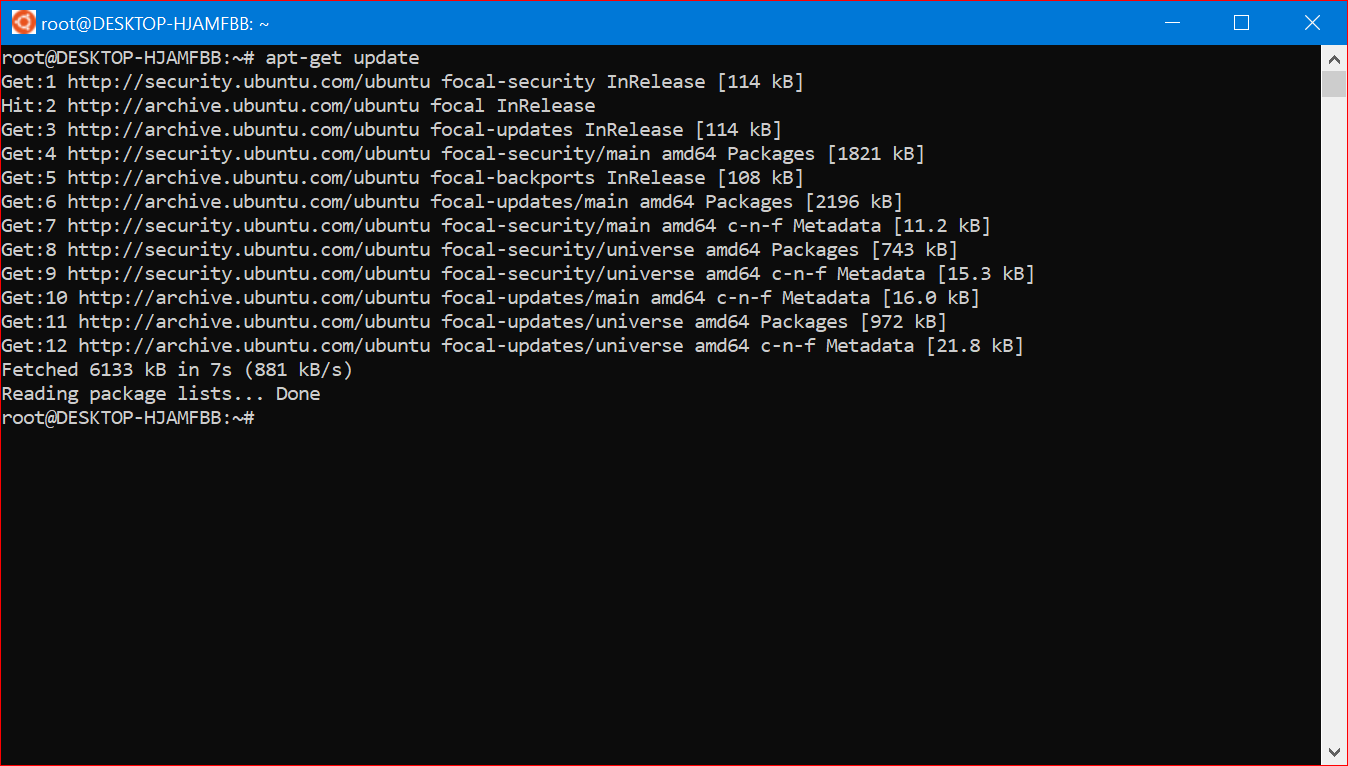
Step 4: Updating Ubuntu Package Repository
# apt-get update
The following screenshot shows the completion of the update operation :
Step 4: Installation of the Dependencies
If ‘git’ is not installed on your system, first install it.
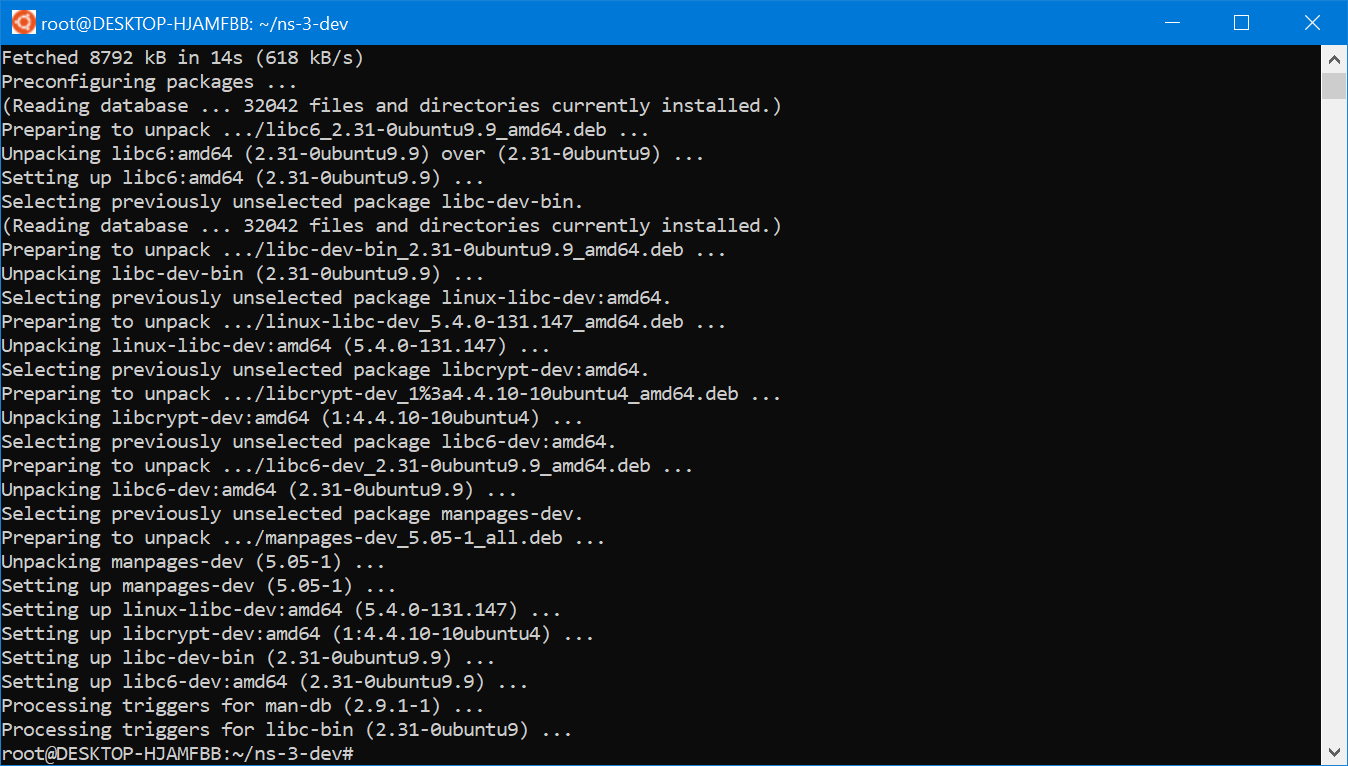
$ apt-get install libc6-dev
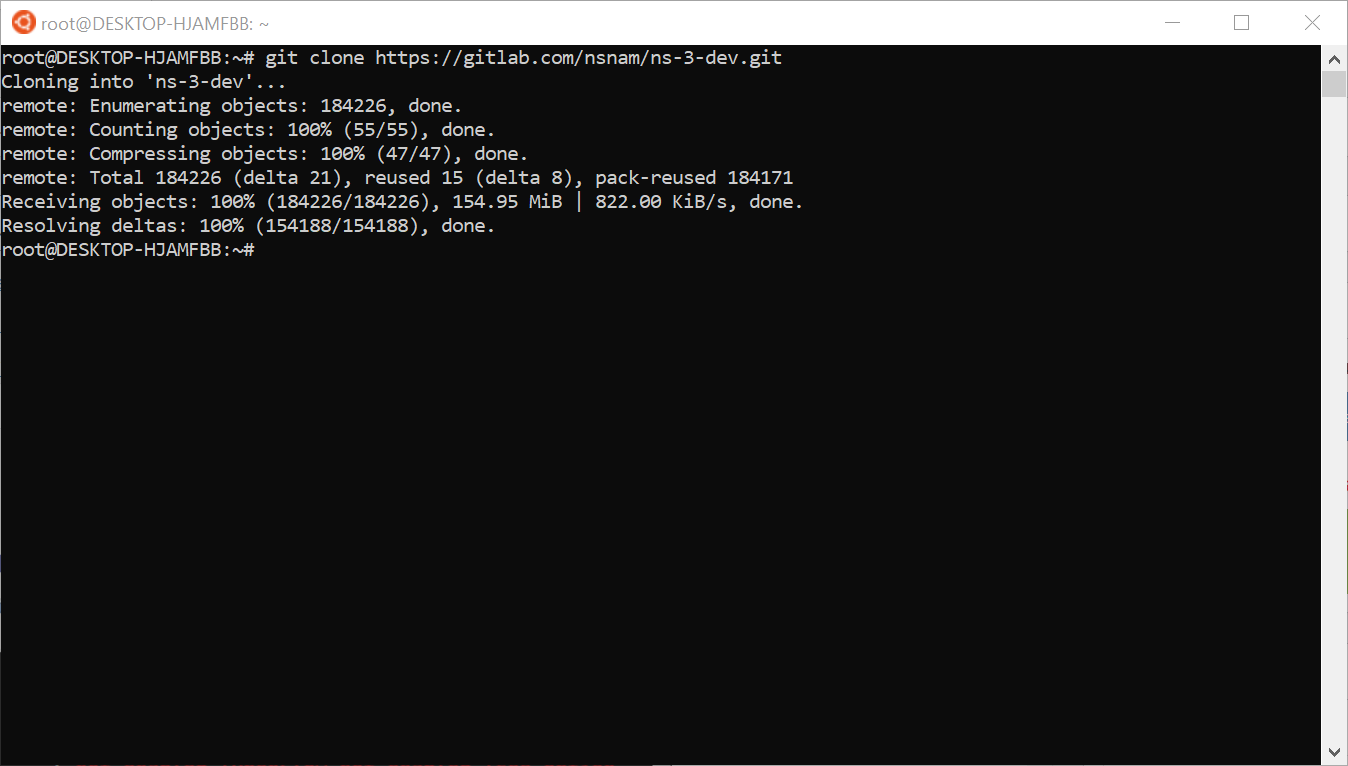
Step 5: Download ns-3-dev Version
$ git clone https://gitlab.com/nsnam/ns-3-dev.git
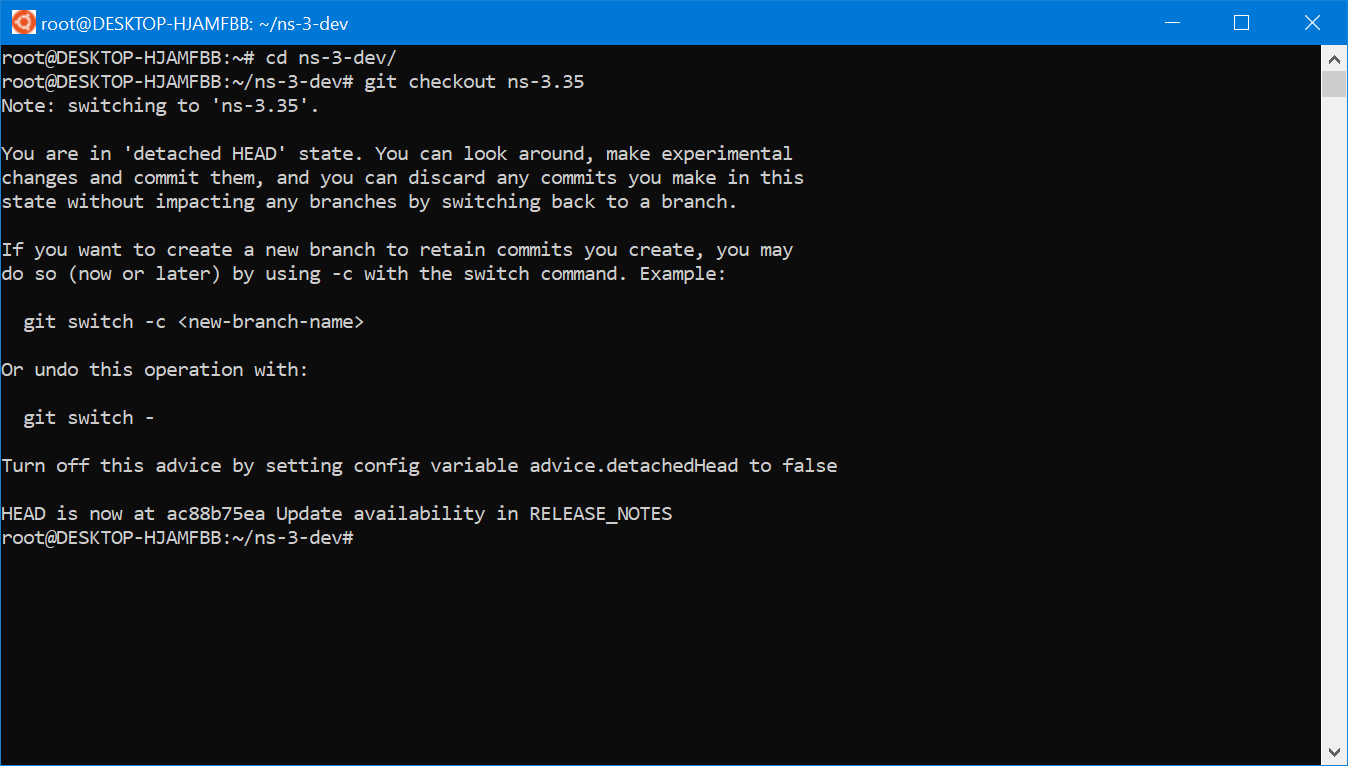
Step 6: Downgrade the ns-3-dev version to ns-3.35
At this step, you can switch to the compatible ns-3 release branch as follows:
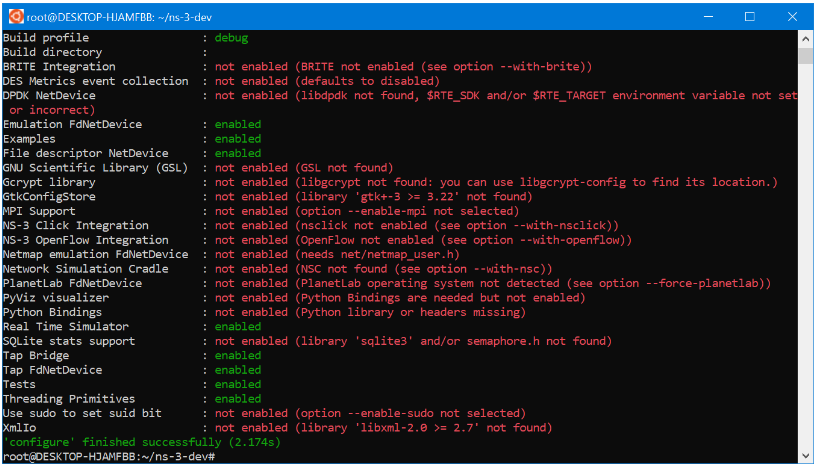
Step 7: Configure ns-3
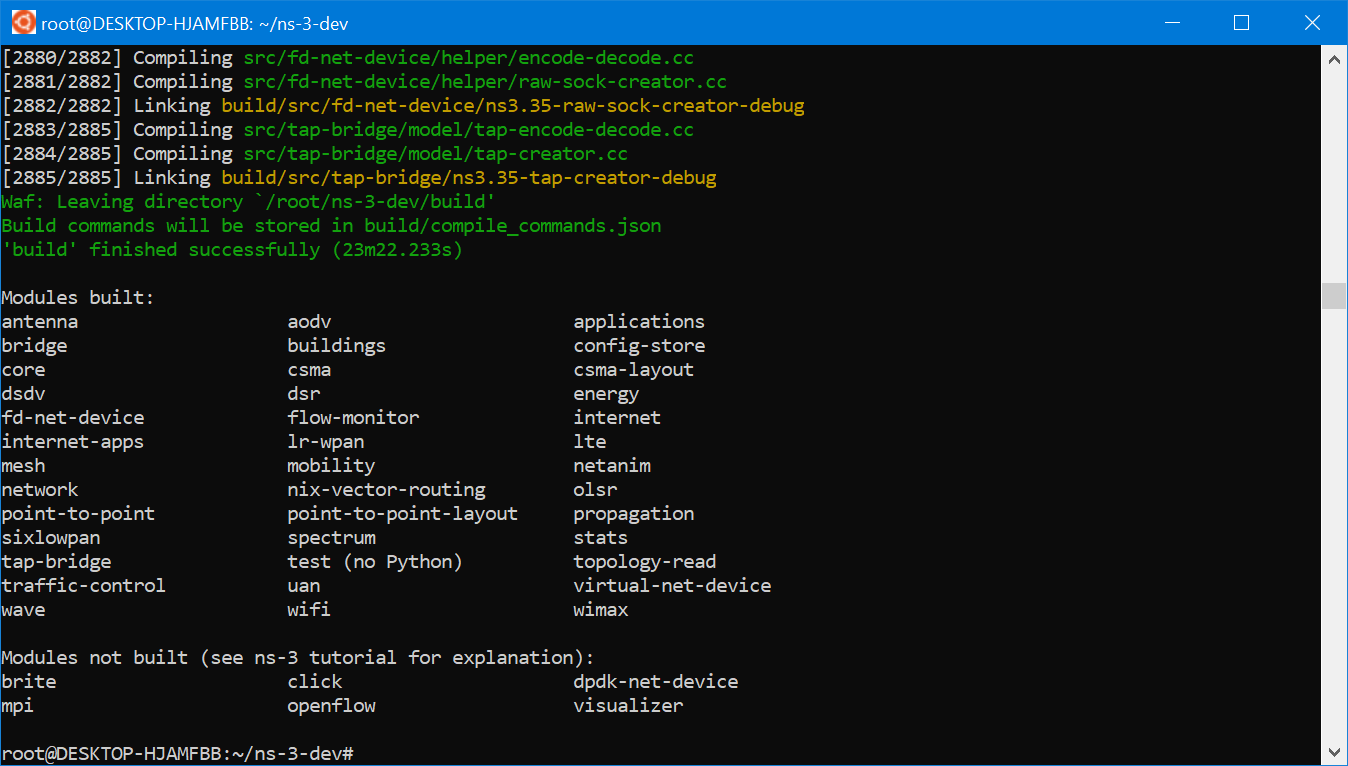
Step 8: Compile the Default ns-3-dev
You may correct this error as follows:
The following screenshot shows the successfully compiled modules under ns-3.35
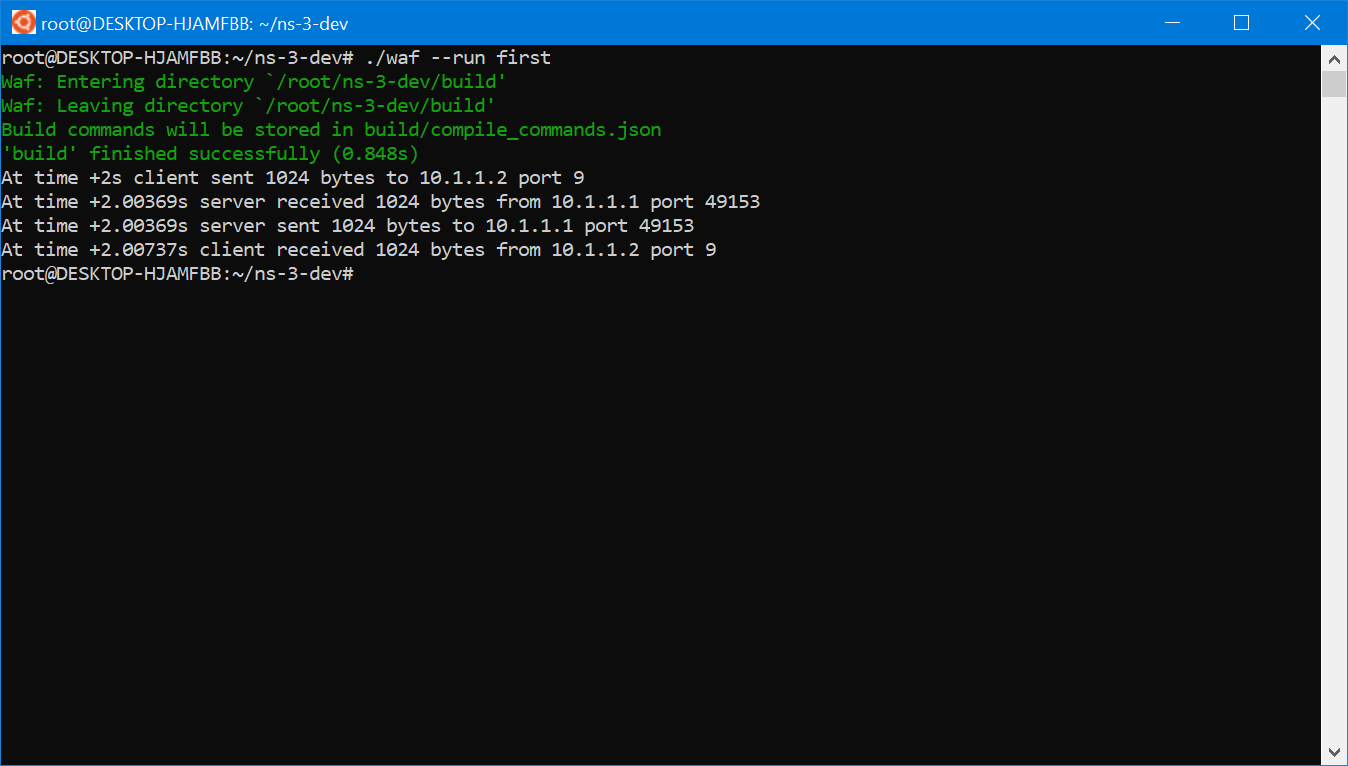
Step 9: Testing the ns-3 installation by running an Example Simulation
After the successful compilation of ns-3, we may test its working by running an example simulation.
$ ./waf –run first
Conclusion
With Windows 10 and WSL2 support, we can run ns-3 simulations. Of course, the overall compilation process of ns-3 took very much time on the WSL of Windows 10. For me, even on an 11th-generation Core i5 Intel laptop processor, it took a very long time to compile ns-3(if we compare it with a native Linux installation). In fact, the default installation of Windows 10 only provides around 50% CPU for the ns-3 compilation process. But I think, even if we provide 100%CPU, the compilation performance will never come near to the native Linux installation.
So, for those who worry about speed and performance in the ns-3 compiling process and doing simulation, definitely WSL is not at all a solution. For people who love to stick to Windows, they may live with poor ns-3 compiling performance, in case, they will not do the compilation repeatedly very often.
For Linux lovers, particularly researchers those who do network simulations with tools like ns-3, using Linux under WSL will be a great tragedy and a nightmare.
The following Procedure explains the installation of ns-3 and NetAnim Under Windows 11 with WSL2 :
The following Procedure explains the installation of OMNet++ IDE Under Windows 11 with WSL2 :
Installing OMNet++ IDE Under new Windows11 Version Using WSL
Meantime, one may try the following installation procedures under WSL2.
https://www.projectguideline.com/installing-aquasim-aqua3d-on-an-old-linux-under-virtualbox/
Installing Aquasim & Aqua3D on an old Linux under VirtualBox
 Take Me to Afarion ns-3 iPlayground